How We Built Our Garden Sofa
How We Built Our Garden Sofa
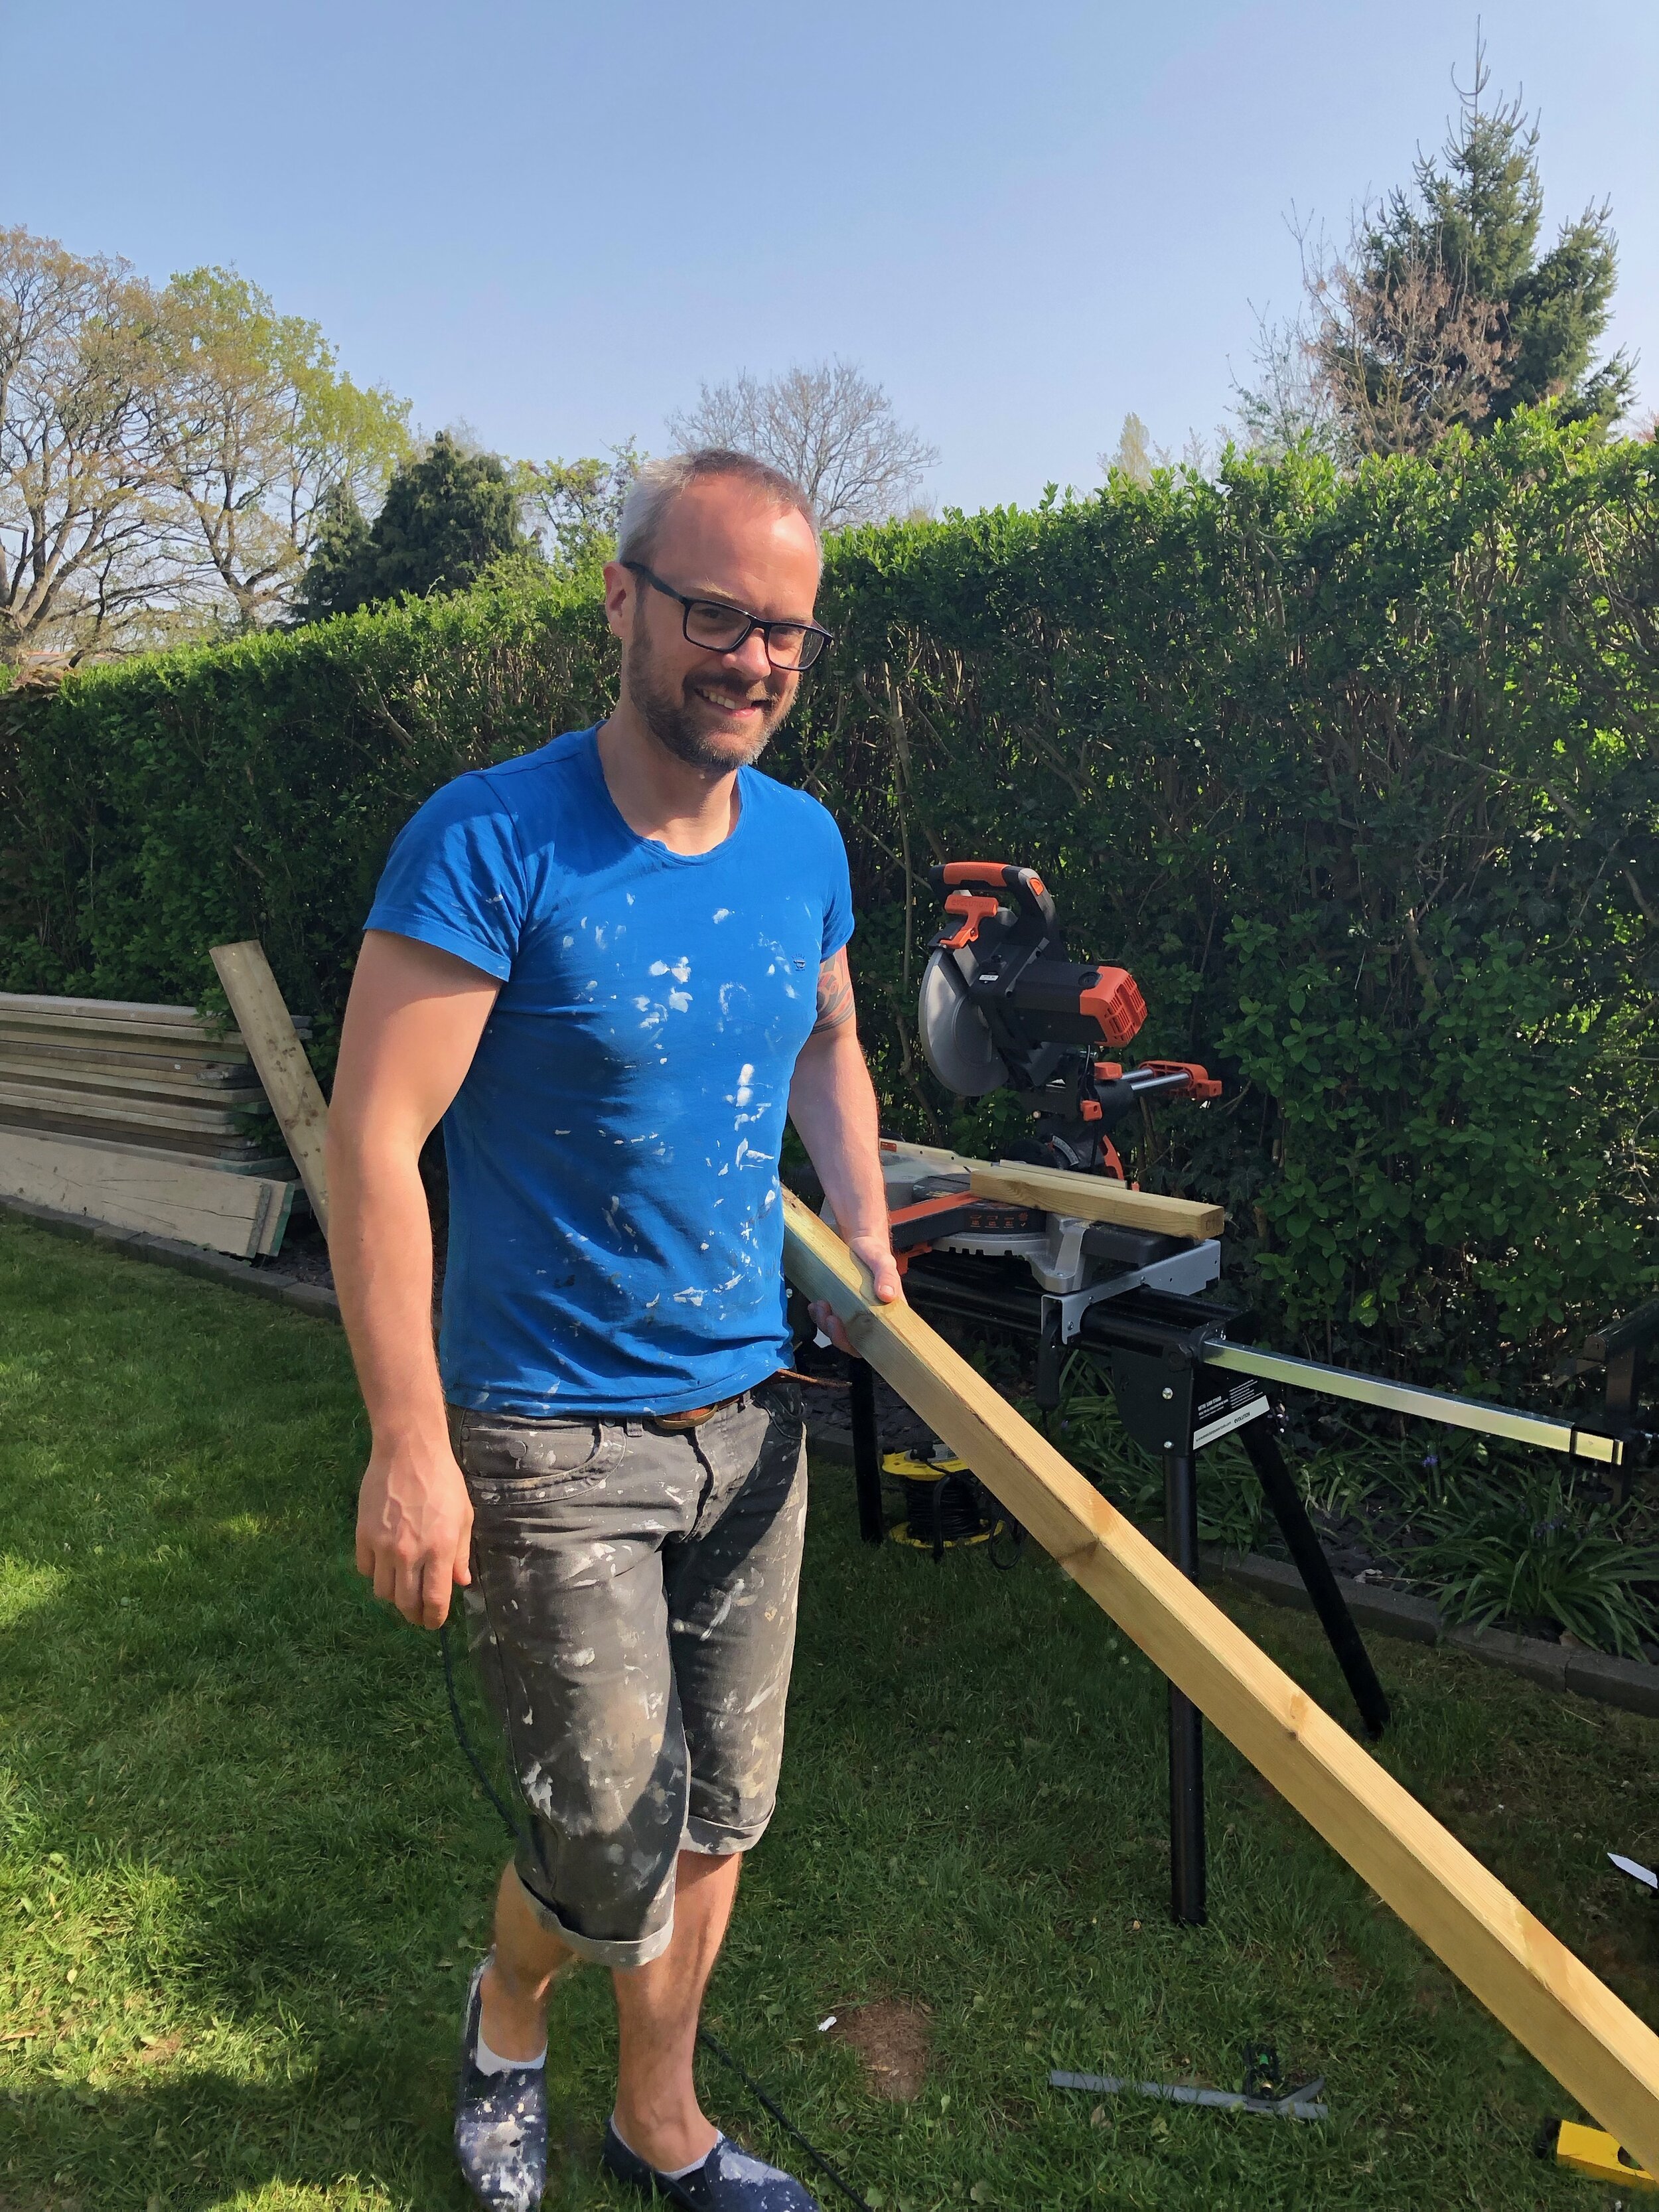
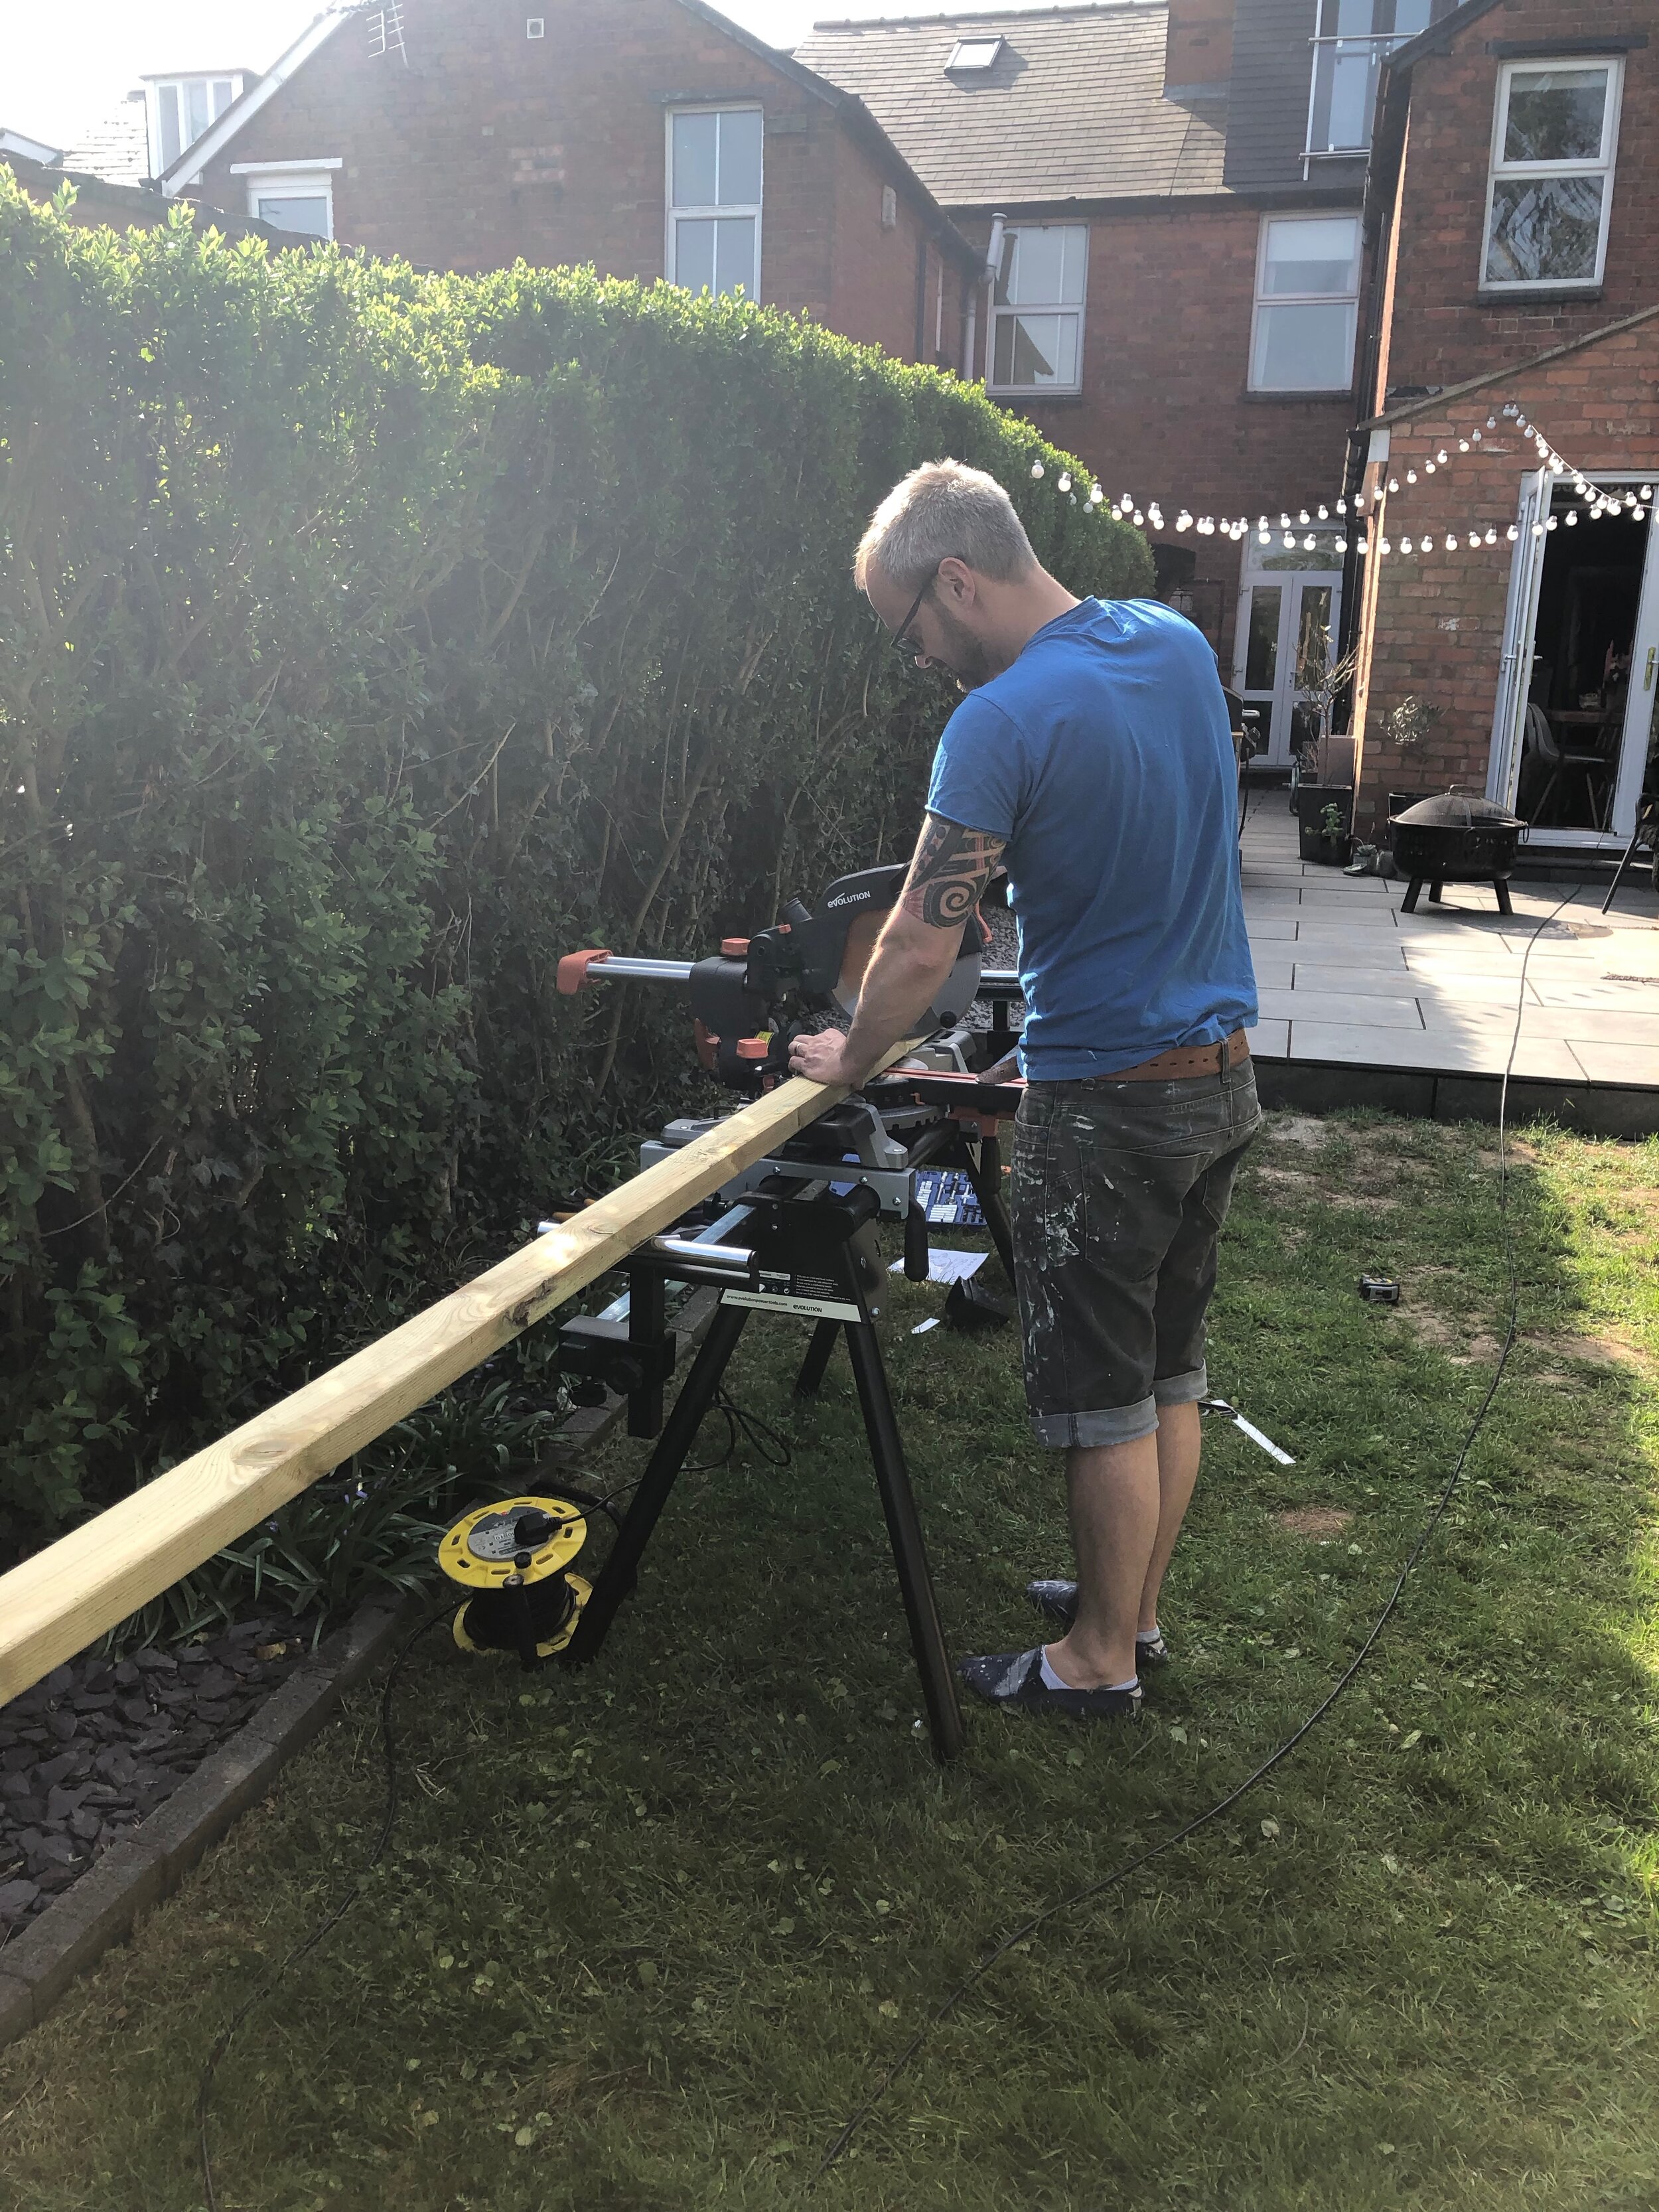
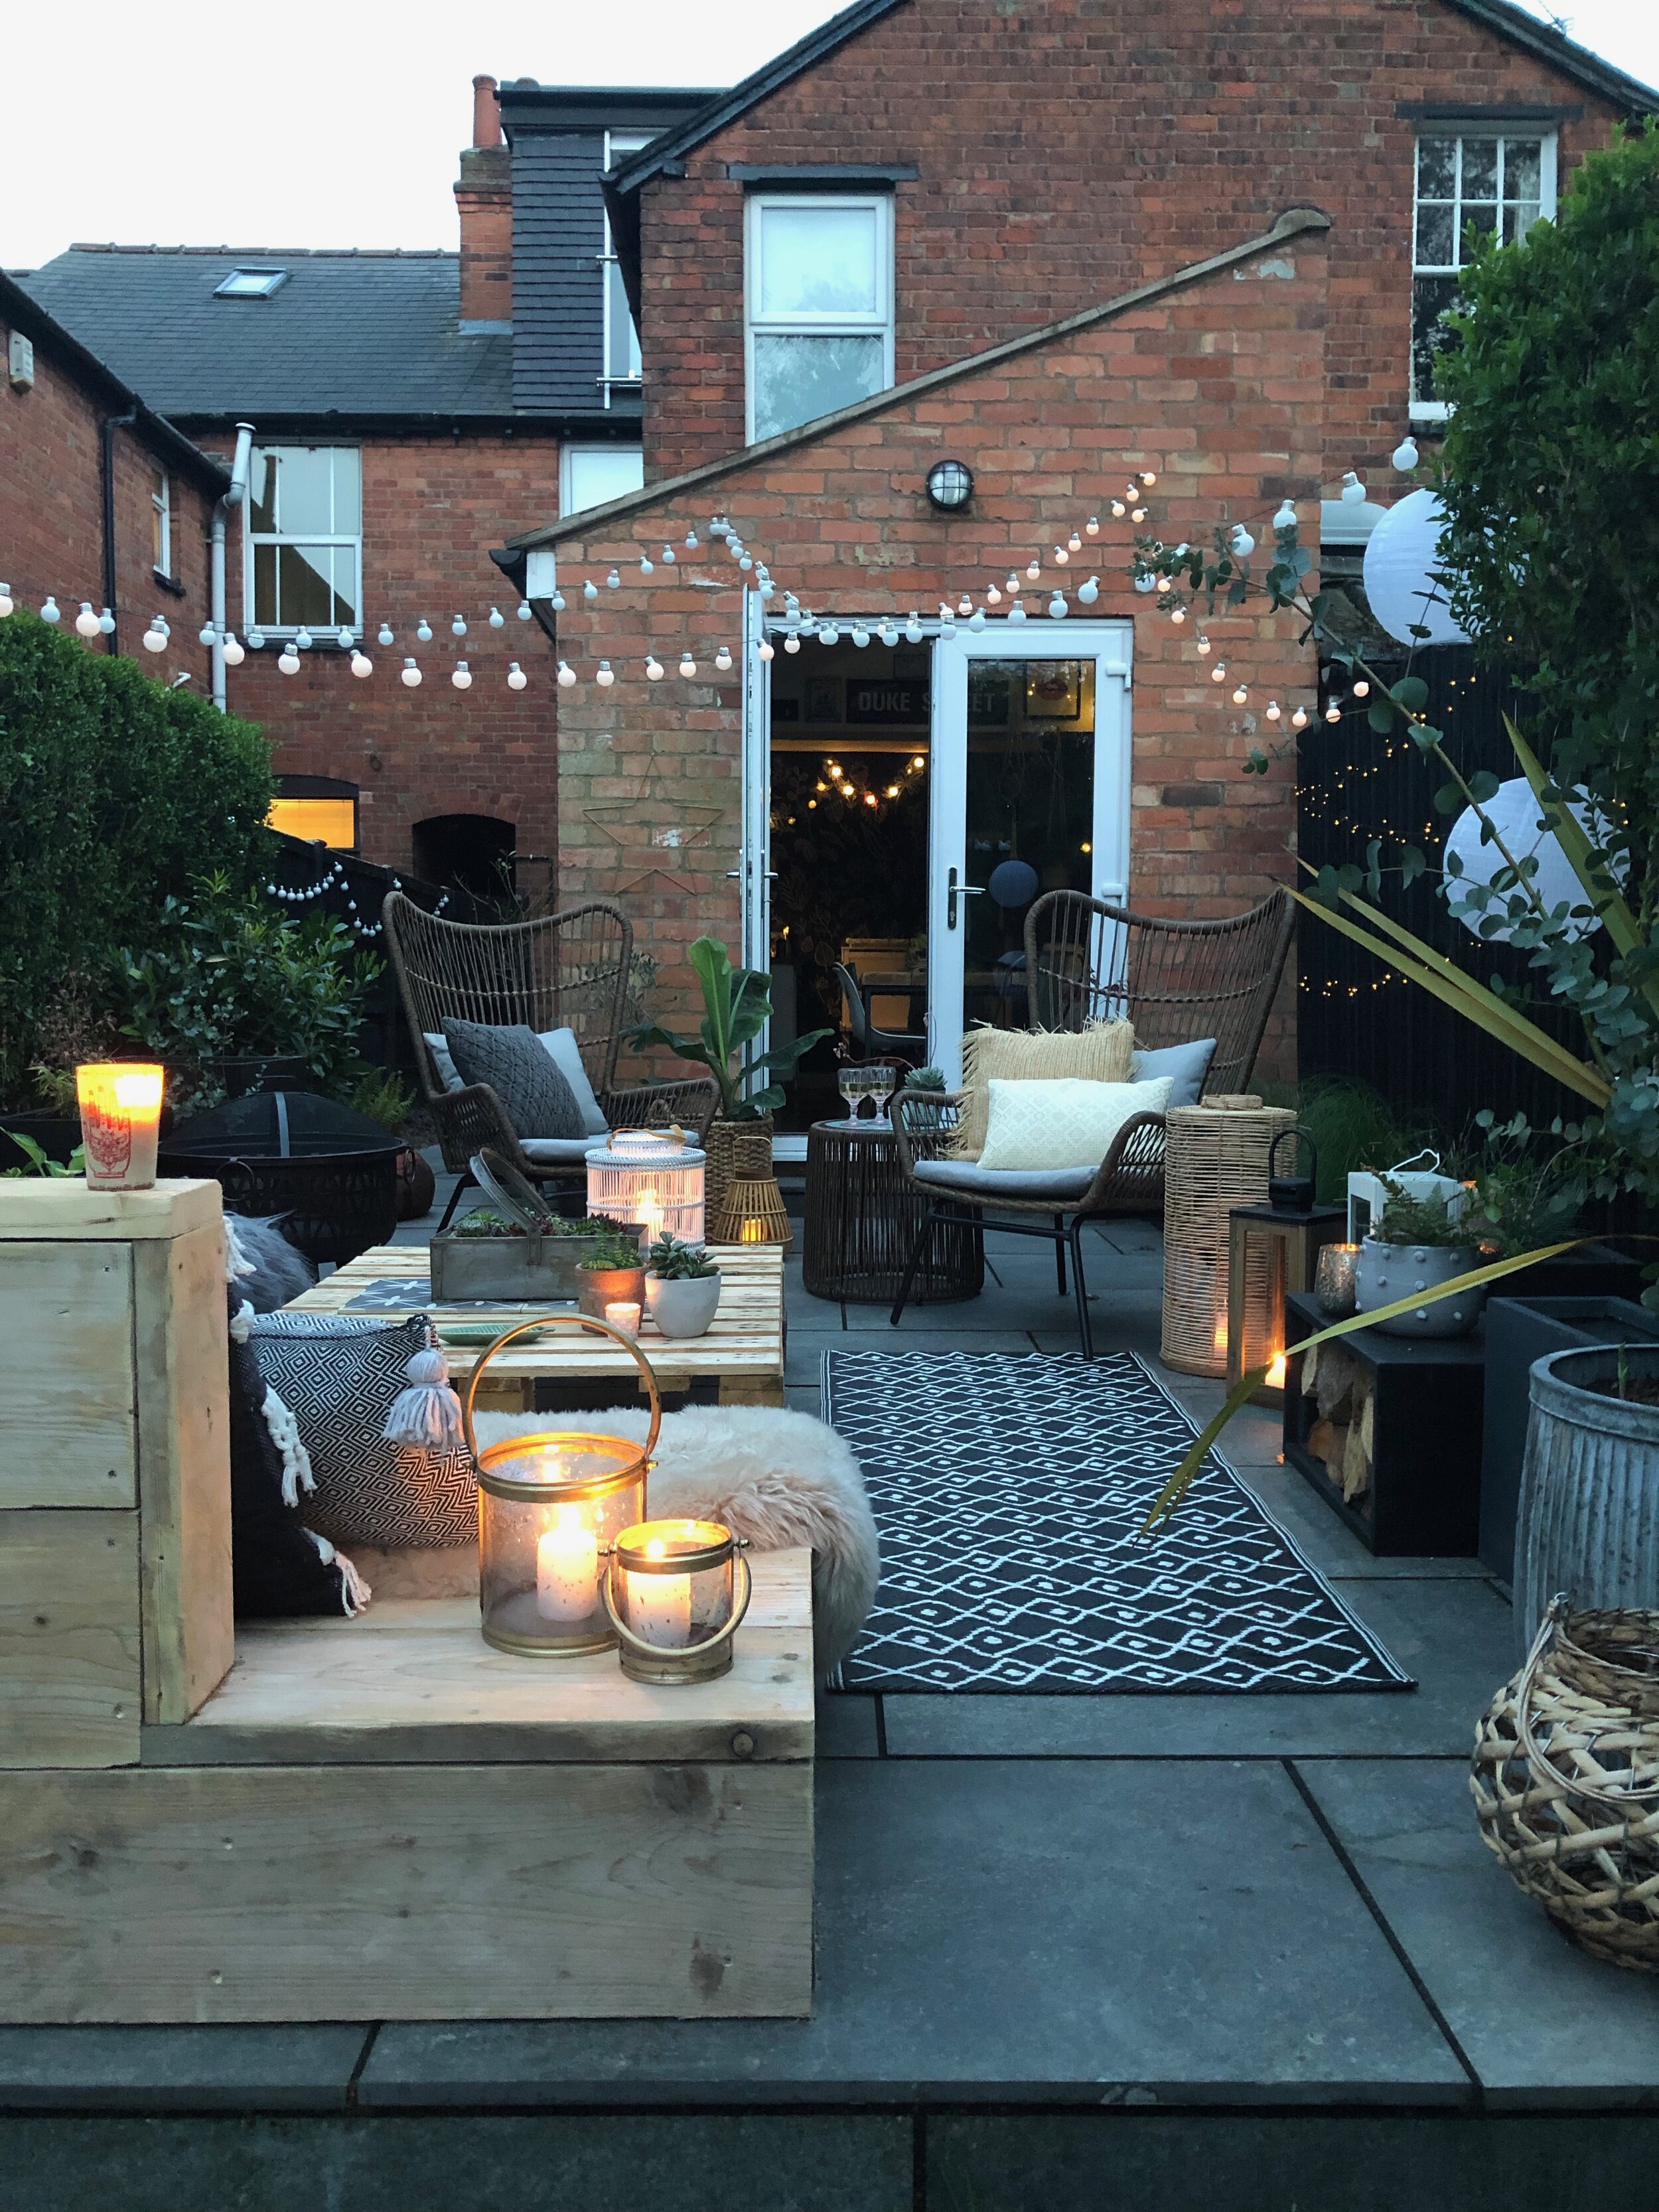
My most asked question on Instagram after ‘What happens when it rains?’ Or ‘Where do you put your cushions?’ Is how did you build you sofa? so here it is, in mostly picture form because we literally had no plan or clue really what we were doing when we built this! We just looked at a lot of images of similar ones on Pinterest, drew lots of sketches and then with some handy DIY skills on Mr G’s side we totally winged it!
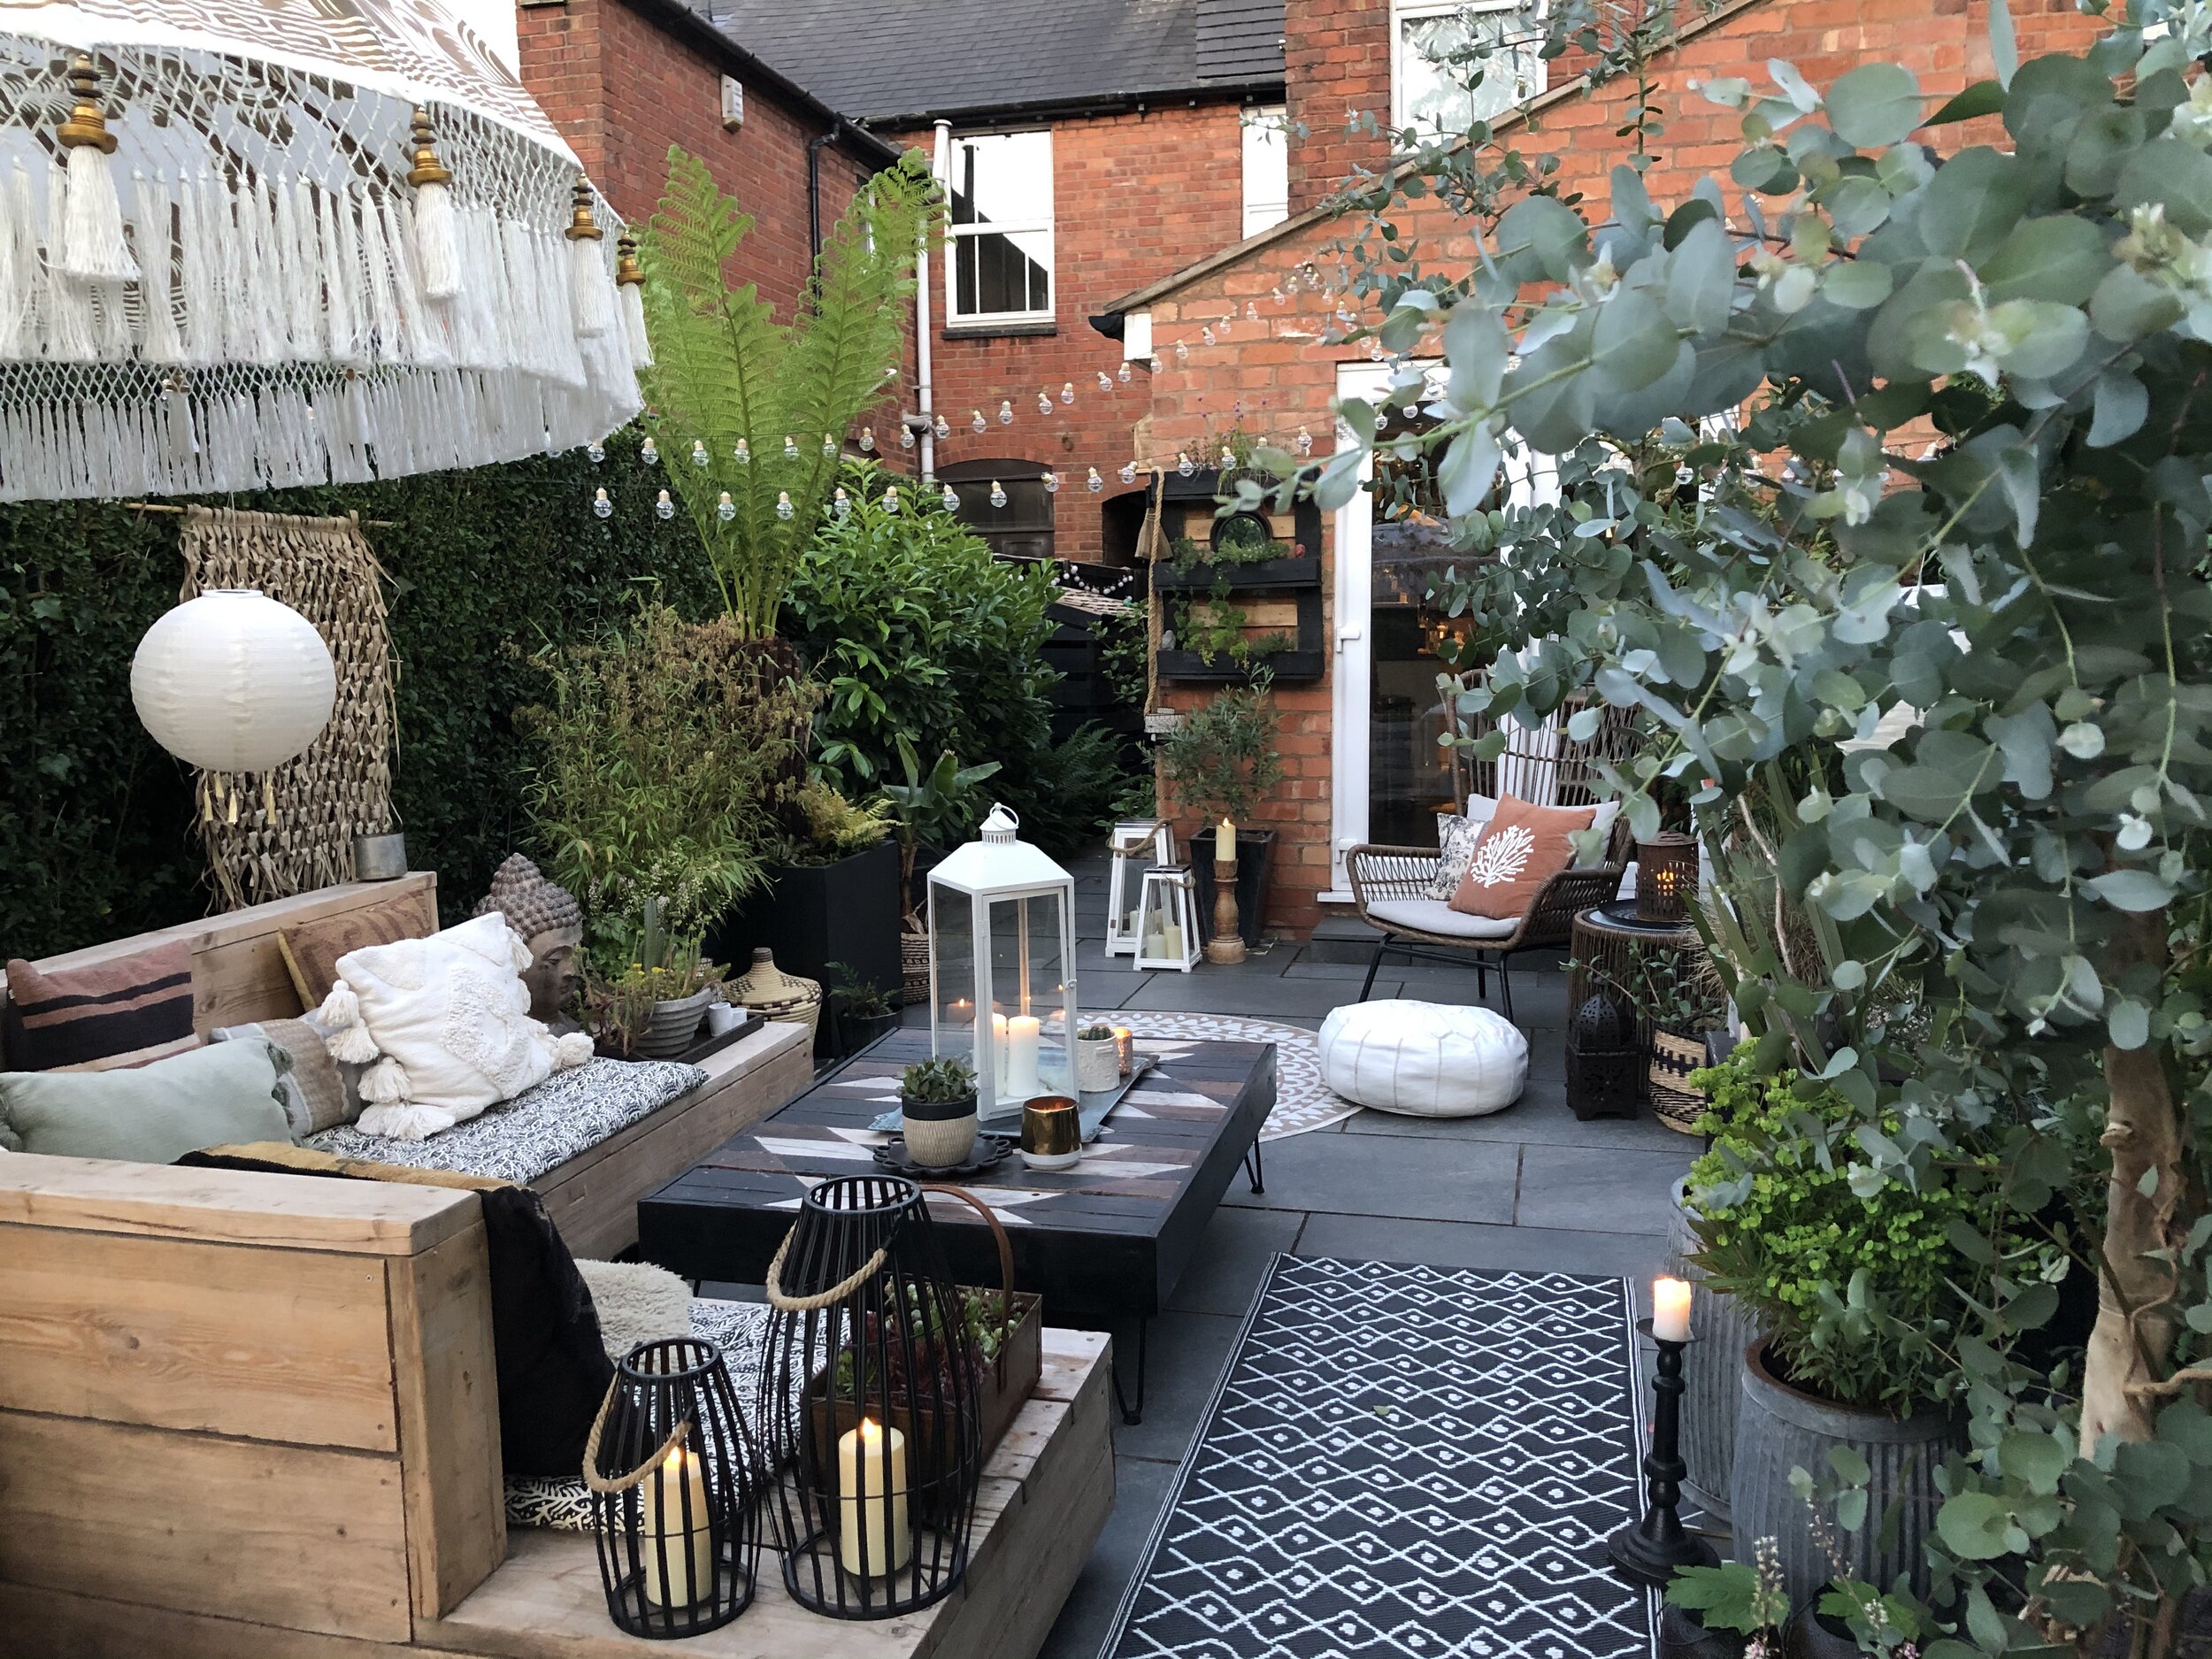
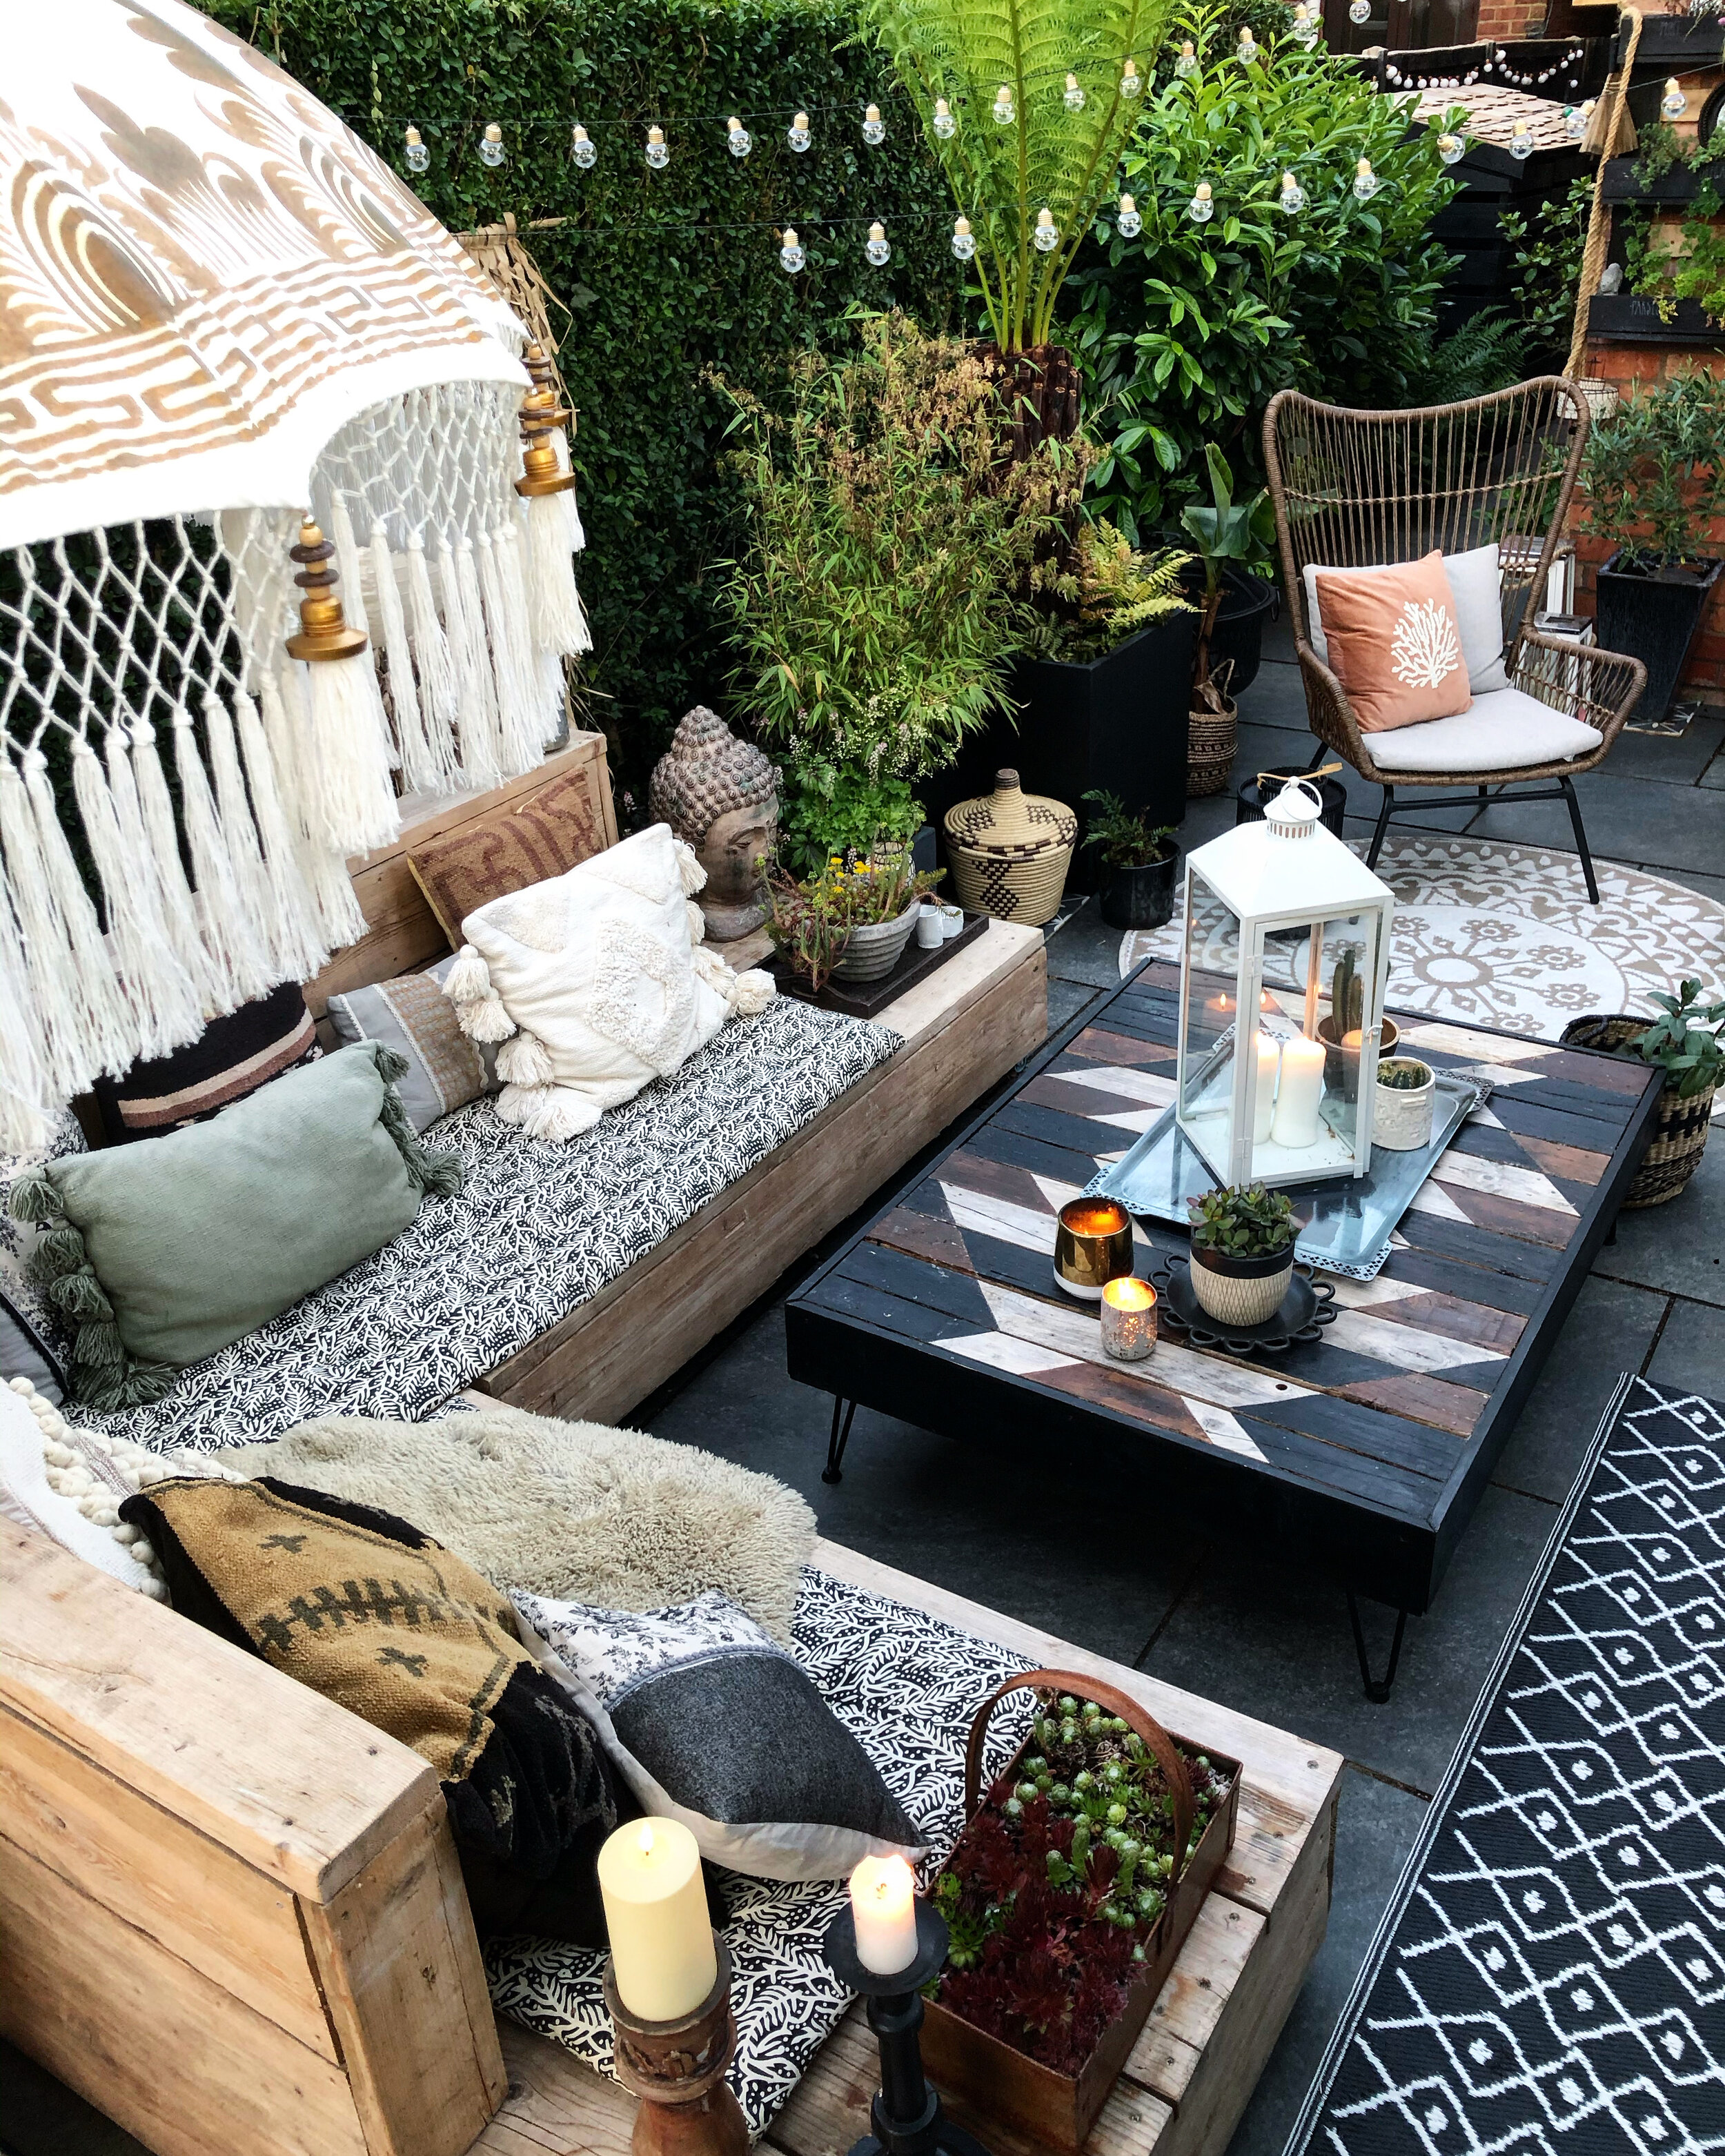
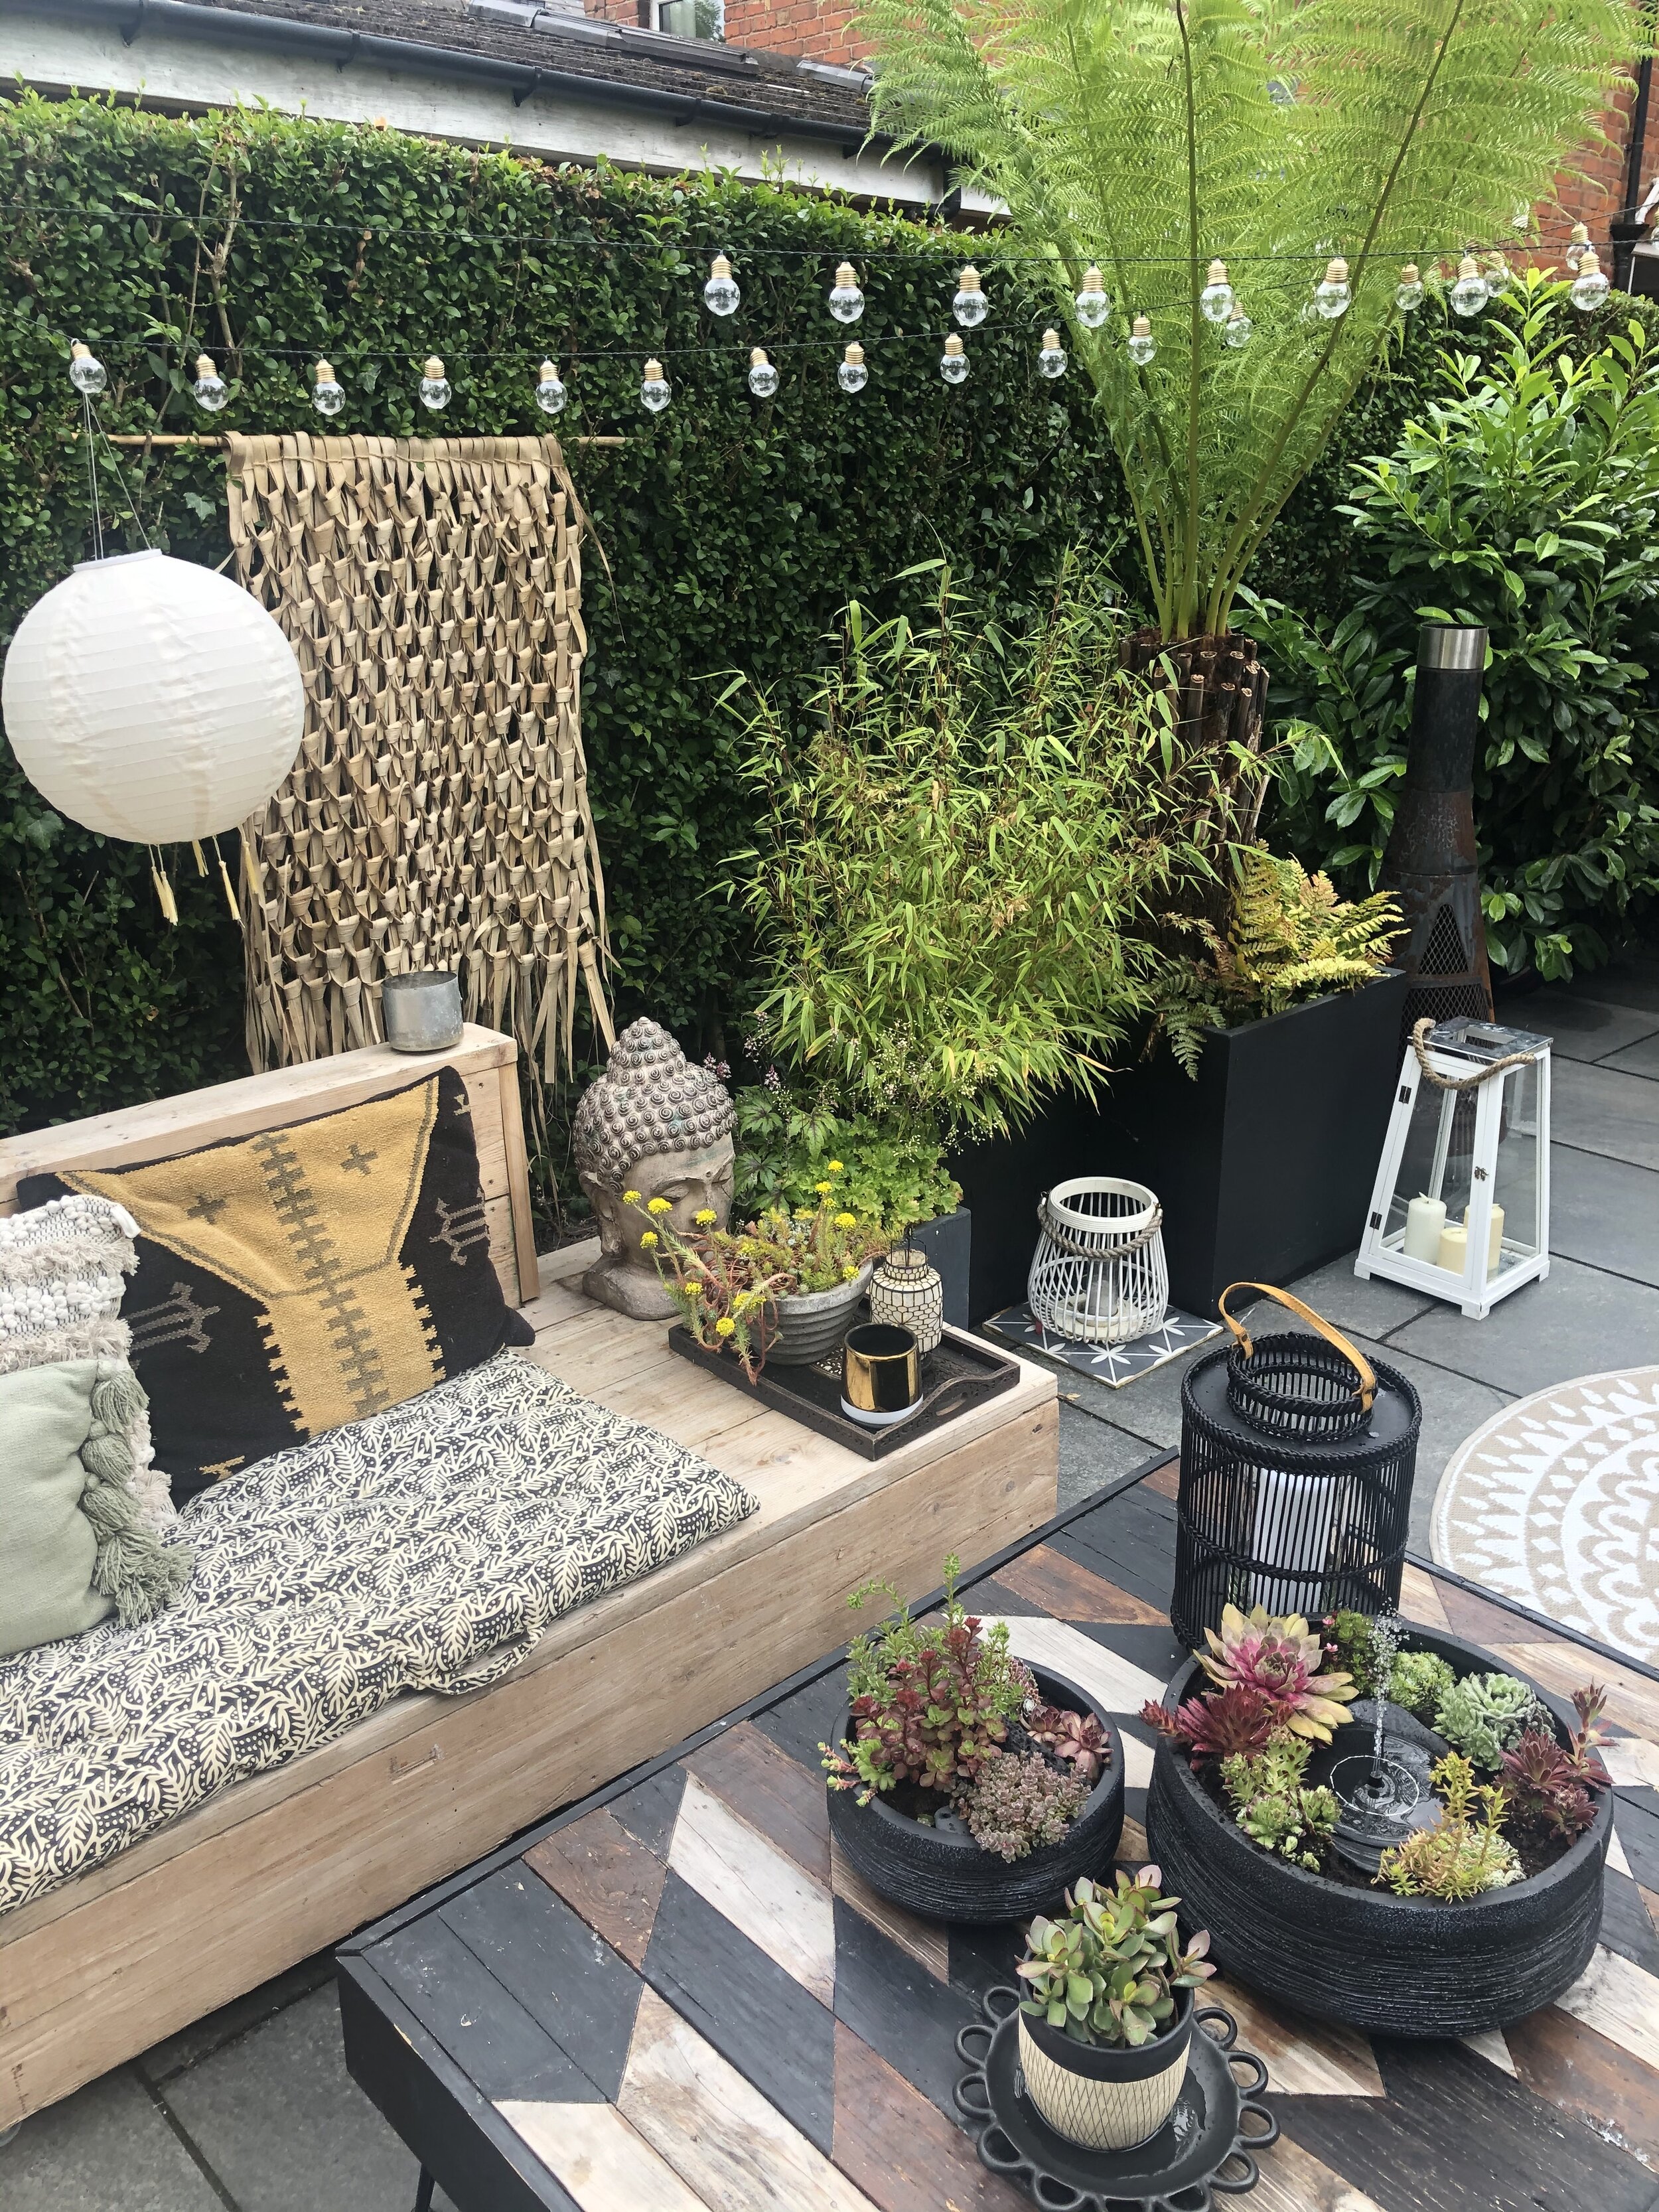
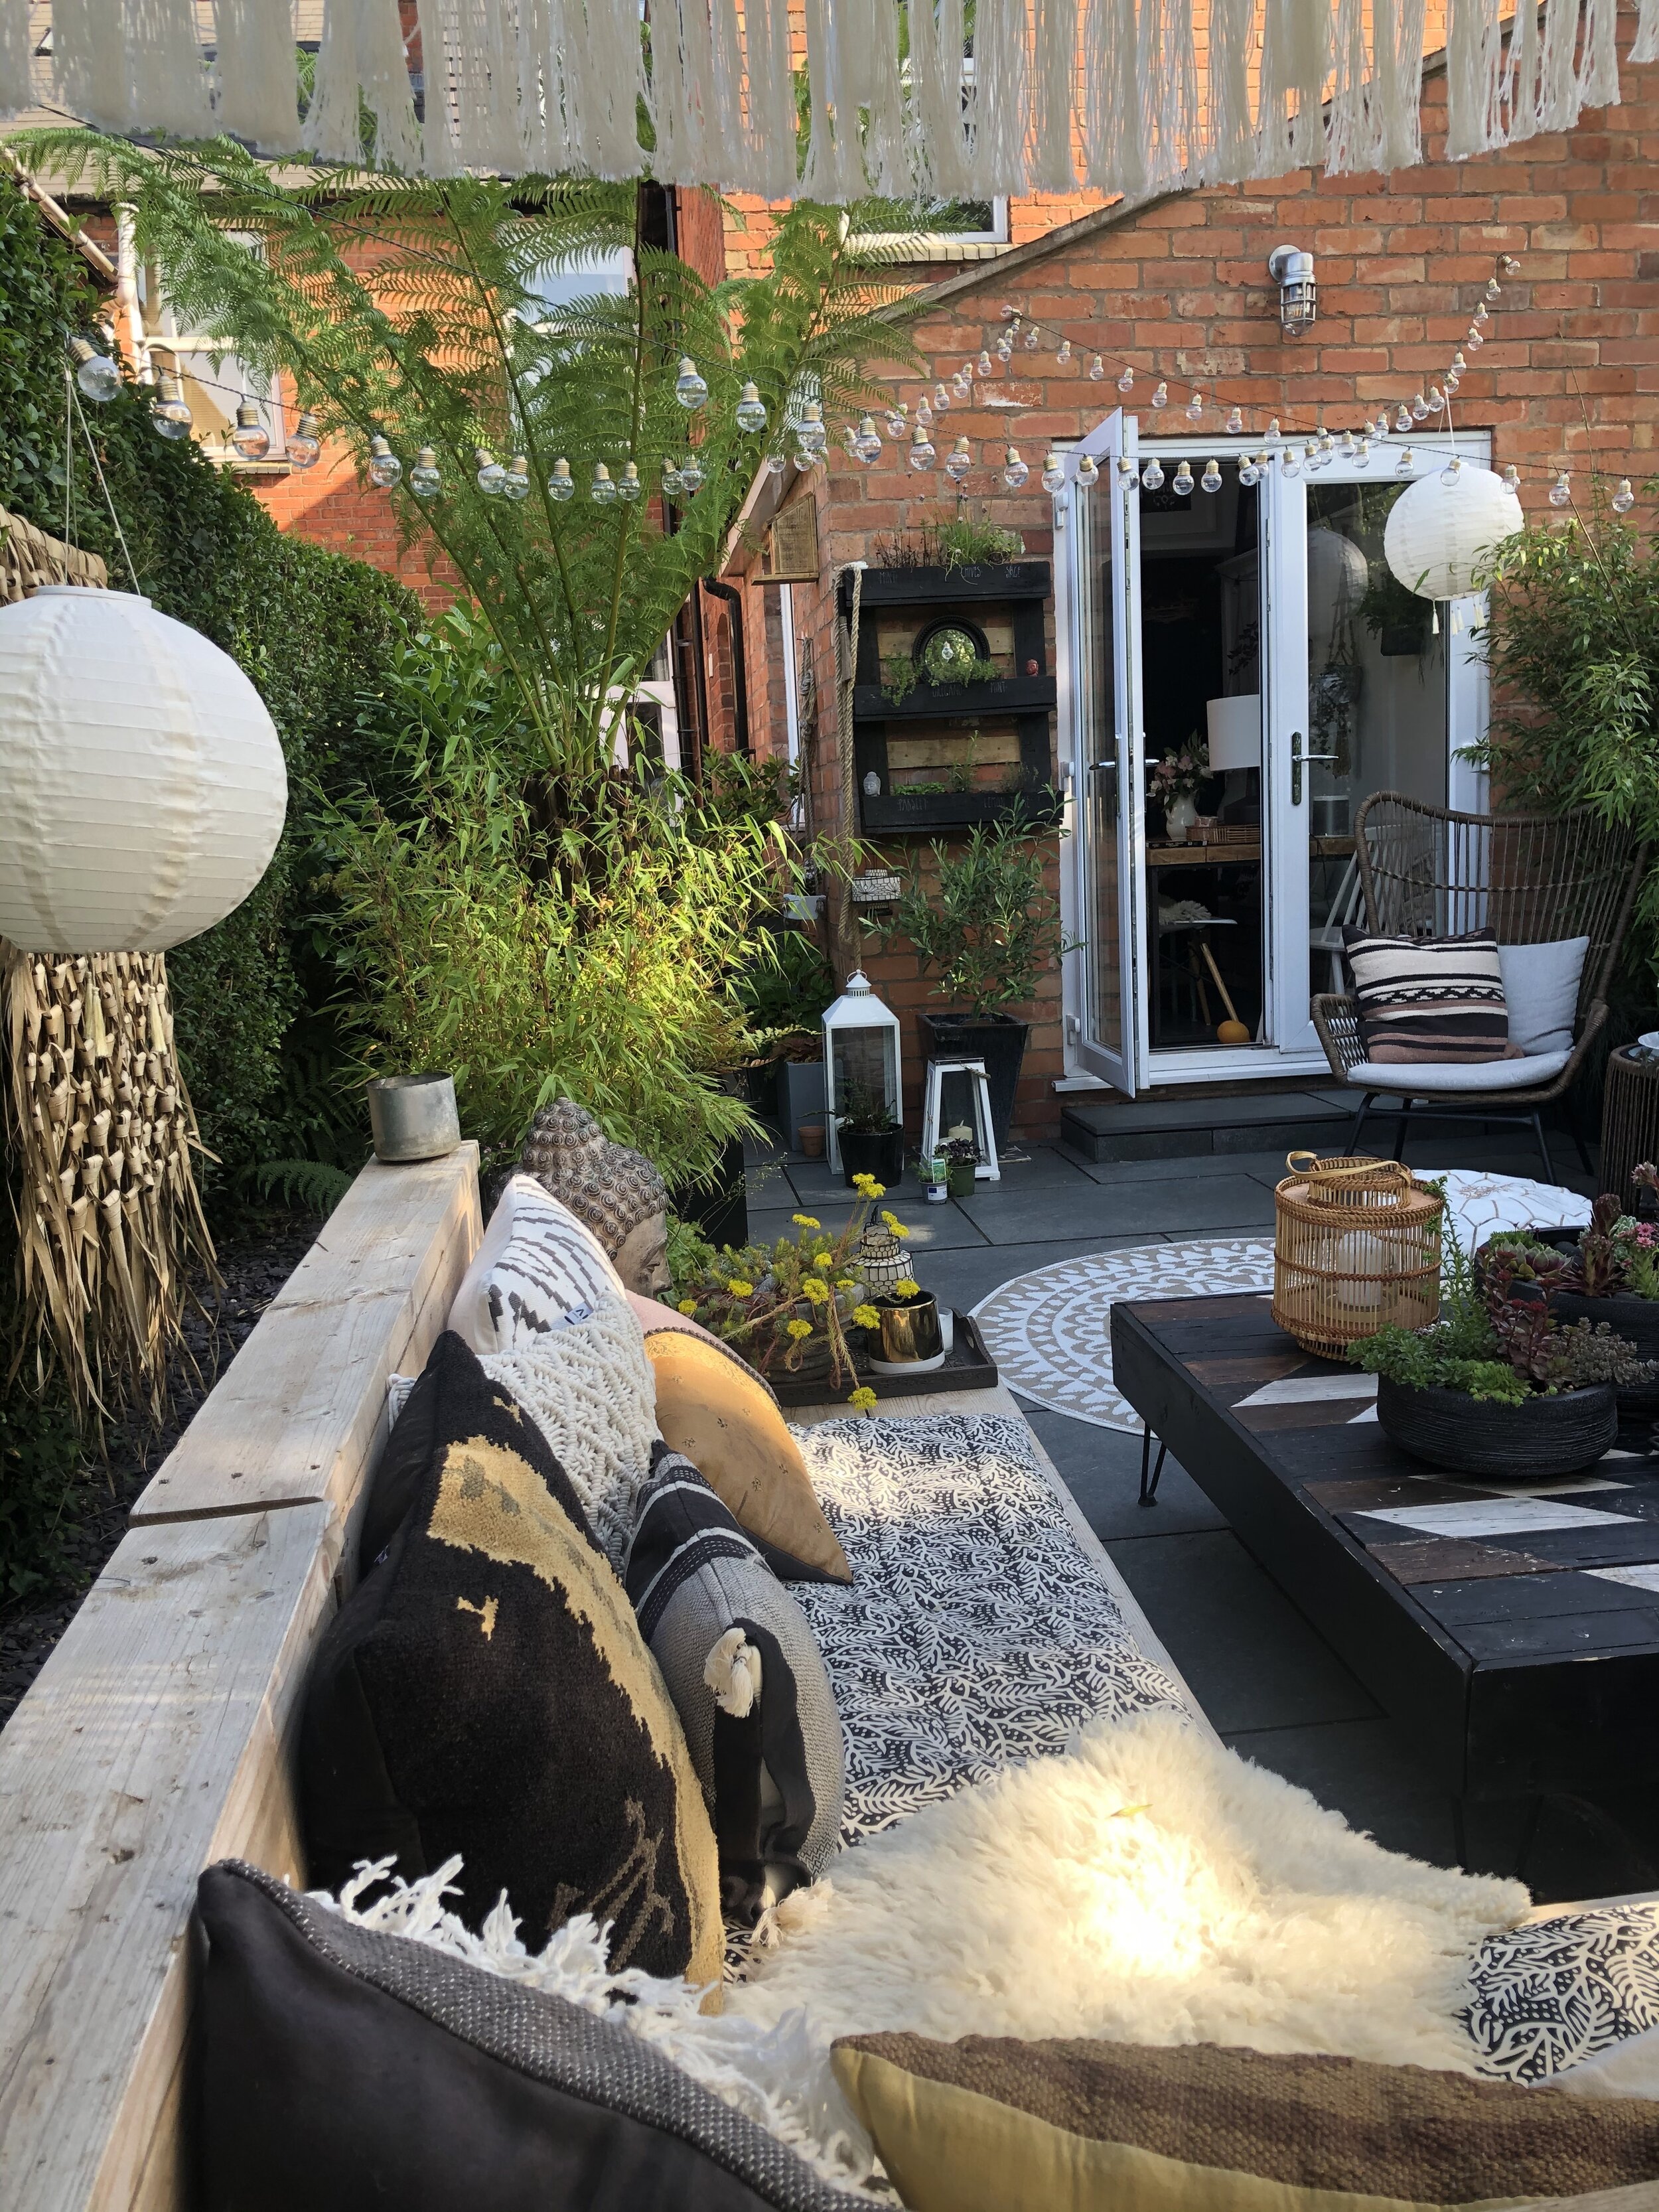
I knew when we planned this part of our garden I wanted an outdoor living space and that the whole area would be based around a fabulous L shaped sofa. I’d seen similar ones on Pinterest and on Instagram and knew clever Mr G with his DIY skills would step up to the challenge!
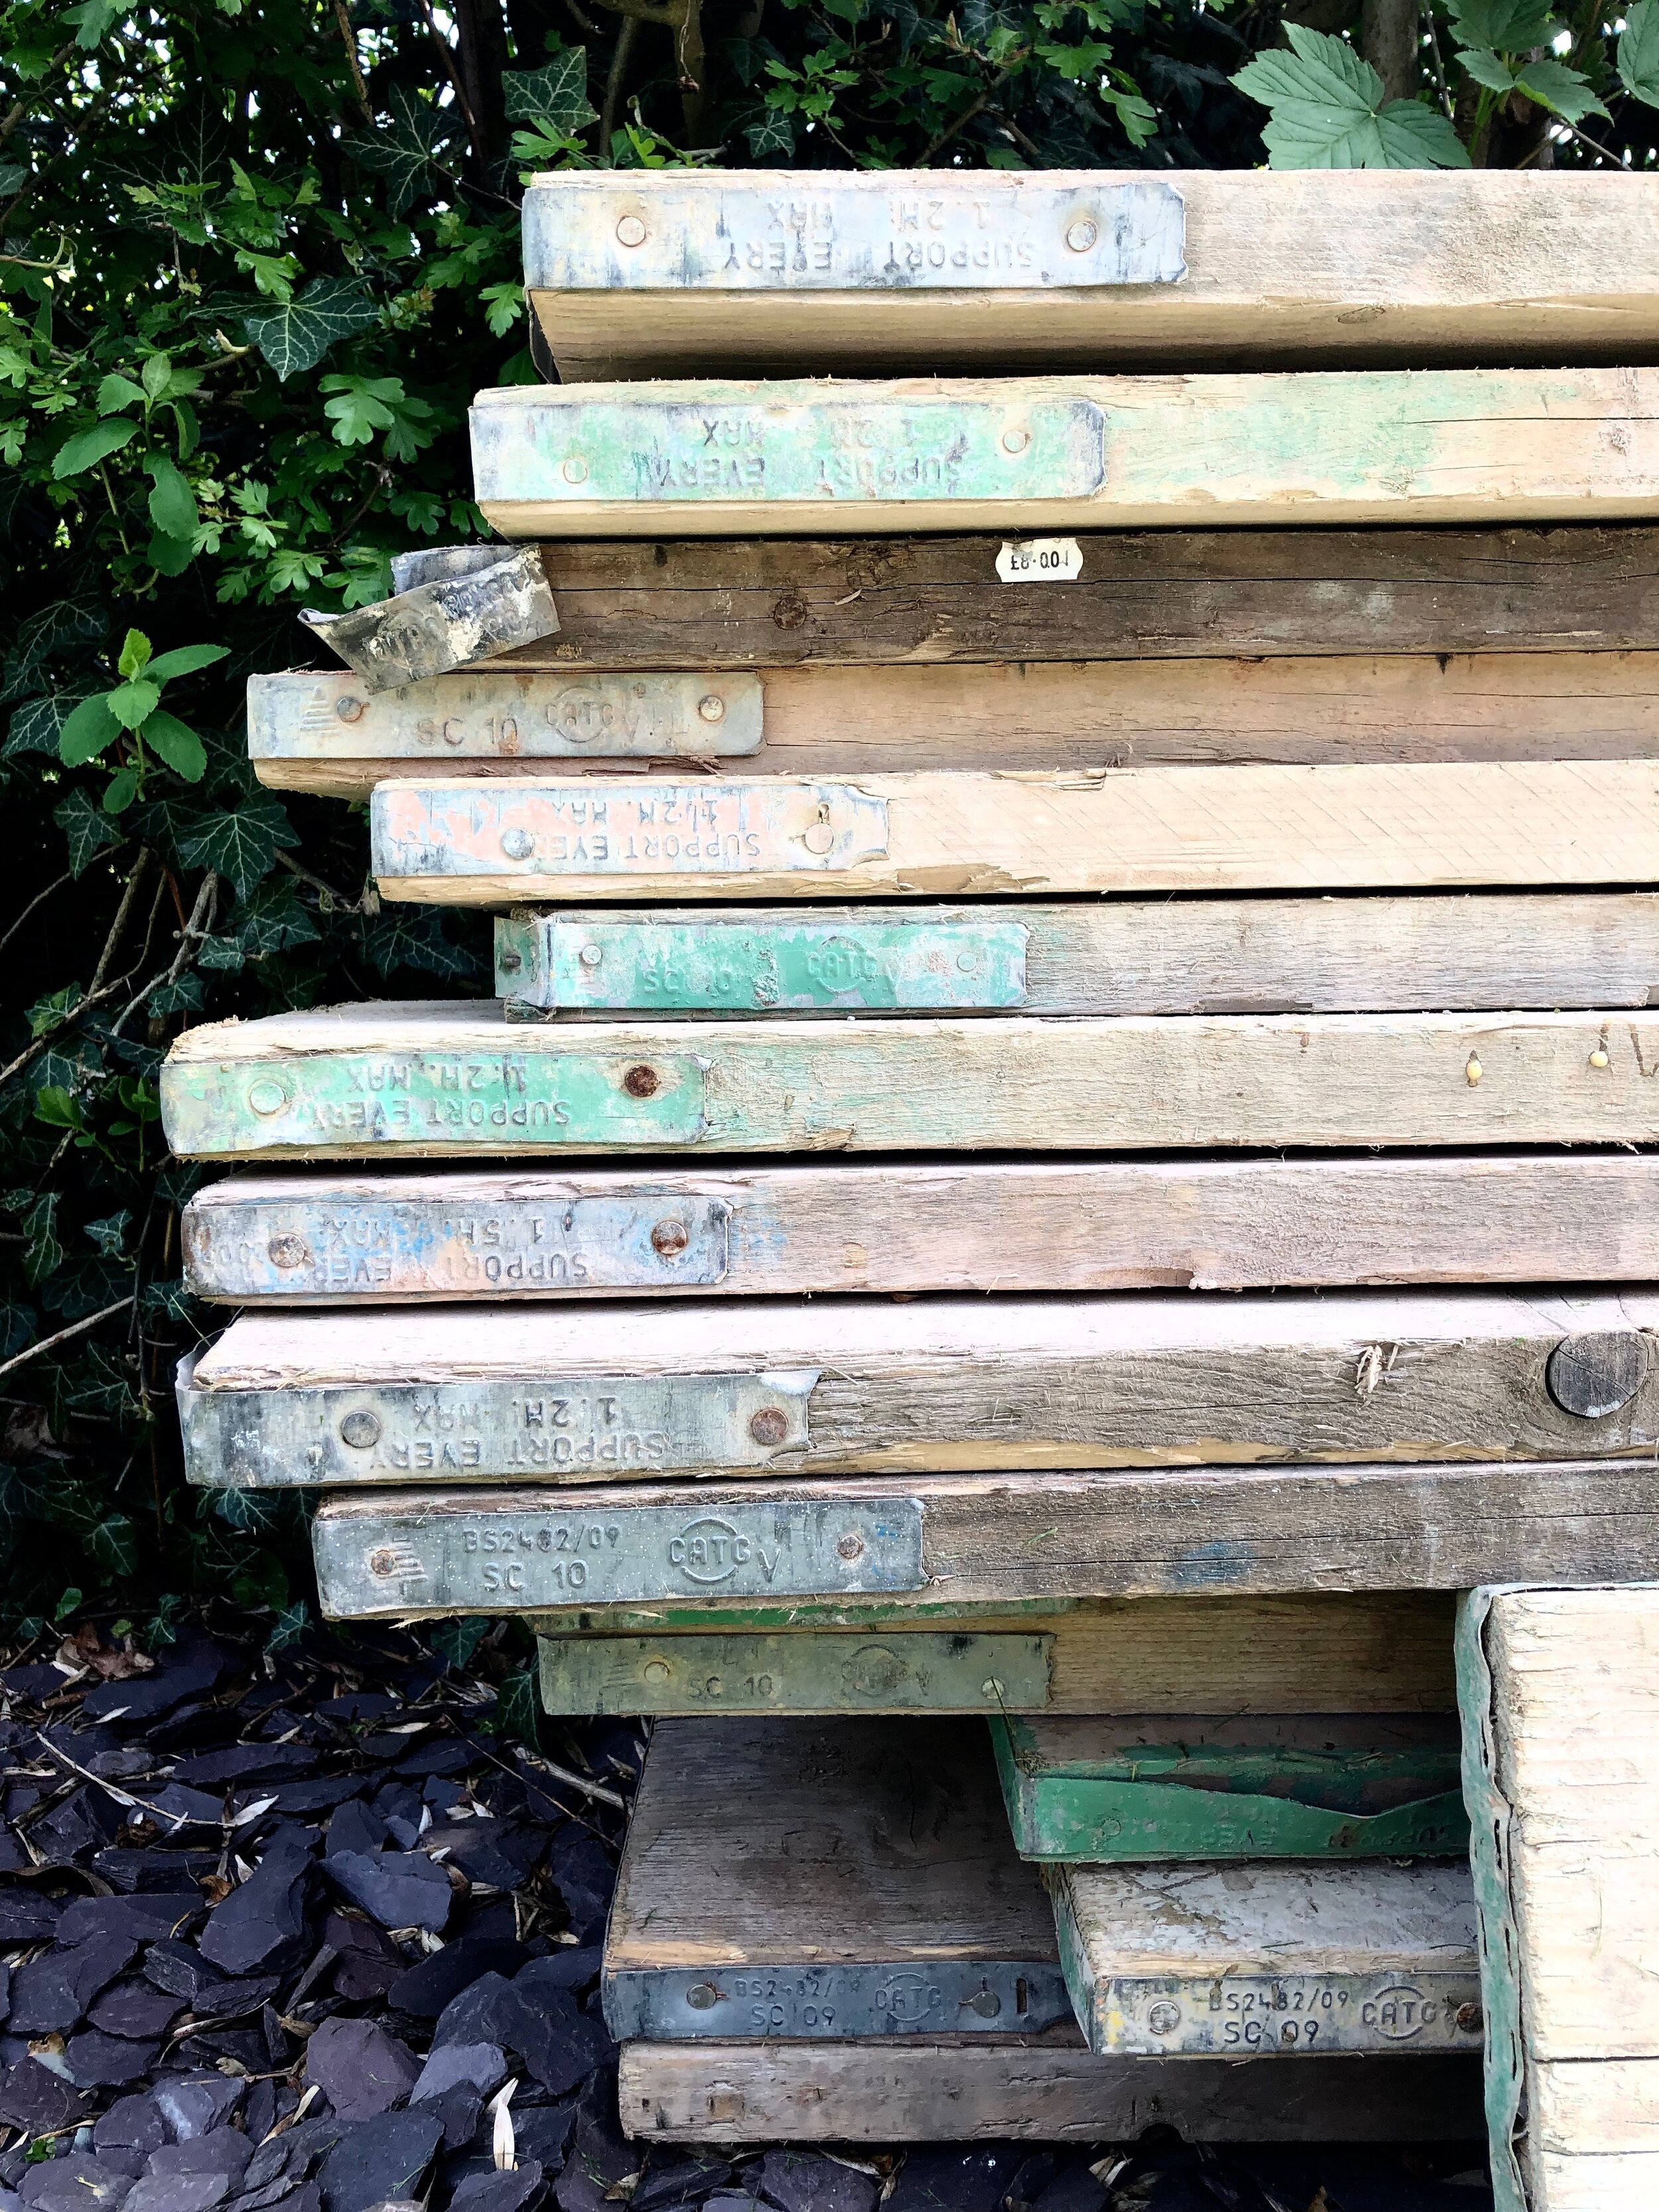
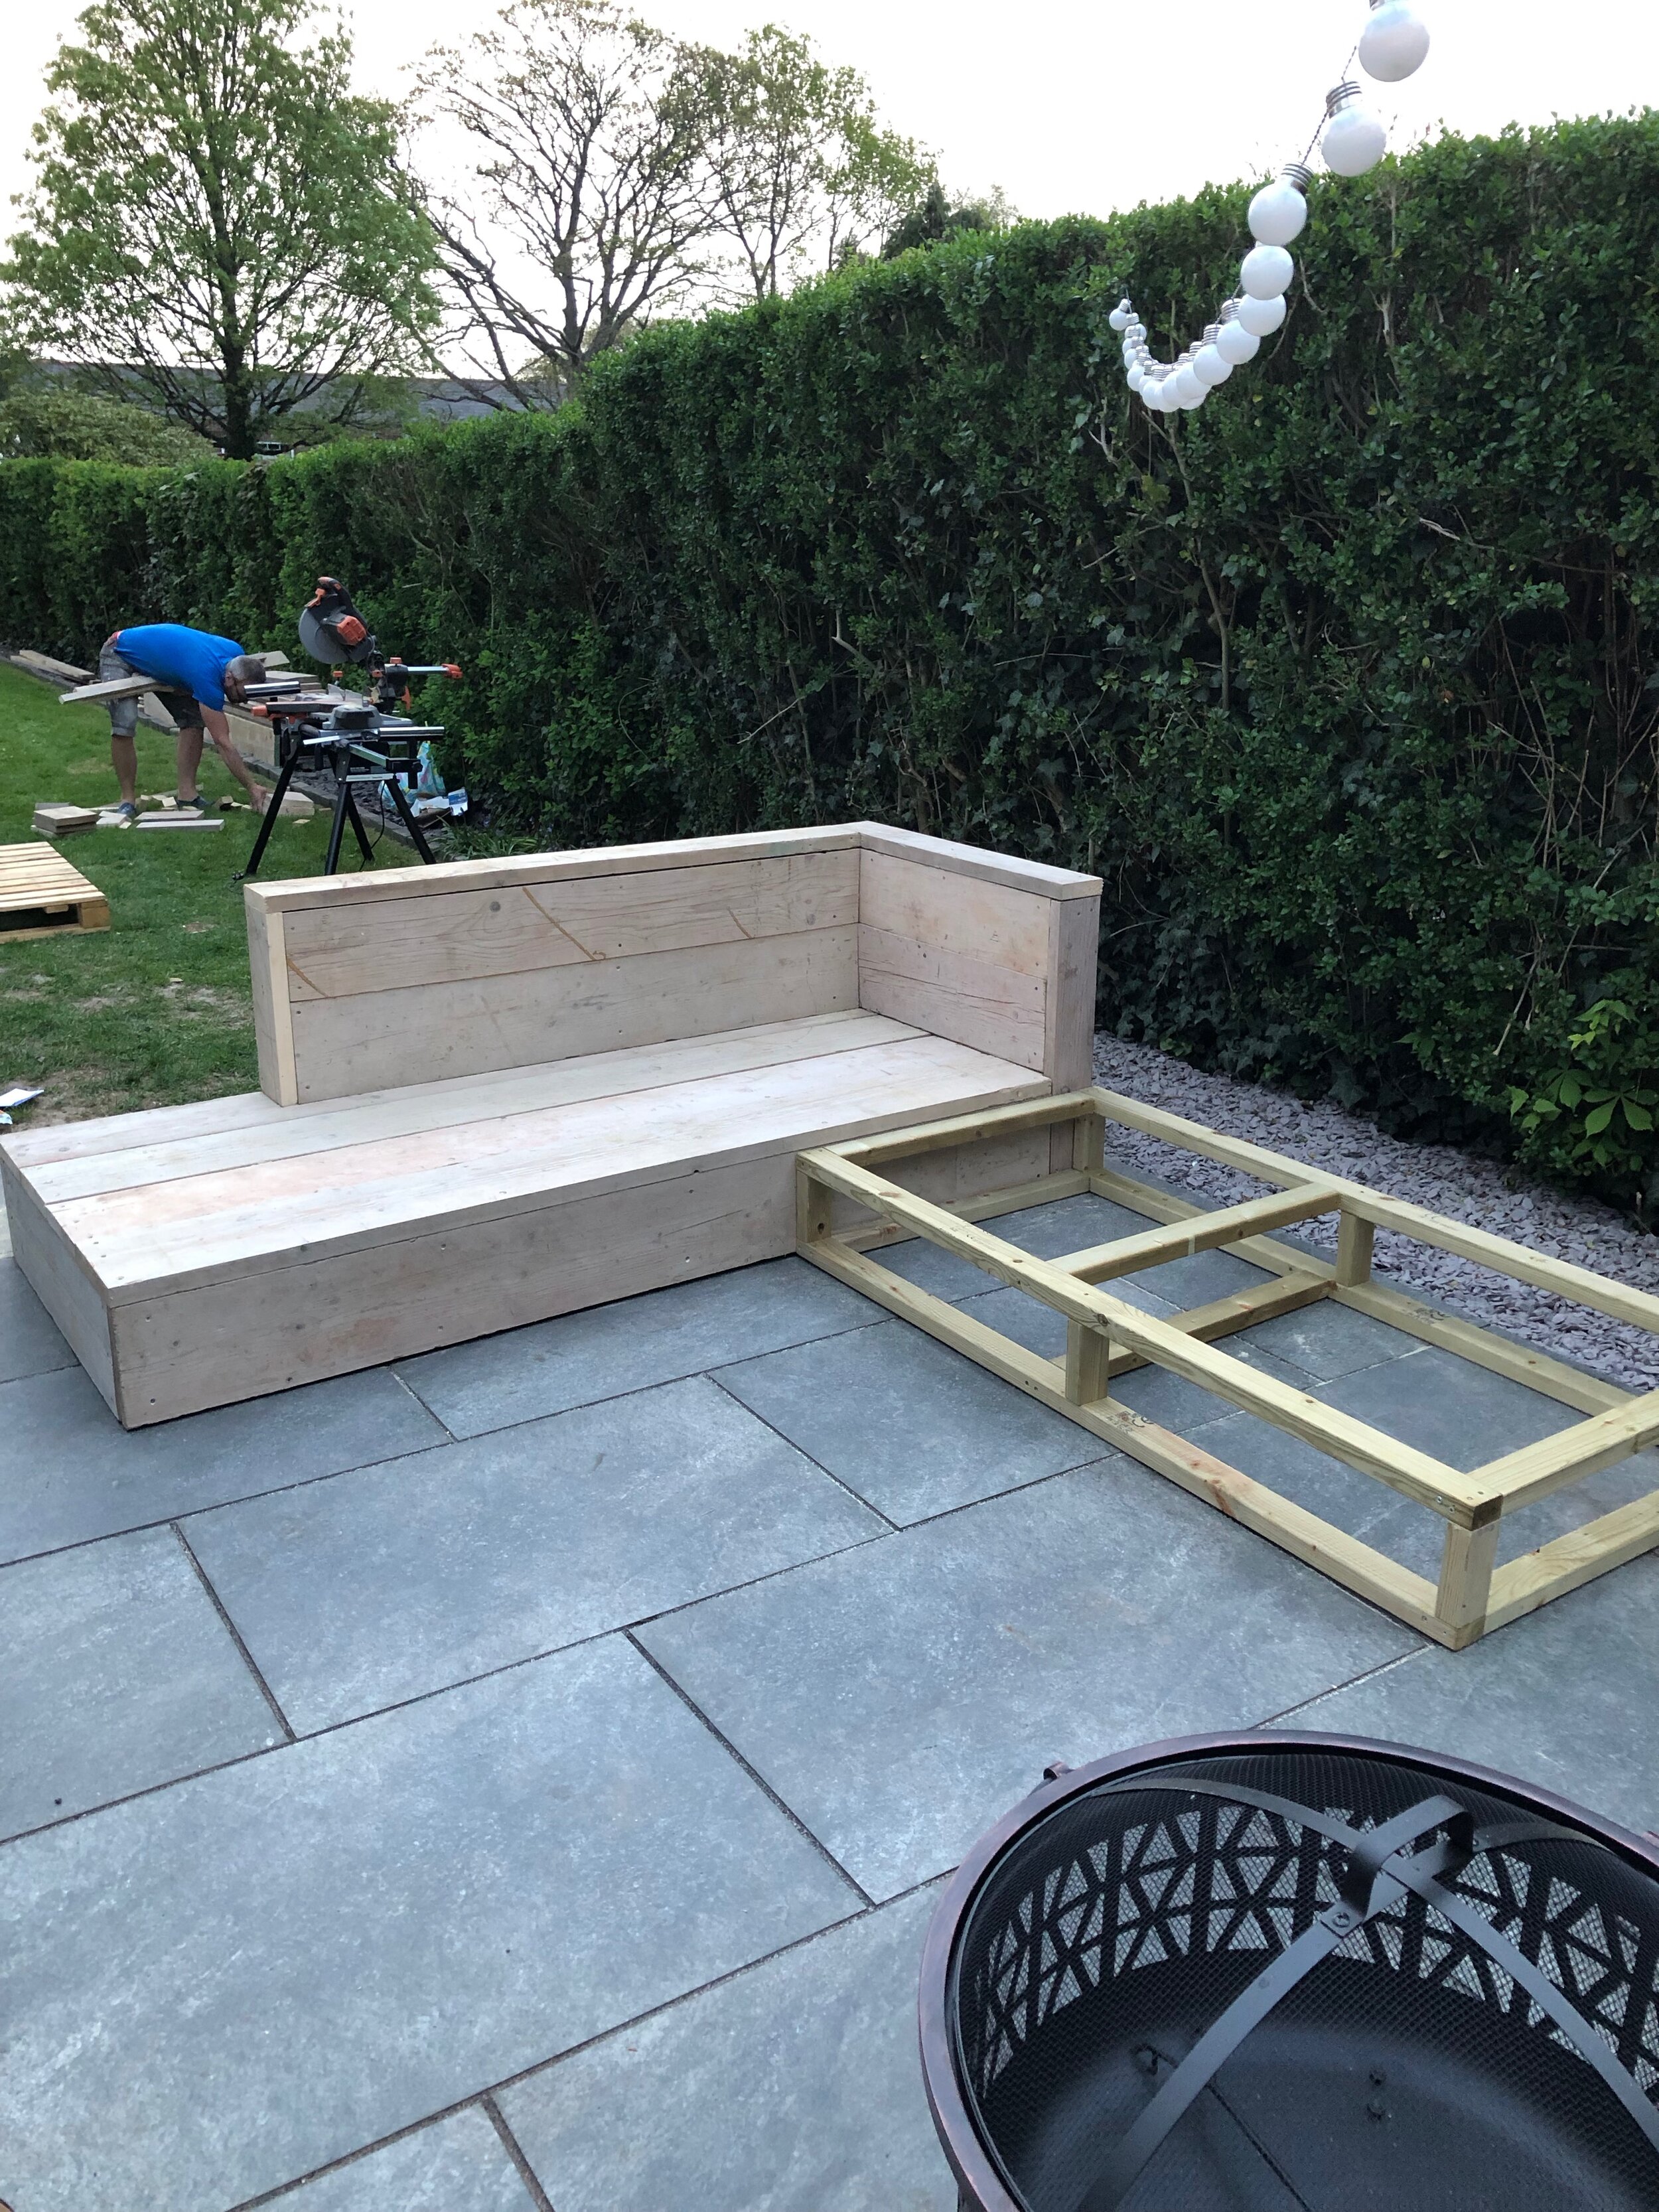
We used reclaimed scaffold boards as not only are they cheaper (about £10 each) but are also obviously more sustainable and have a much nicer patina and aged vintage look. First of all you’ll need to give your boards a really good sand down as they’ll be covered in dirt and cement if you’re using reclaimed ones. We removed the metal end pieces as well as obviously they could be a hazard on a piece of furniture, though they look great left on if you’re building shelves with your scaffold boards.
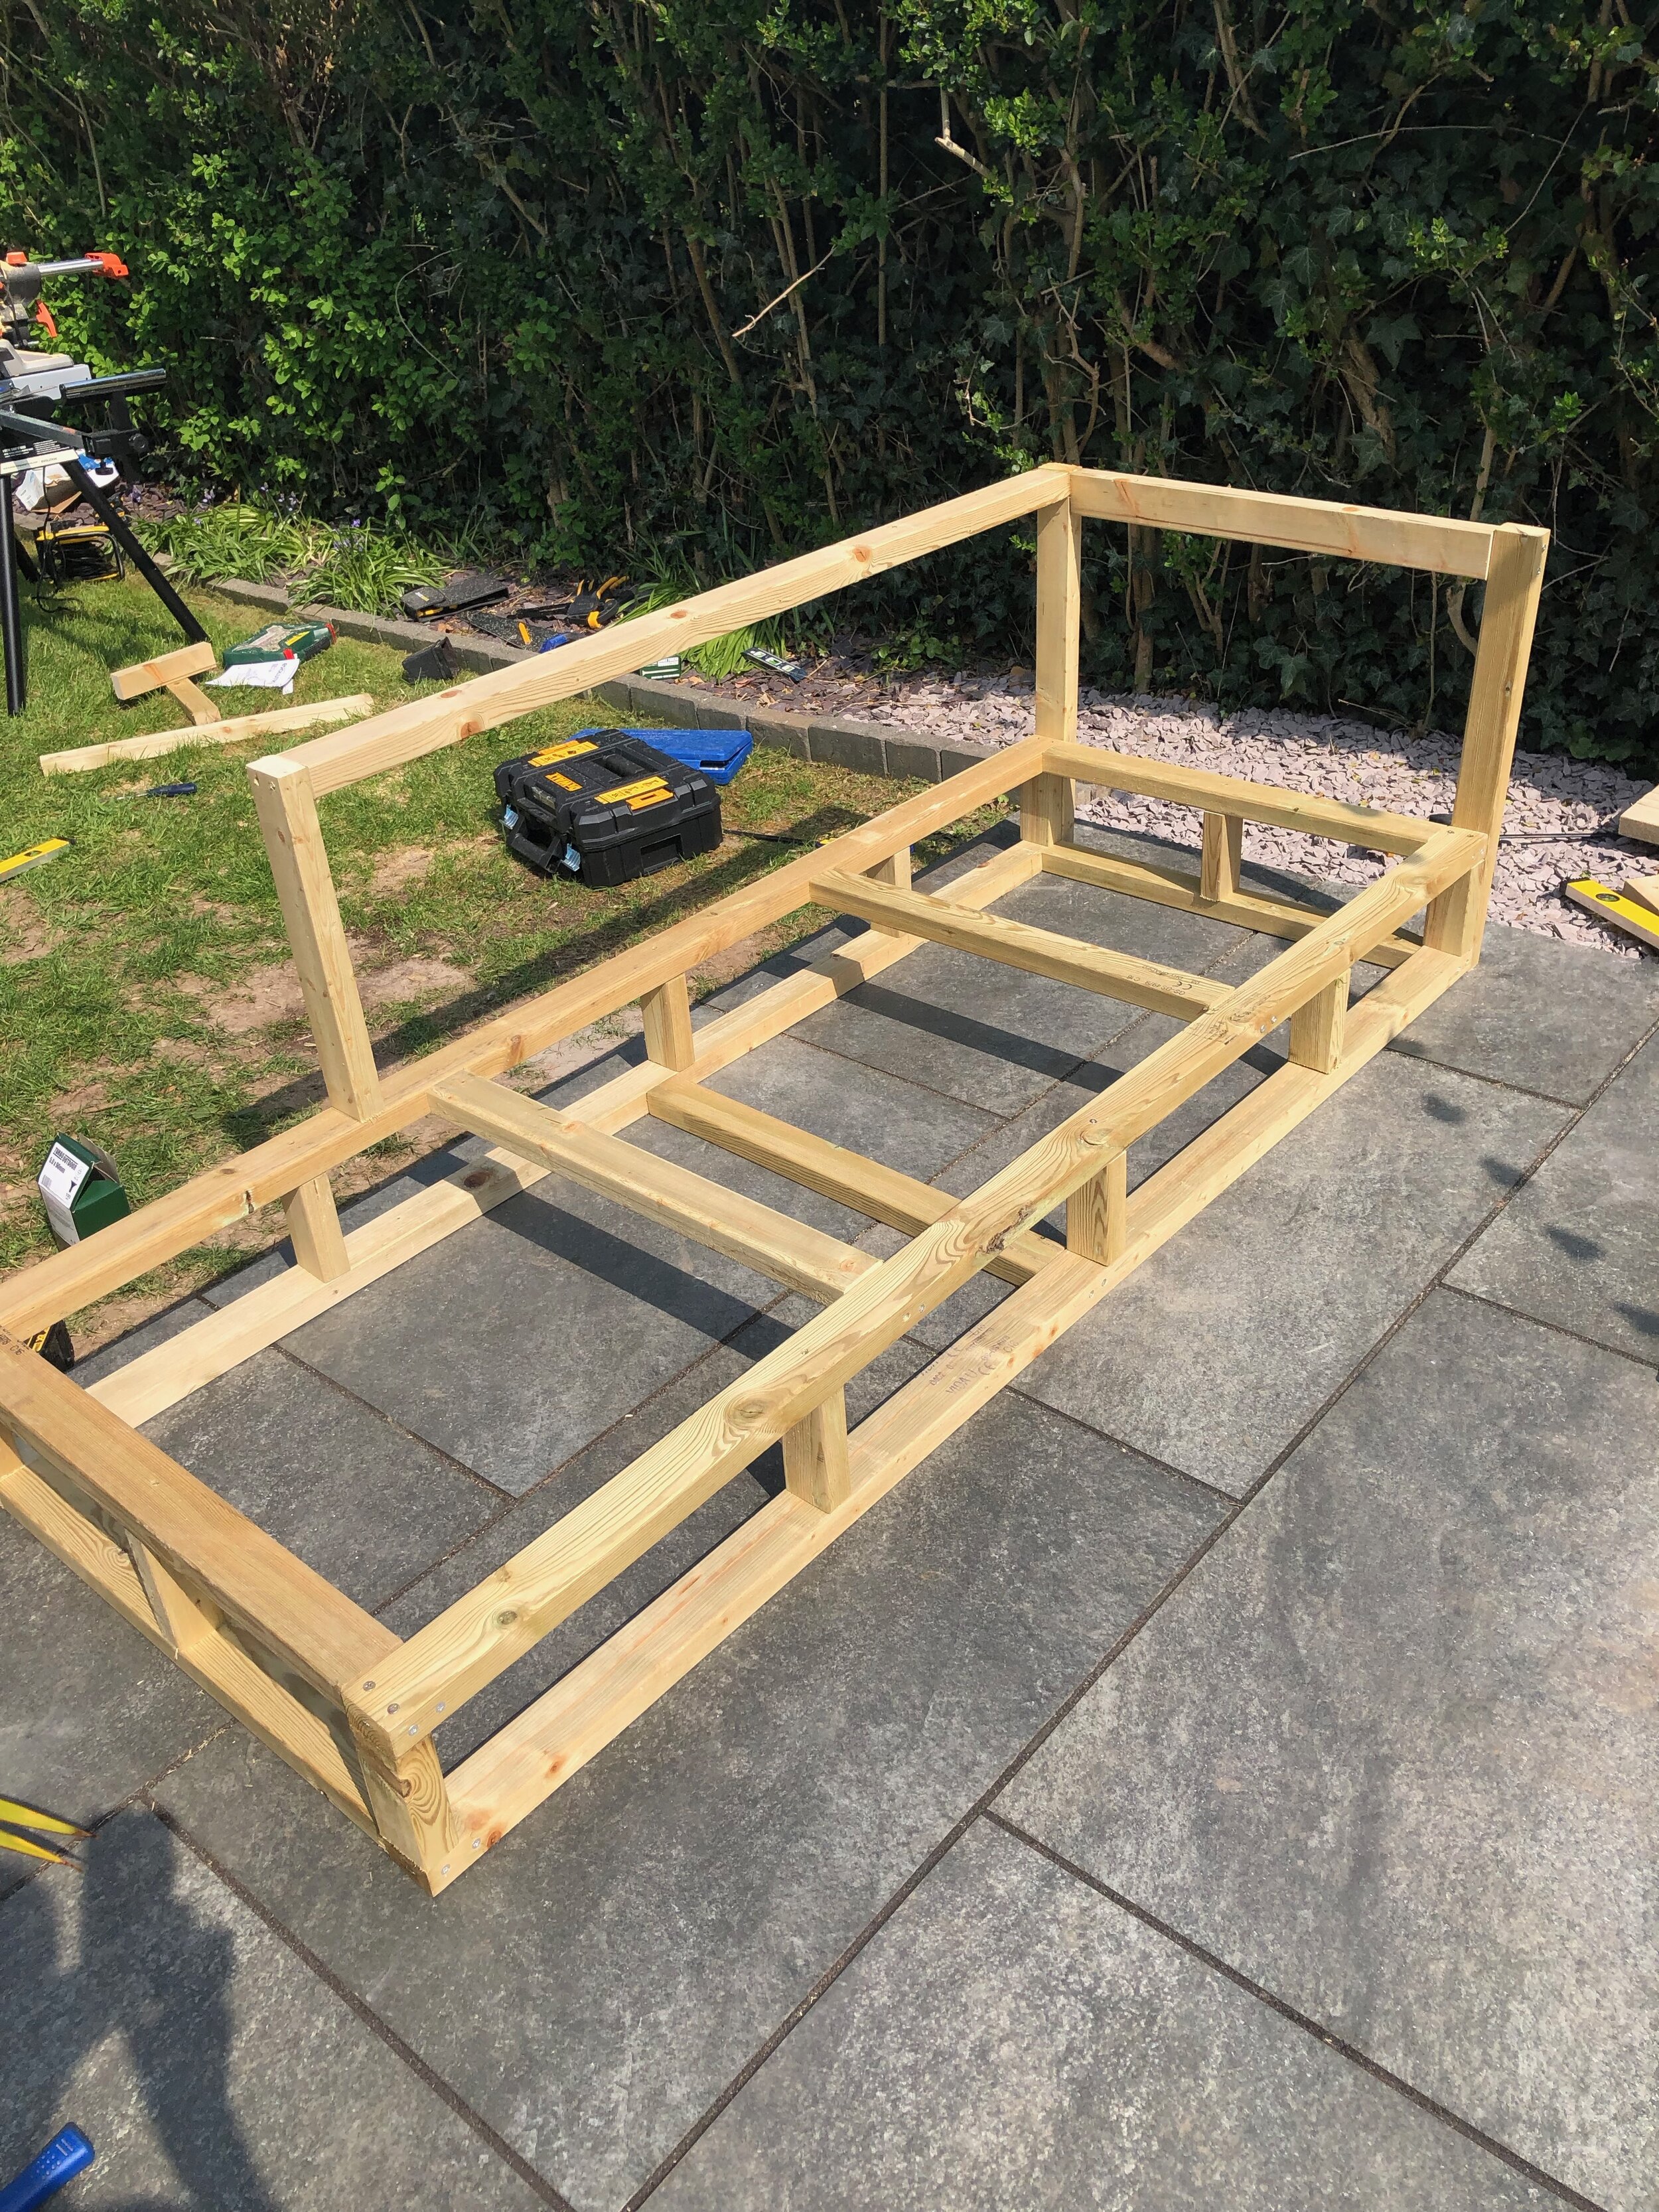
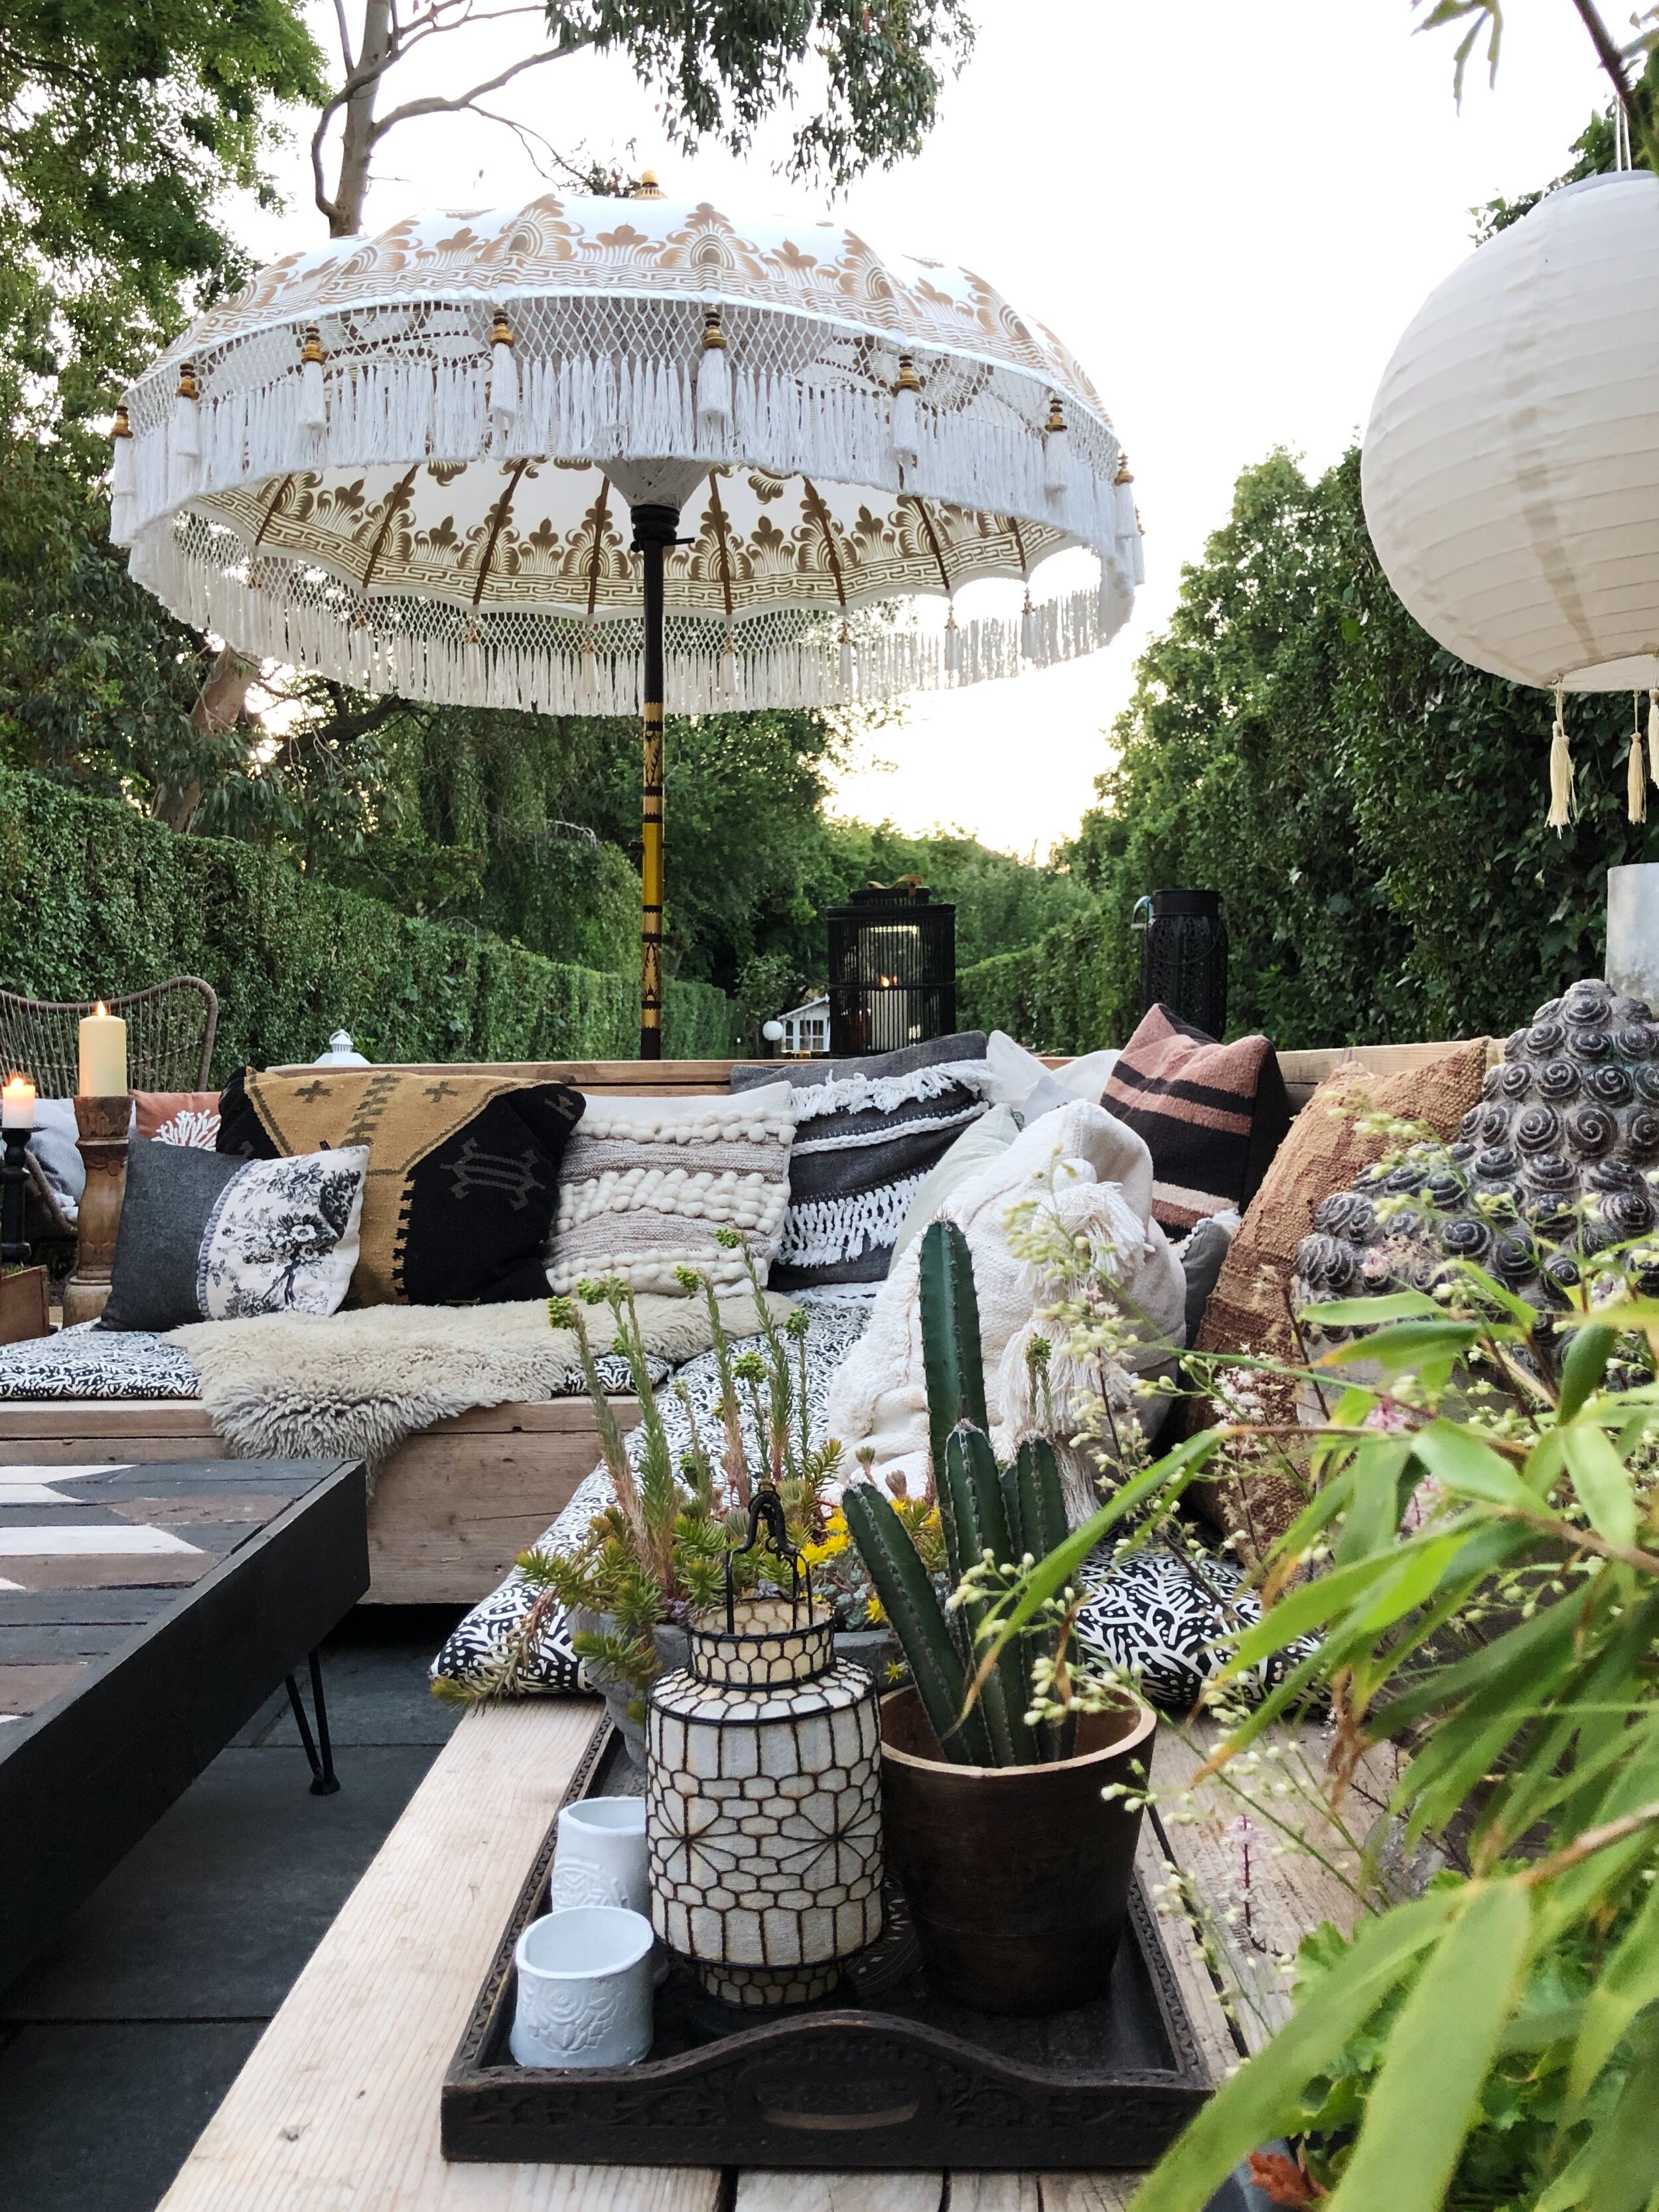
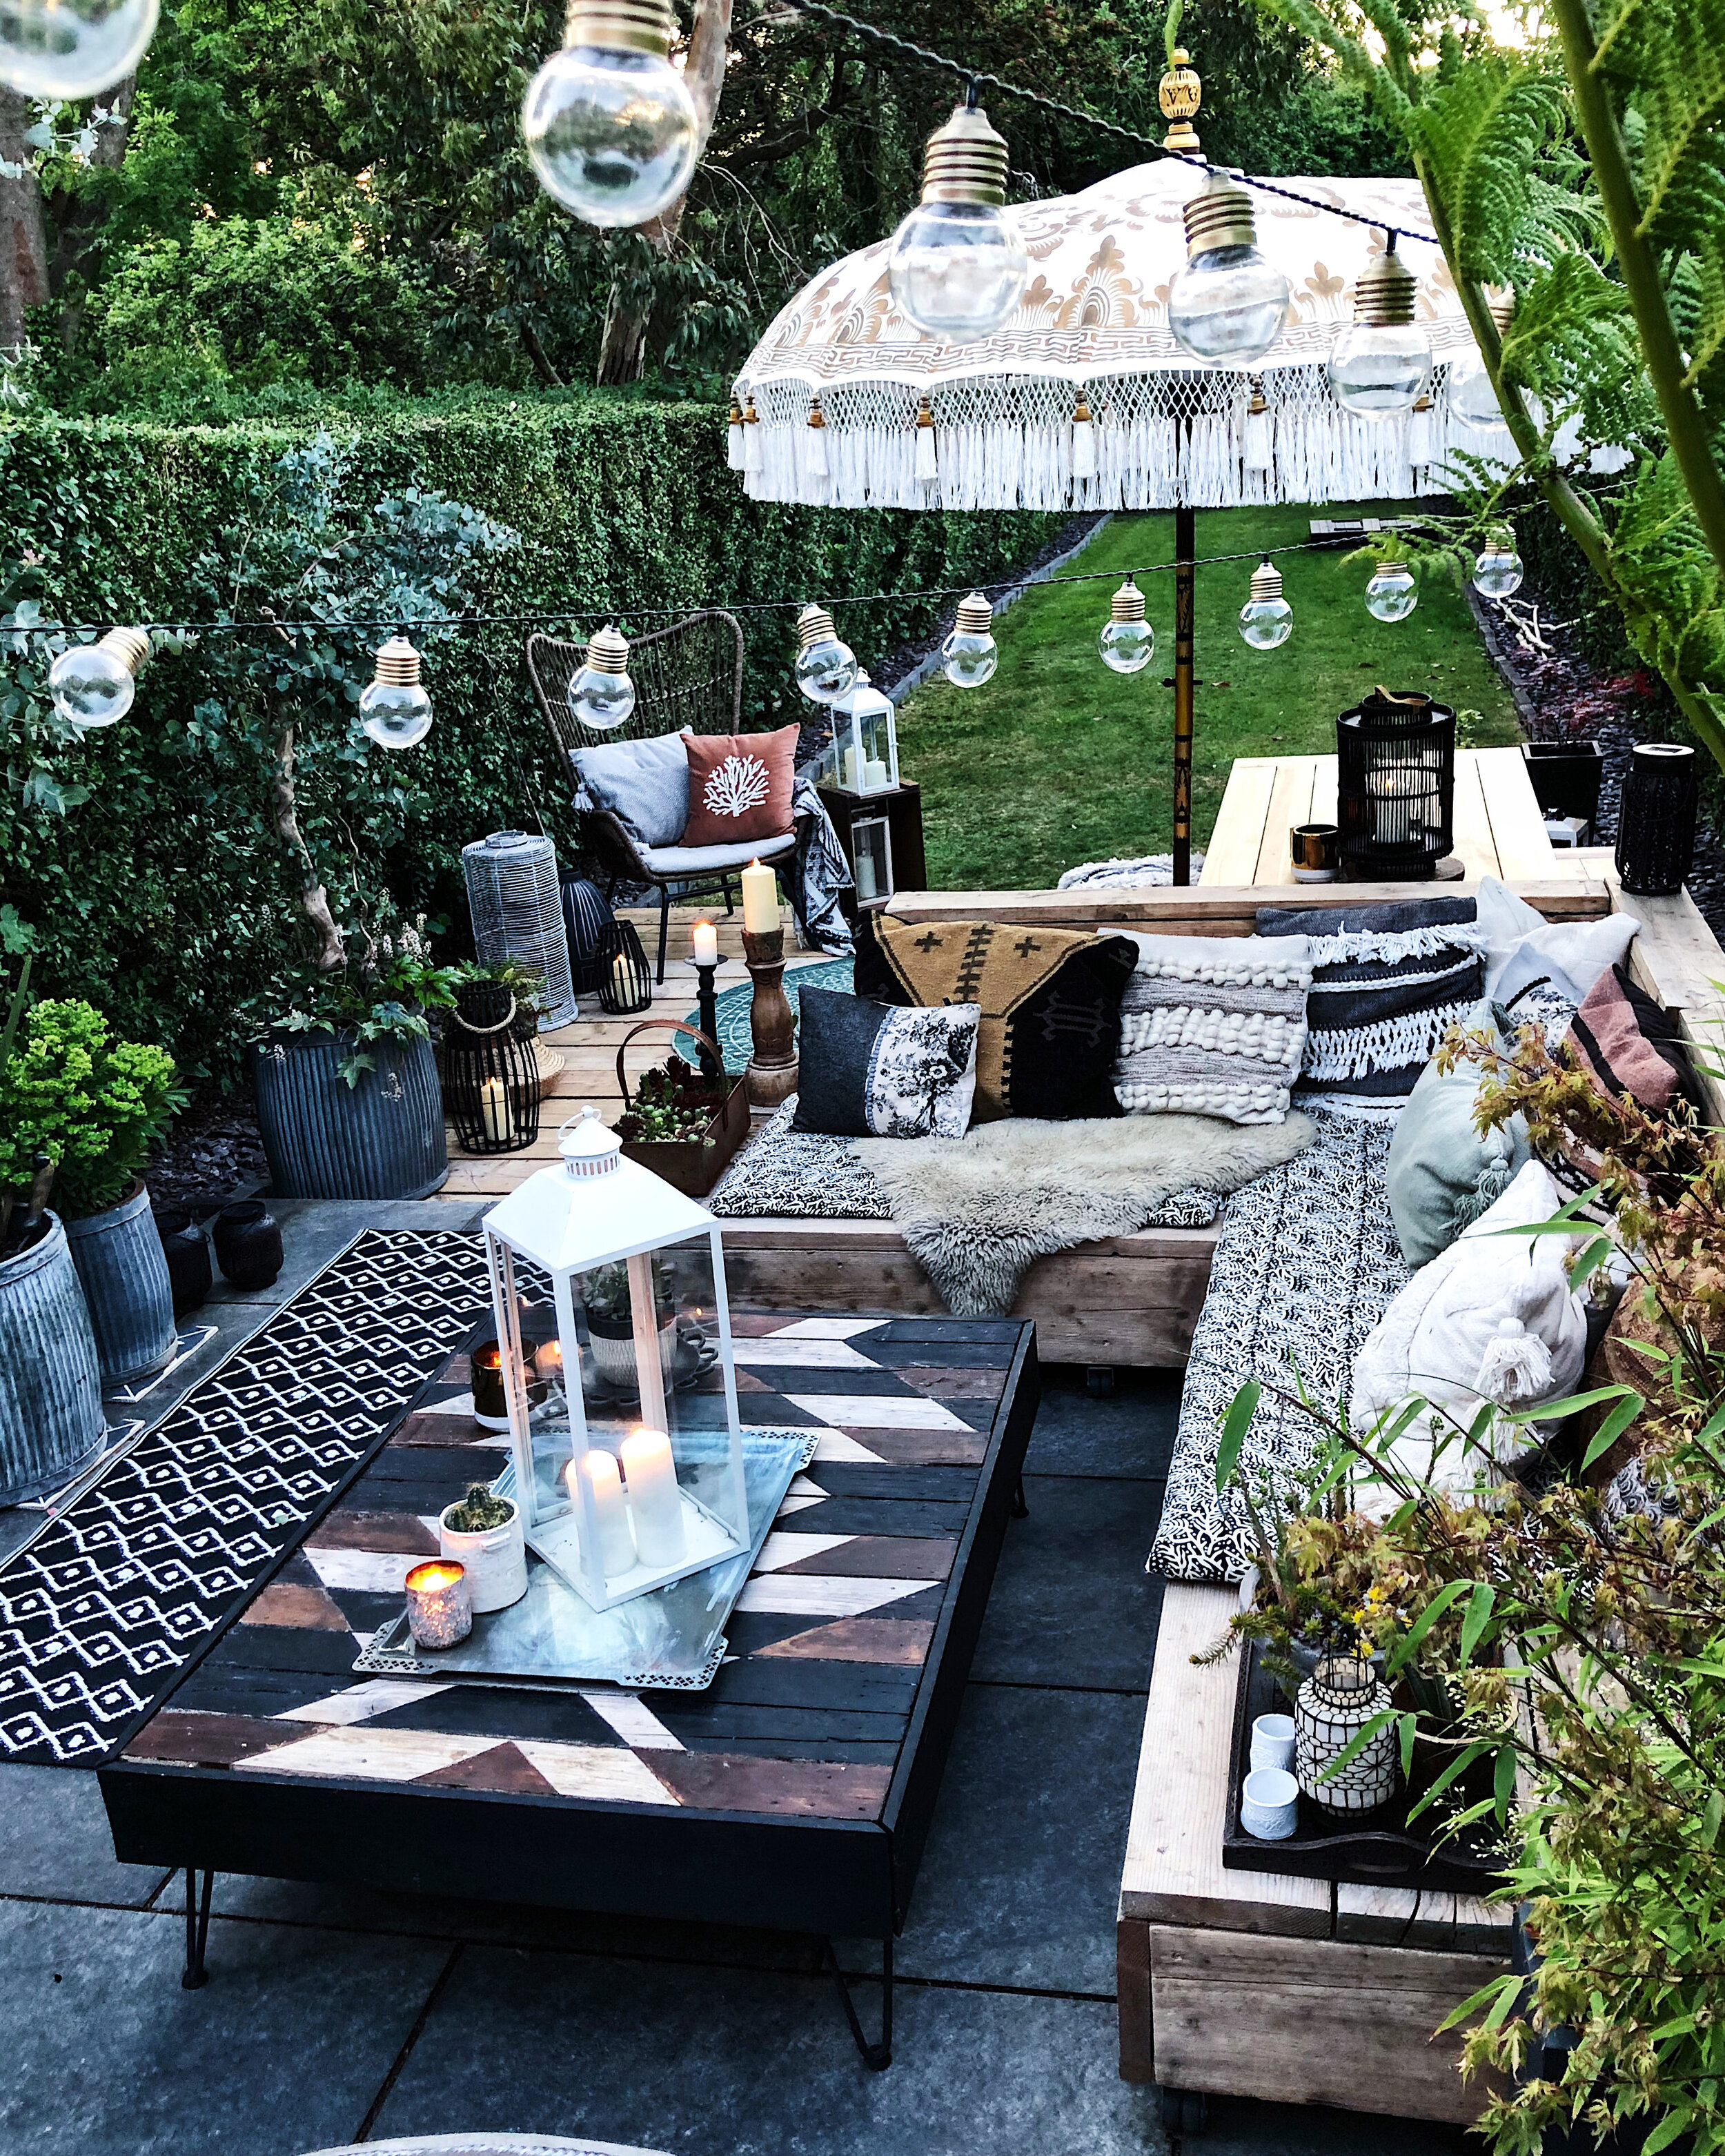
We used approximately 14 x 3.8 metre boards and built the internal frame using 3x2 inch wood lengths. We built it in two sections for practical reasons - One it would be easier to move around or take away with us when we move, but also it was just easier to build that way. Plus you can arrange the seating in different ways or even as two separate seats. The seats are 90 cm deep, and I’d highly recommend building yours this deep so you can properly lounge back comfortably on them (they also make a great place for a daytime nap!) They are 78 cm high (with castors added) We built the seat section only one scaffold board high, build them 2 high as I’ve seen some sofas and they are more a dining chair rather than low slung sofa height. Then each separate one is approximately 215 cm and 170 cm in length. But of course you can build these to whichever length suits your space.
The internal frame was made from 3 by 2 inch tanalised timber lengths attached together with 70mm screws. Then once the frames were built these were clad in the boards as you can see from the images. We used 50mm screws to attach the boards. To protect it we just used a deck protector oil rather than a varnish or stain as I wanted to keep it as close to the natural wood colour as possible. But you could stain yours if you wanted a different colour effect. We re-treat them every spring and keep them under a waterproof cover through the winter.
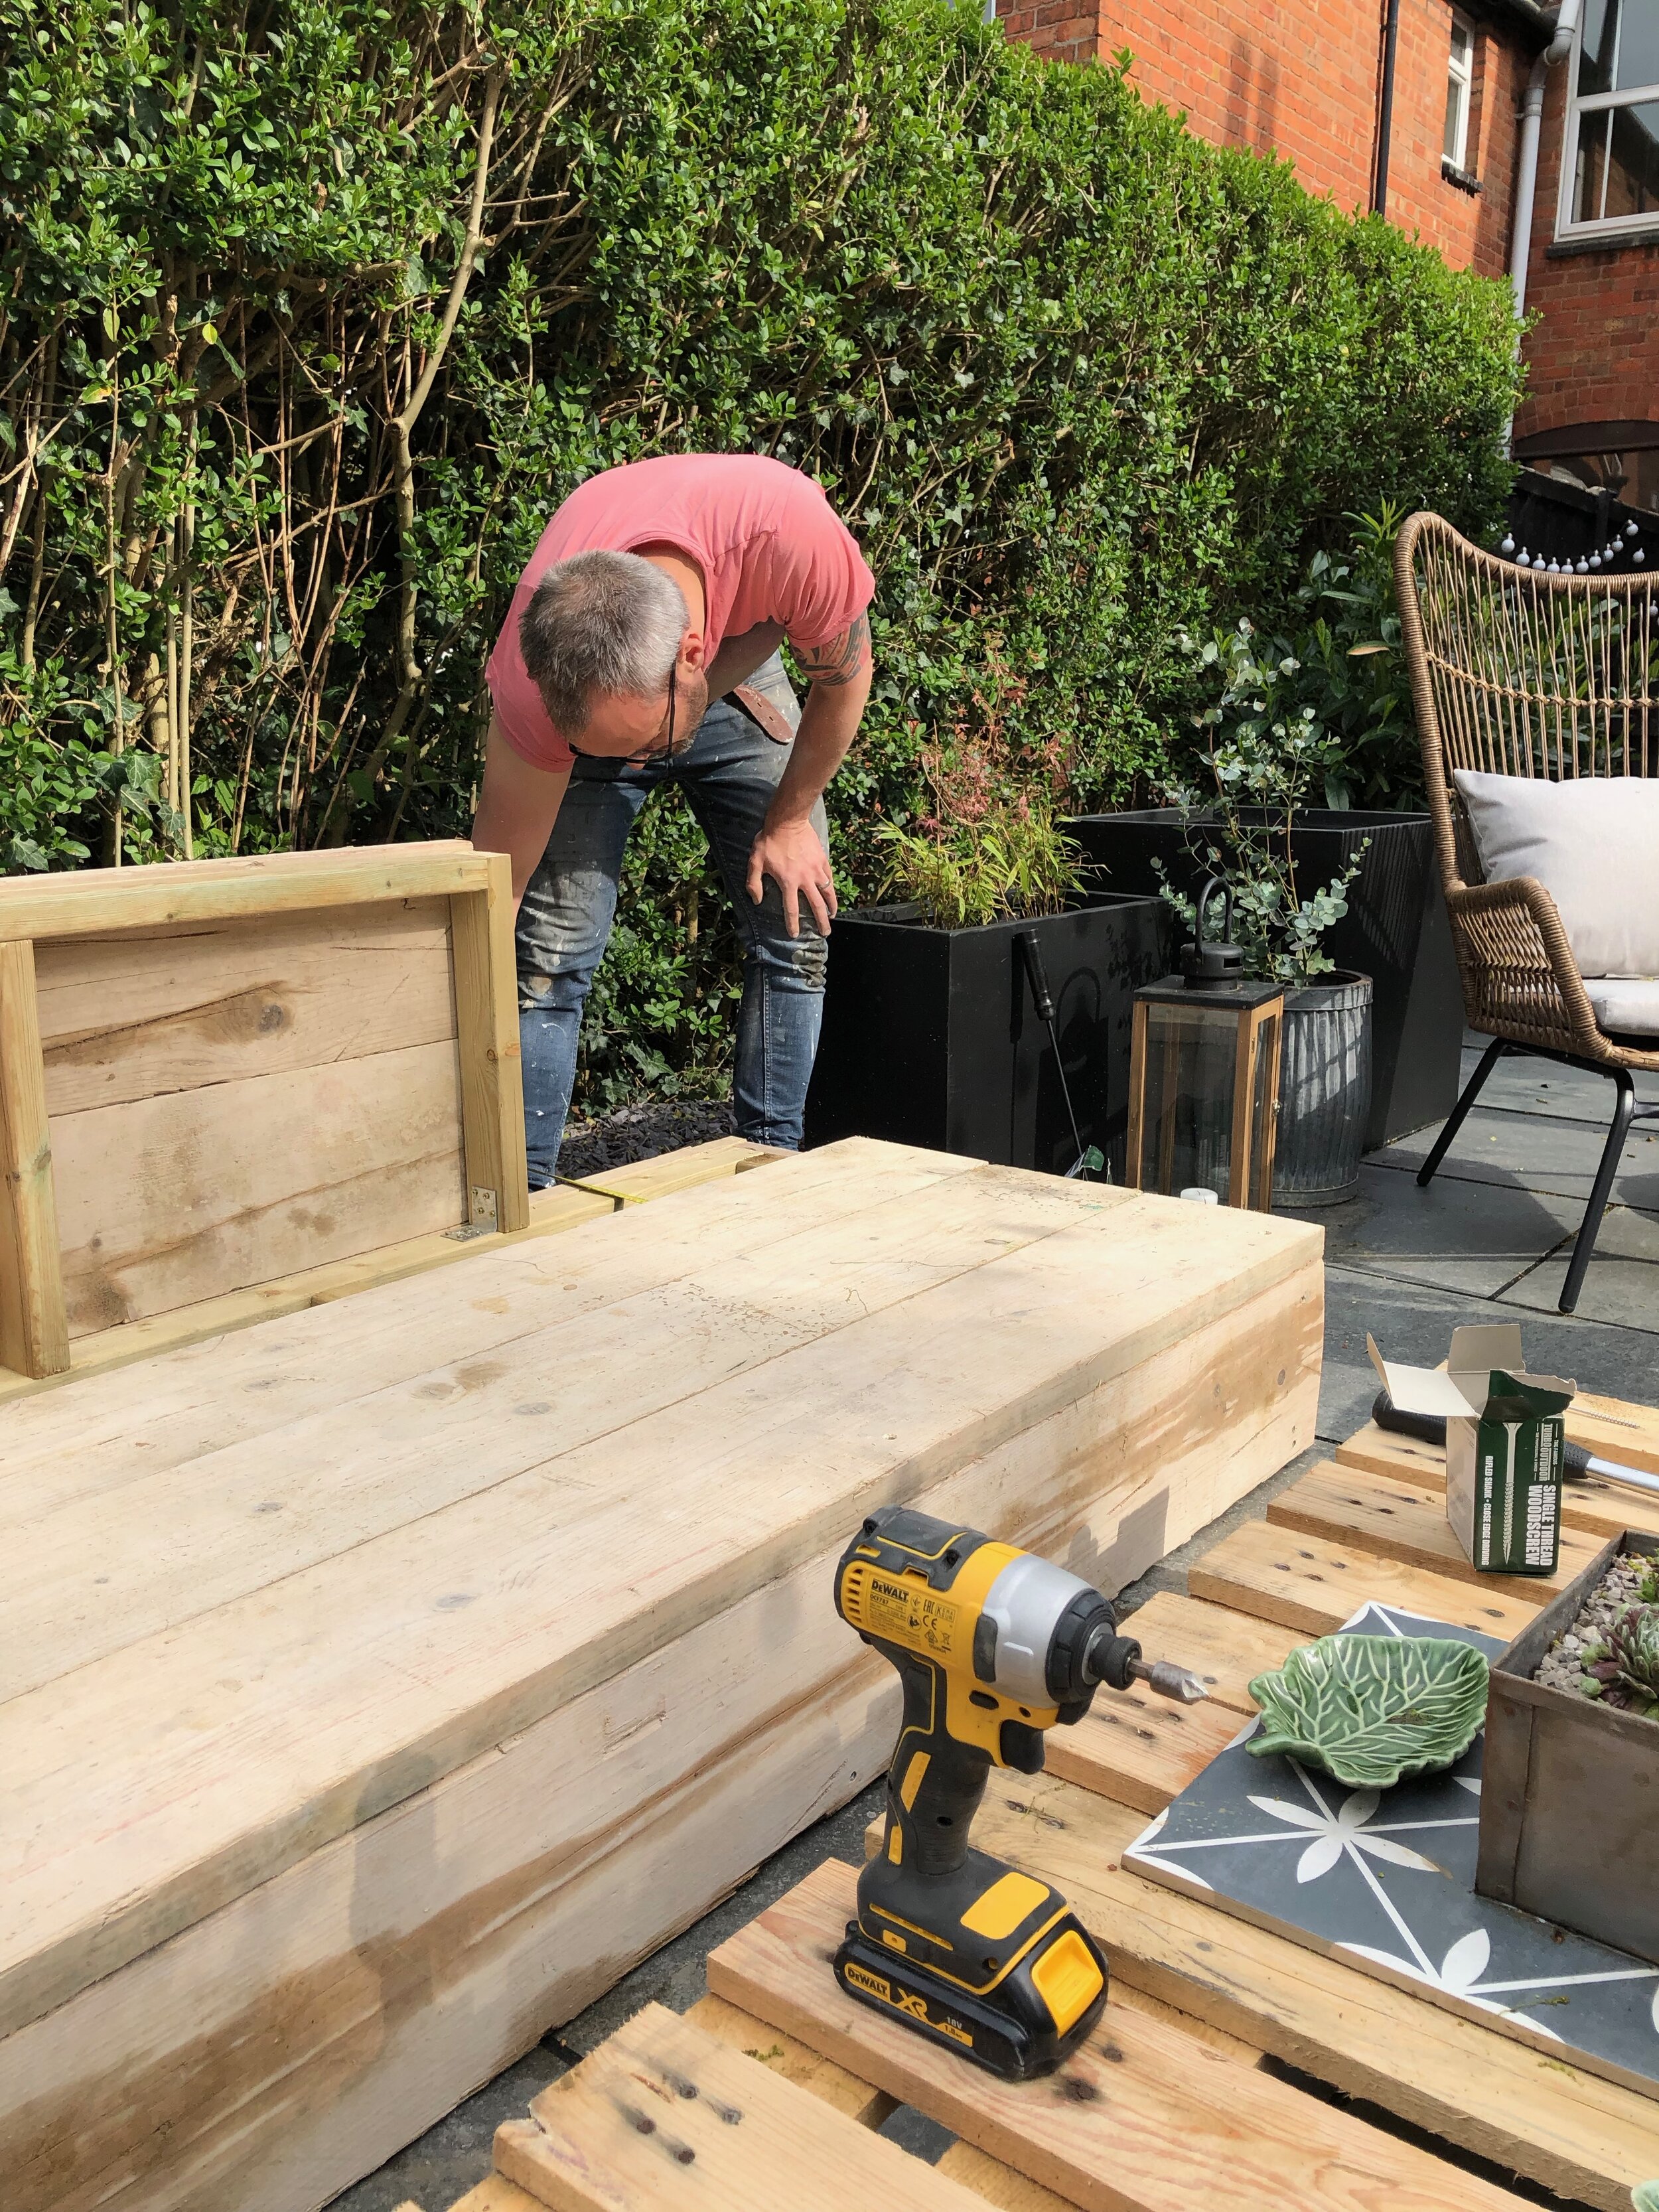
Finally we added castors to the base as well to make moving it about easier and to raise it up to avoid the bottom going rotten. Be aware you need to assess the weight of the sofa (it’s very heavy) when you choose your castors otherwise they’ll just snap under the weight. We used 50mm double wheeled castors with a weight bearing of 100 kilos with 6 castors on each sofa. Be sure to get lockable ones too so your sofa doesn’t go moving across your patio! The whole thing with cushions cost us about £400.
Seating wise we found it very expensive to get custom cushions made, particularly the french mattress style we really wanted. So found these boho style seat cushions by Madam Stoltz from Trouva They aren’t weatherproof so need taking inside in bad weather. They cost about £130 for both and come in different fabrics and sizes so are a great alternative to standard outdoor seat cushions. You can also layer them up if you want a deeper, softer seat cushion.
And that’s it! I hope this was helpful, please comment below if you have any questions or just let me know if you are planning to build one of your own, I’d love to hear about it!
Theresa x