How We Built and Planted Our Raised Beds
How We Built and Planted Our Raised Beds
I love a raised bed, can you tell?! At the latest count we have 7 now in our garden (sorry Mr G I keep asking you to build more and I’m pretty sure it won’t be the last!)
The majority of our planting and all of our veg and cut flower beds are in them and there are a number of reasons why I can’t get enough of them.

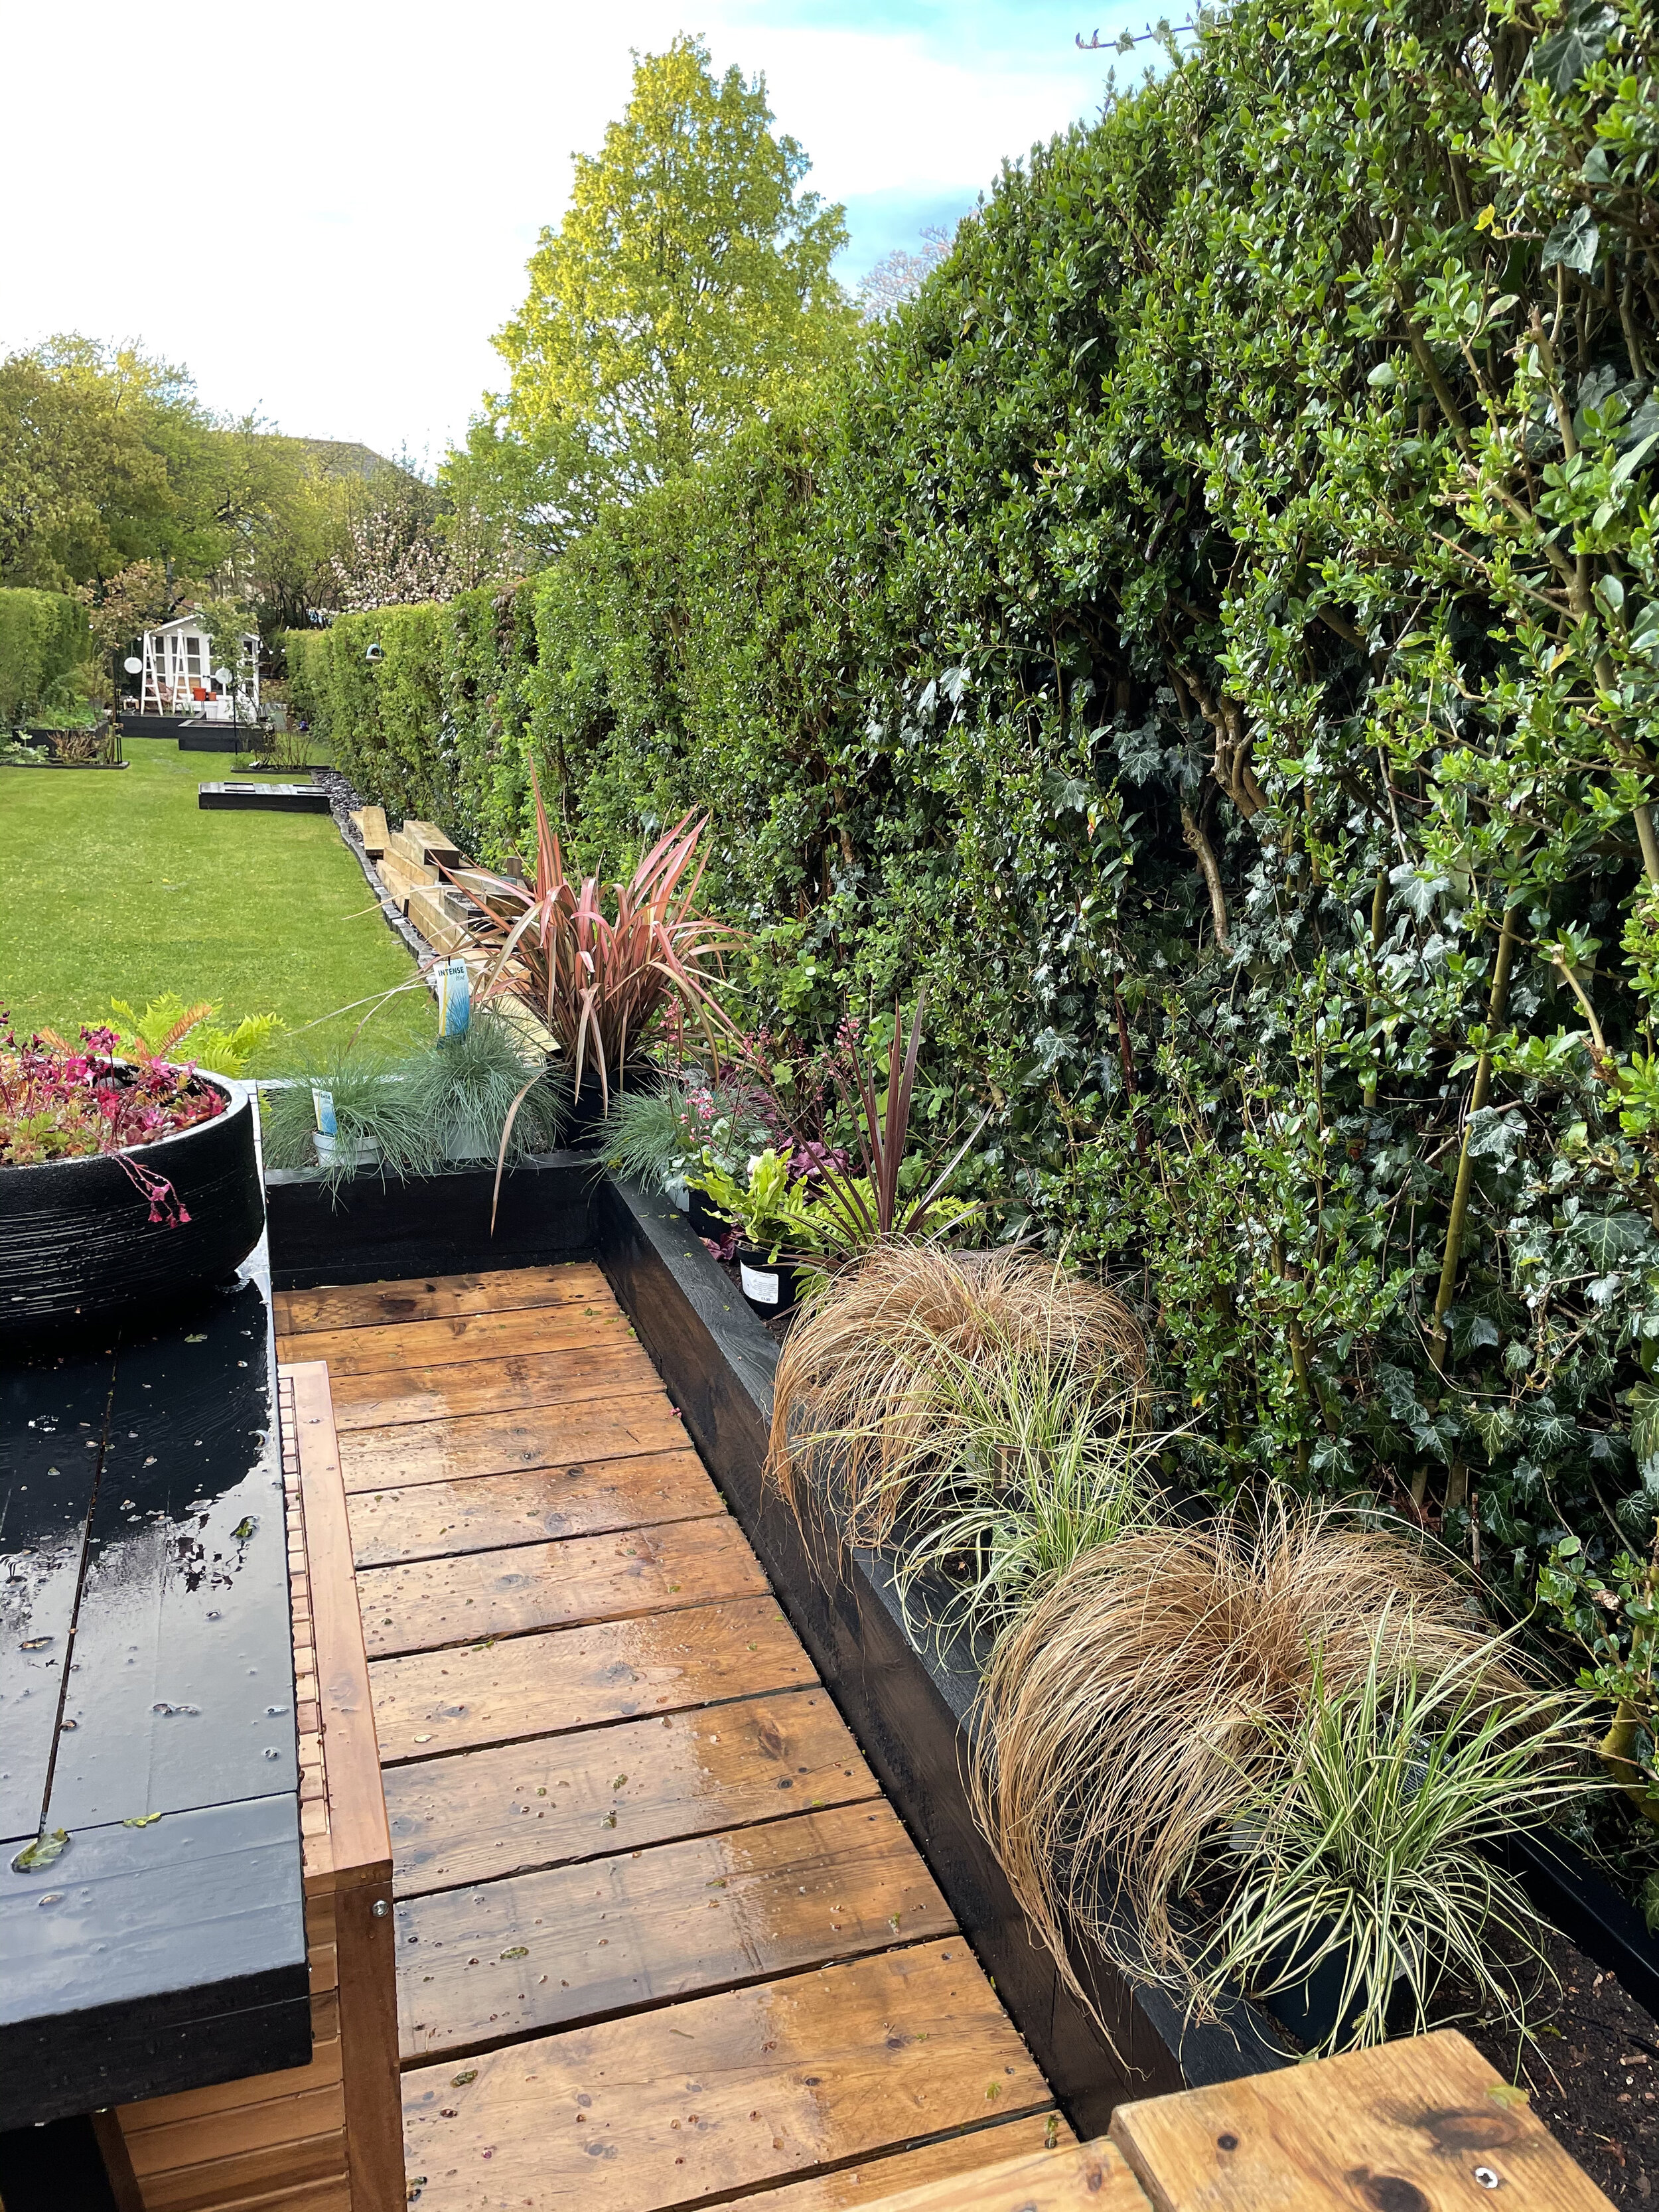
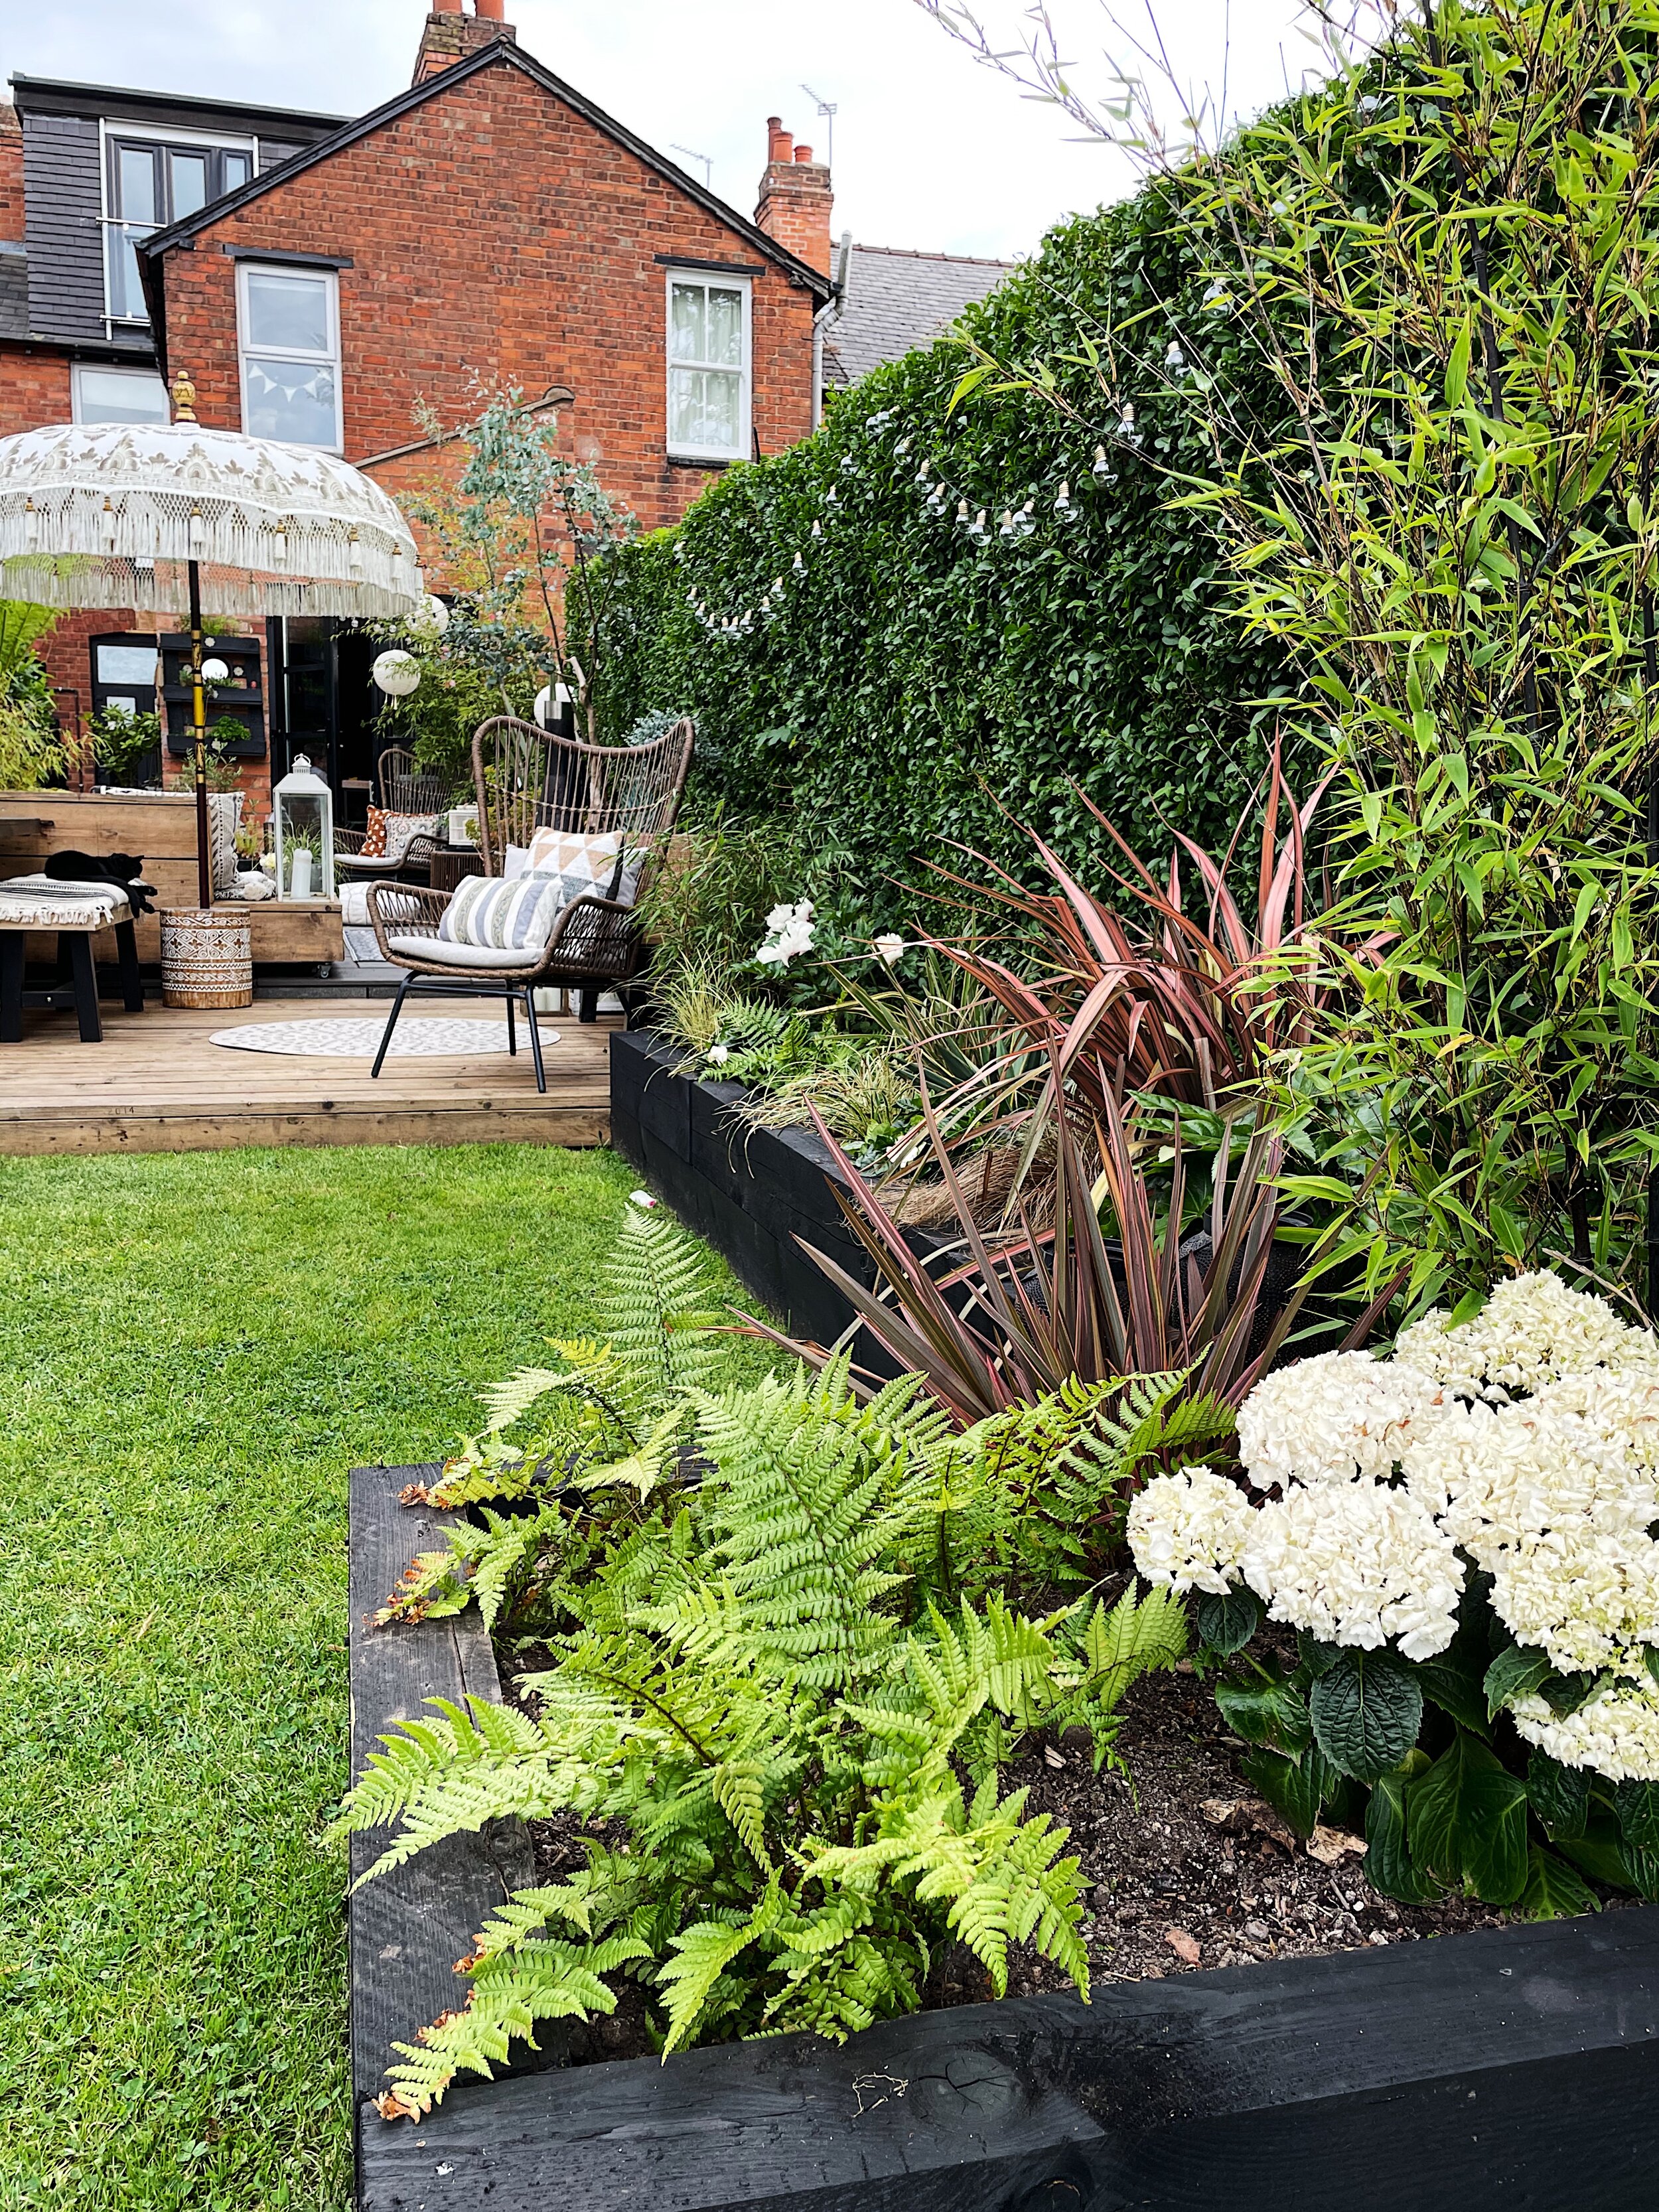
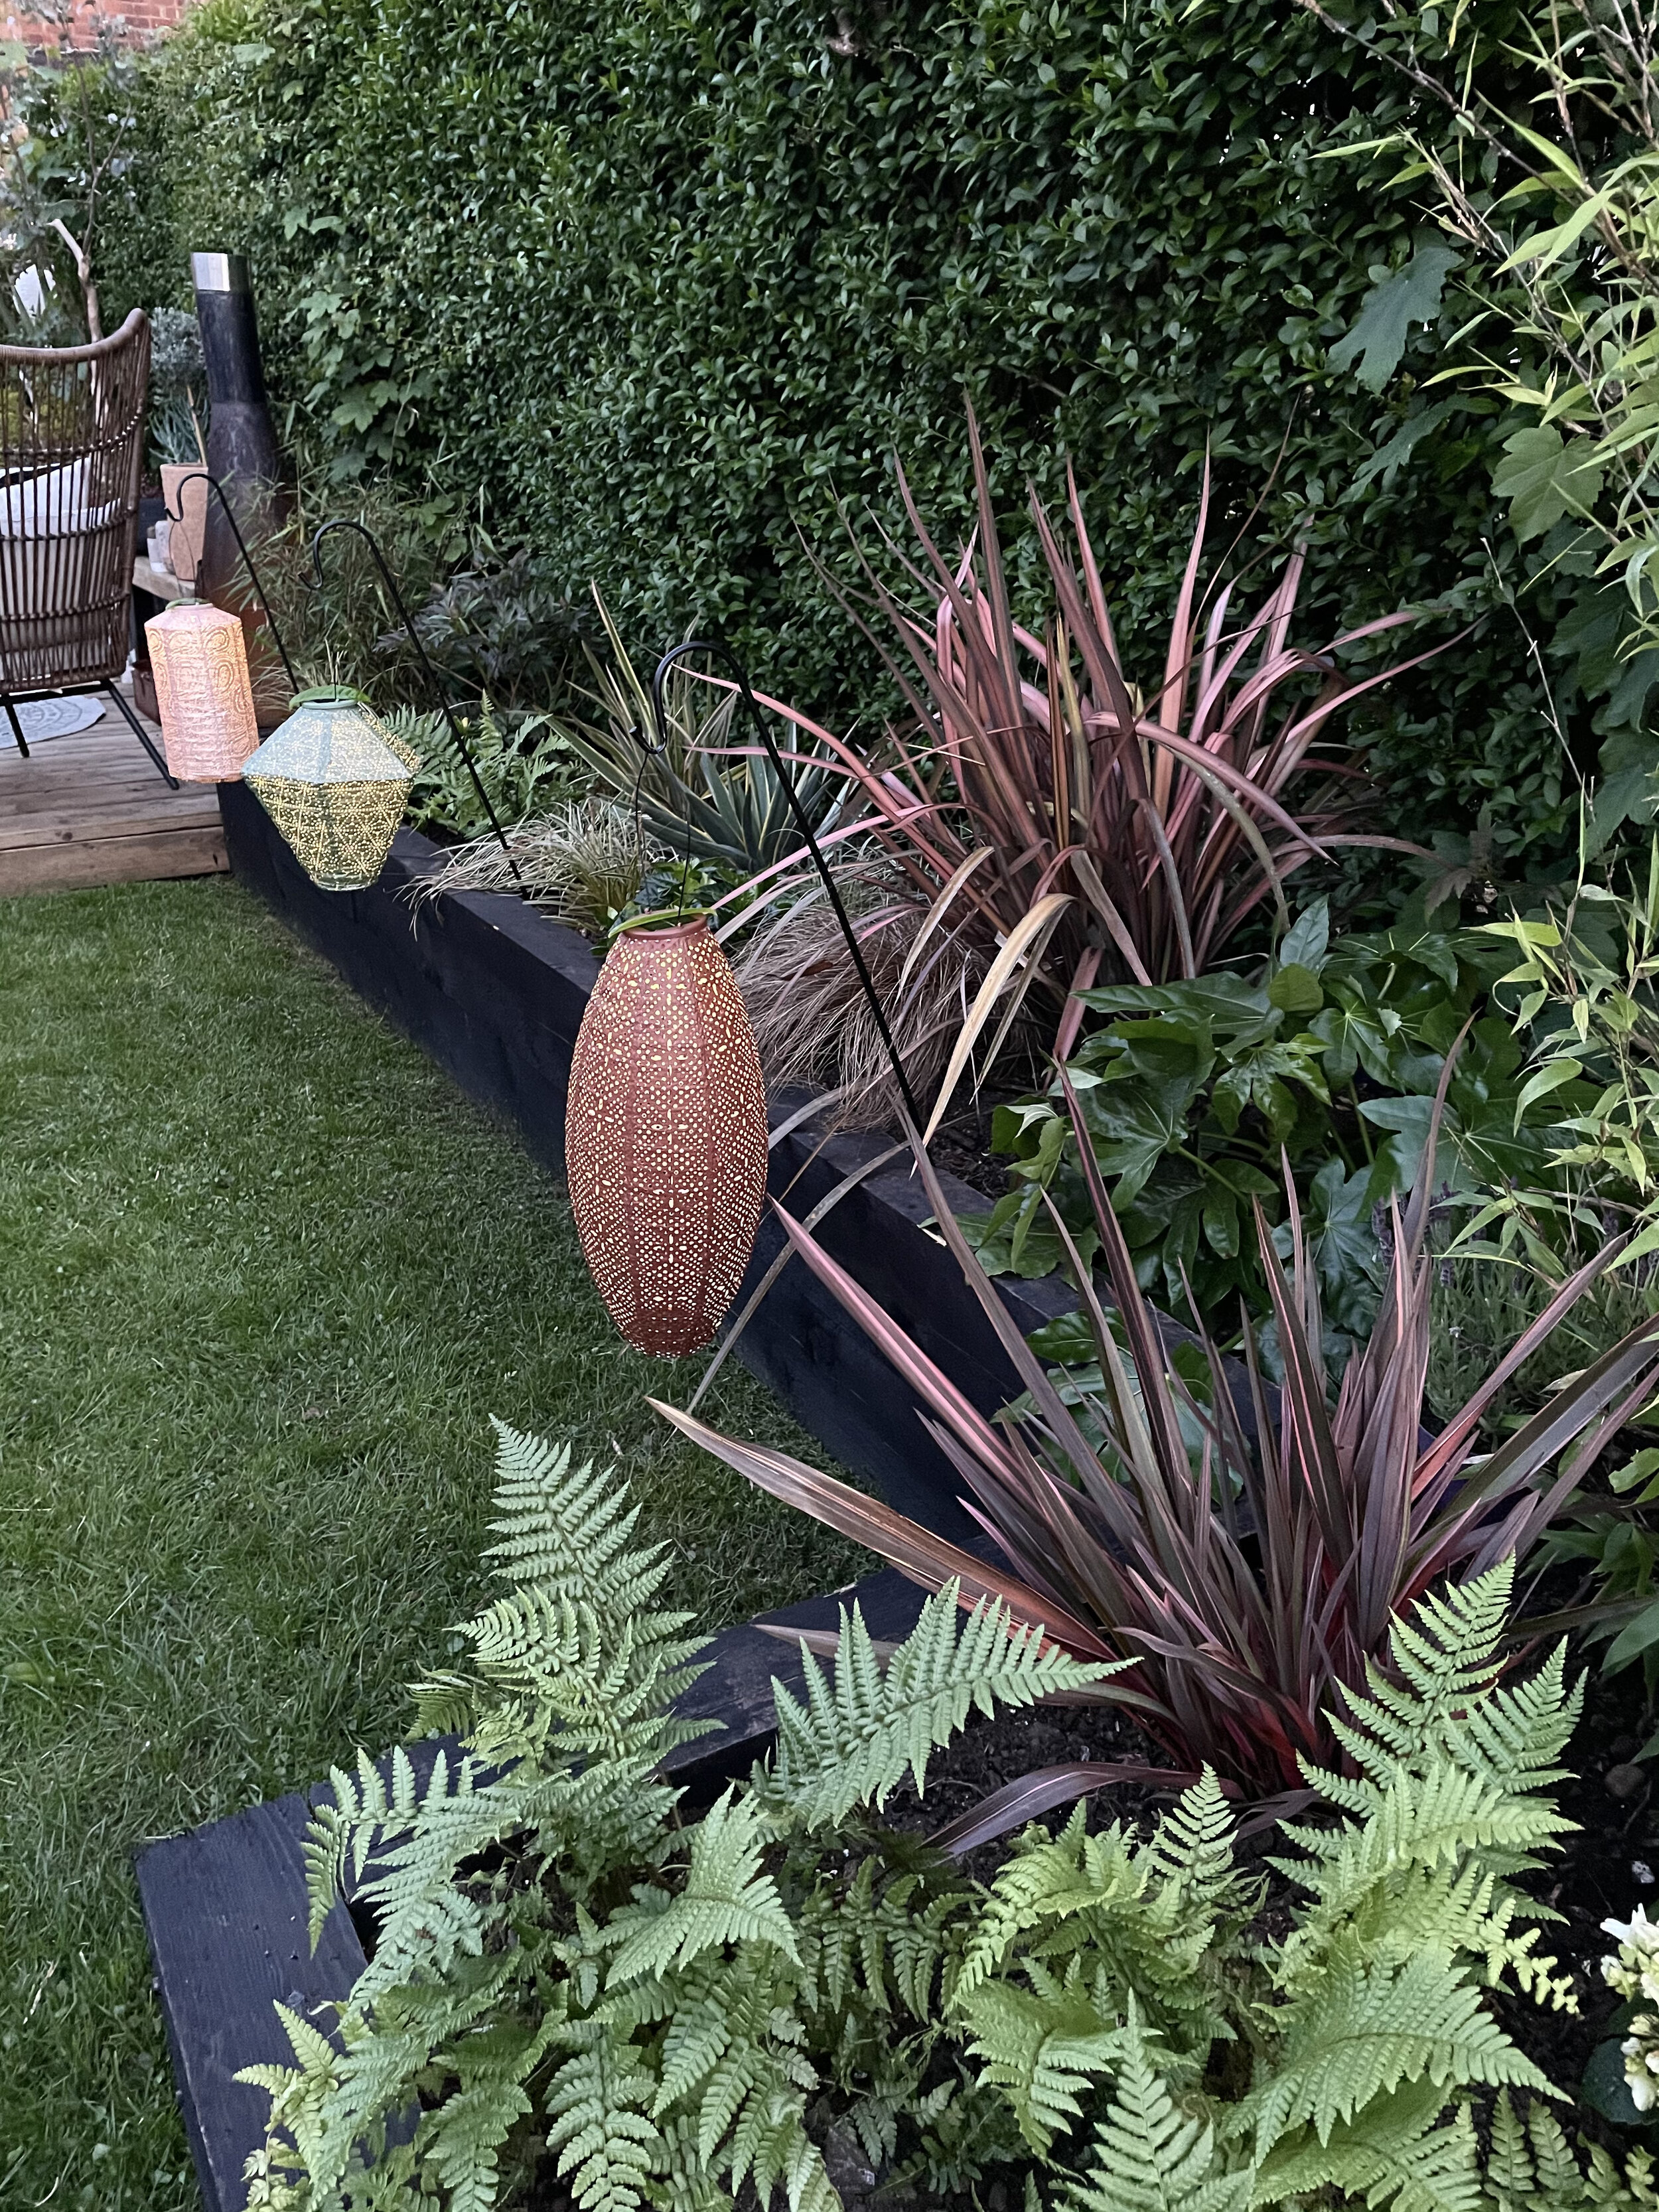
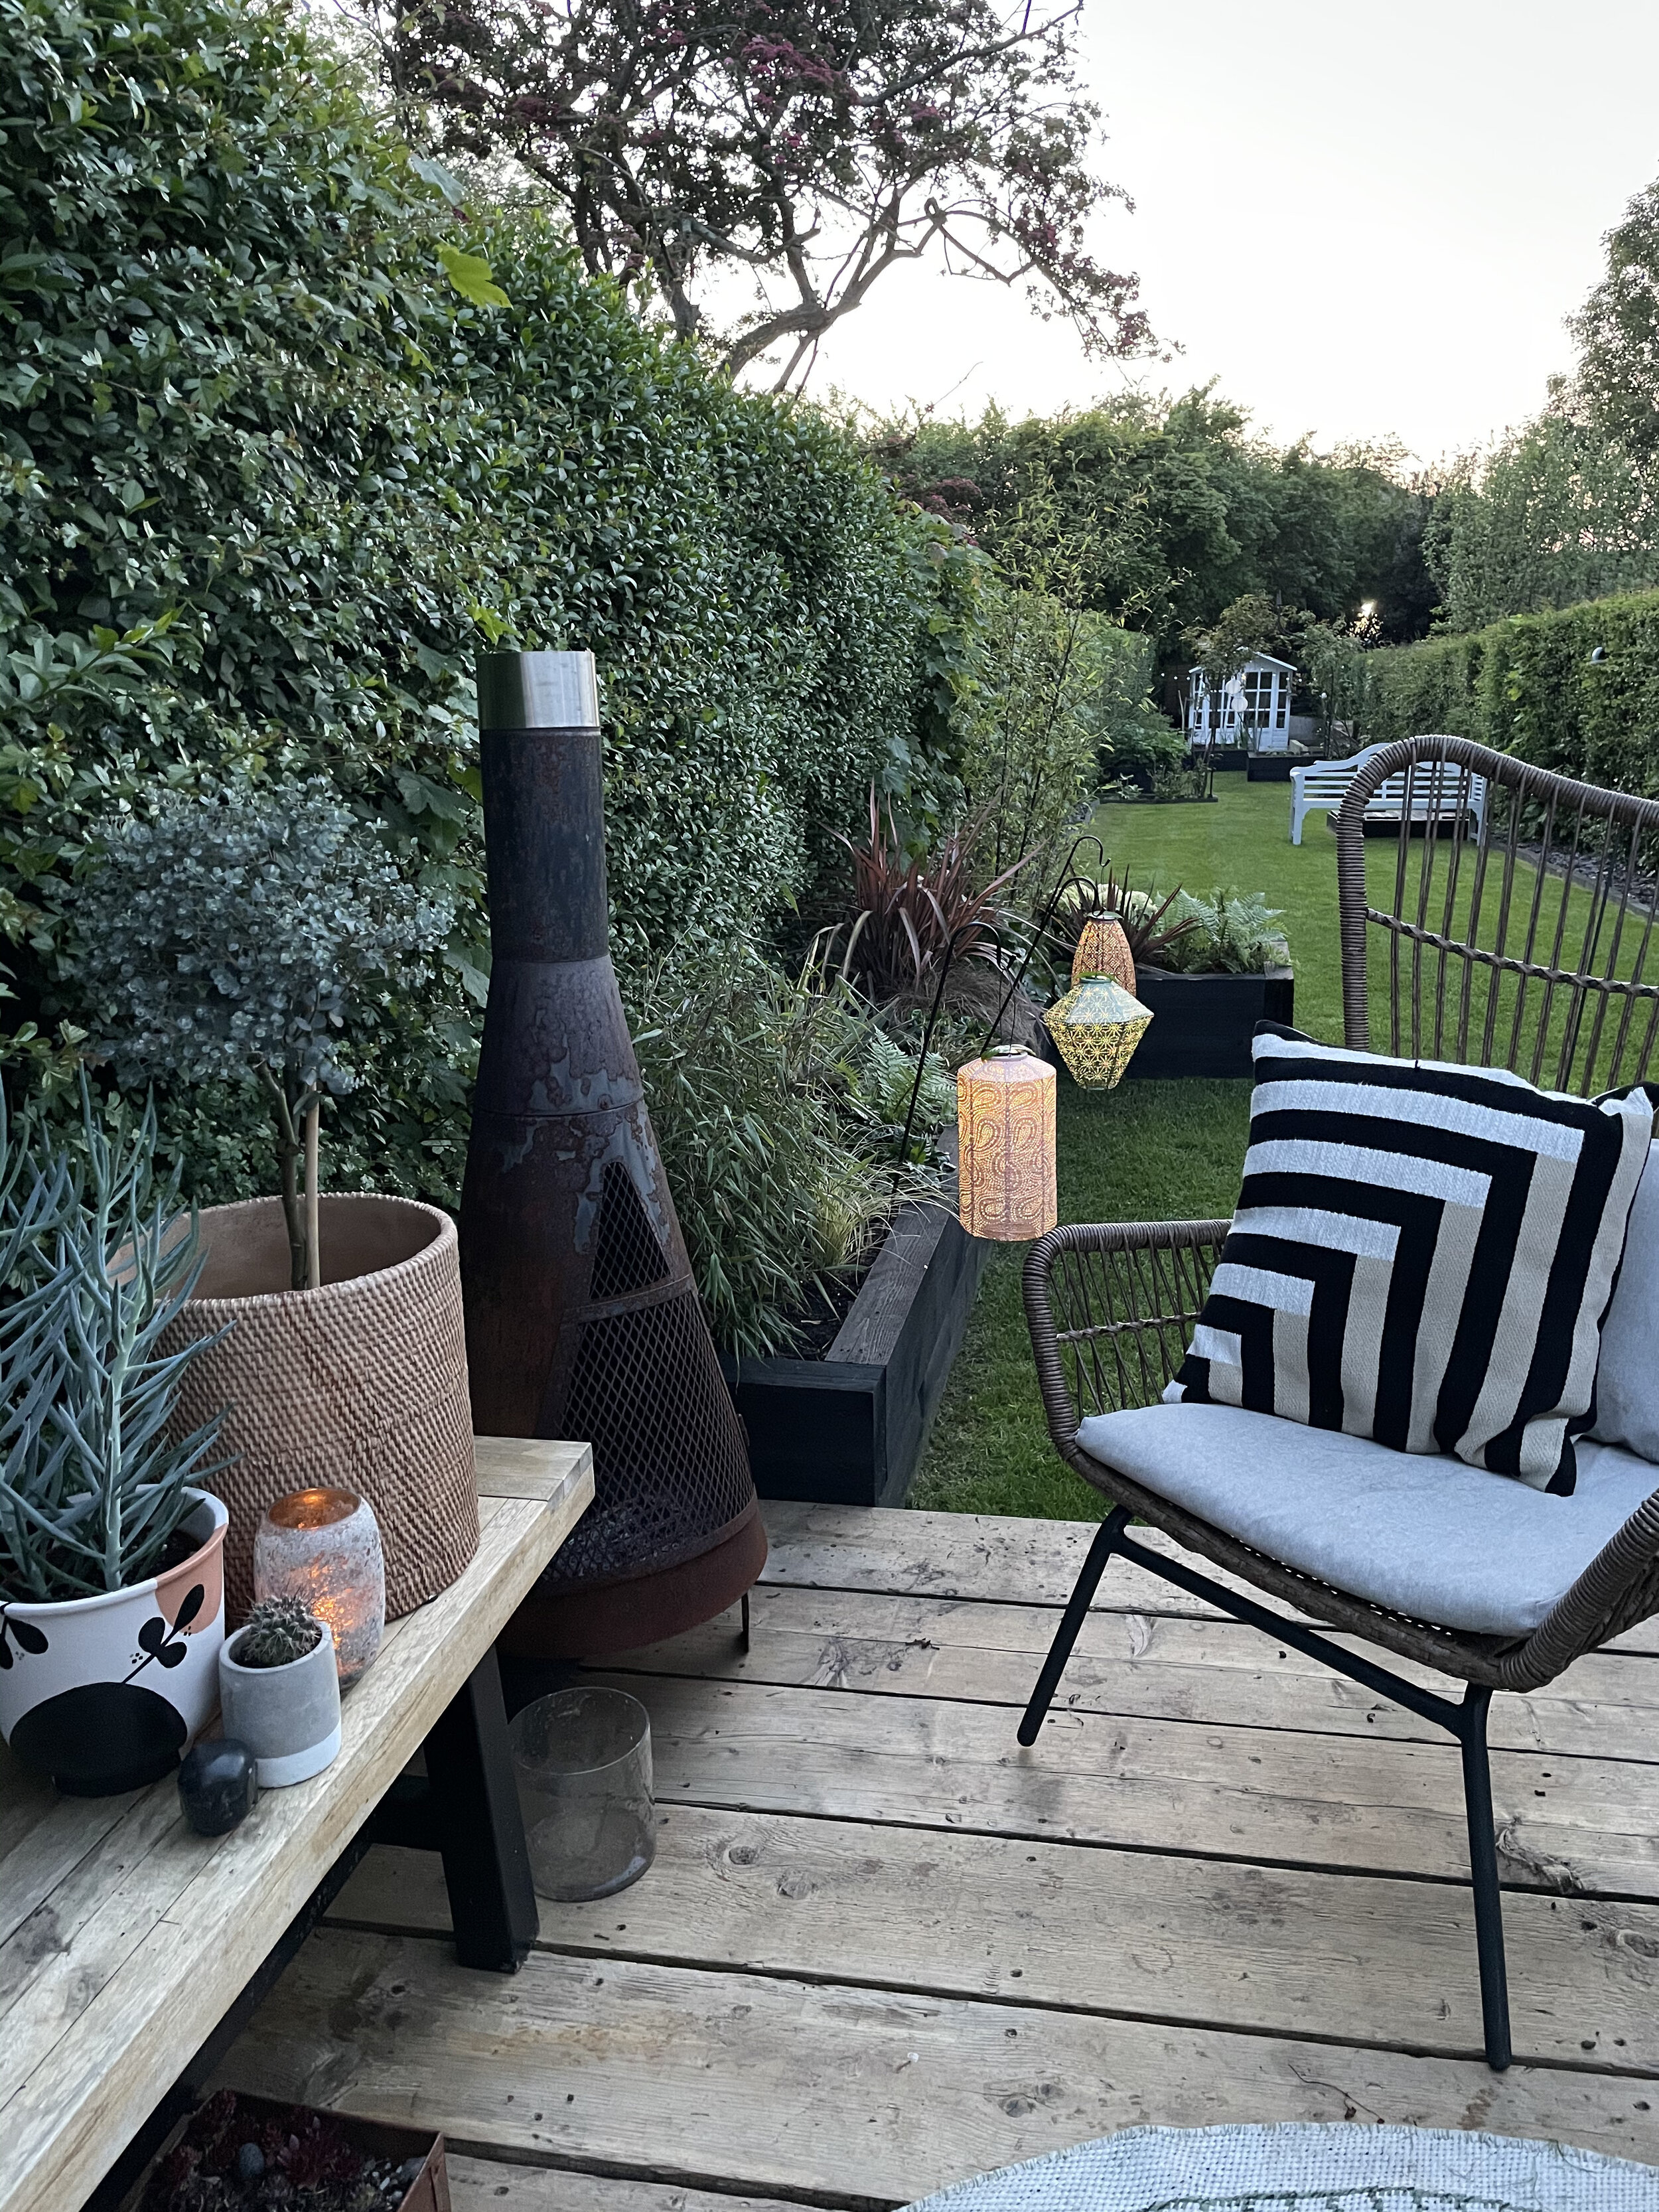
First of all I love how they add structure to our garden and can zone spaces. They add height and frame your planting in a way a ground level bed can’t do. The bed itself is a feature in your garden and adds more interest. We used new railway sleepers for ours and paint them (always Cuprinol Ducksback outdoor paint in Black, my go to outdoor paint for timber)
Secondly the soil quality in our garden is poor, possibly I imagine because of the huge amount of hedges that I think consume a lot of nutrients from our soil. I could be wrong but plants out of our raised beds have never done particularly well.
We built our first raised bed when we had our patio built two years ago and it set the look I wanted for the rest of the garden, with both the planting and with the black timber.
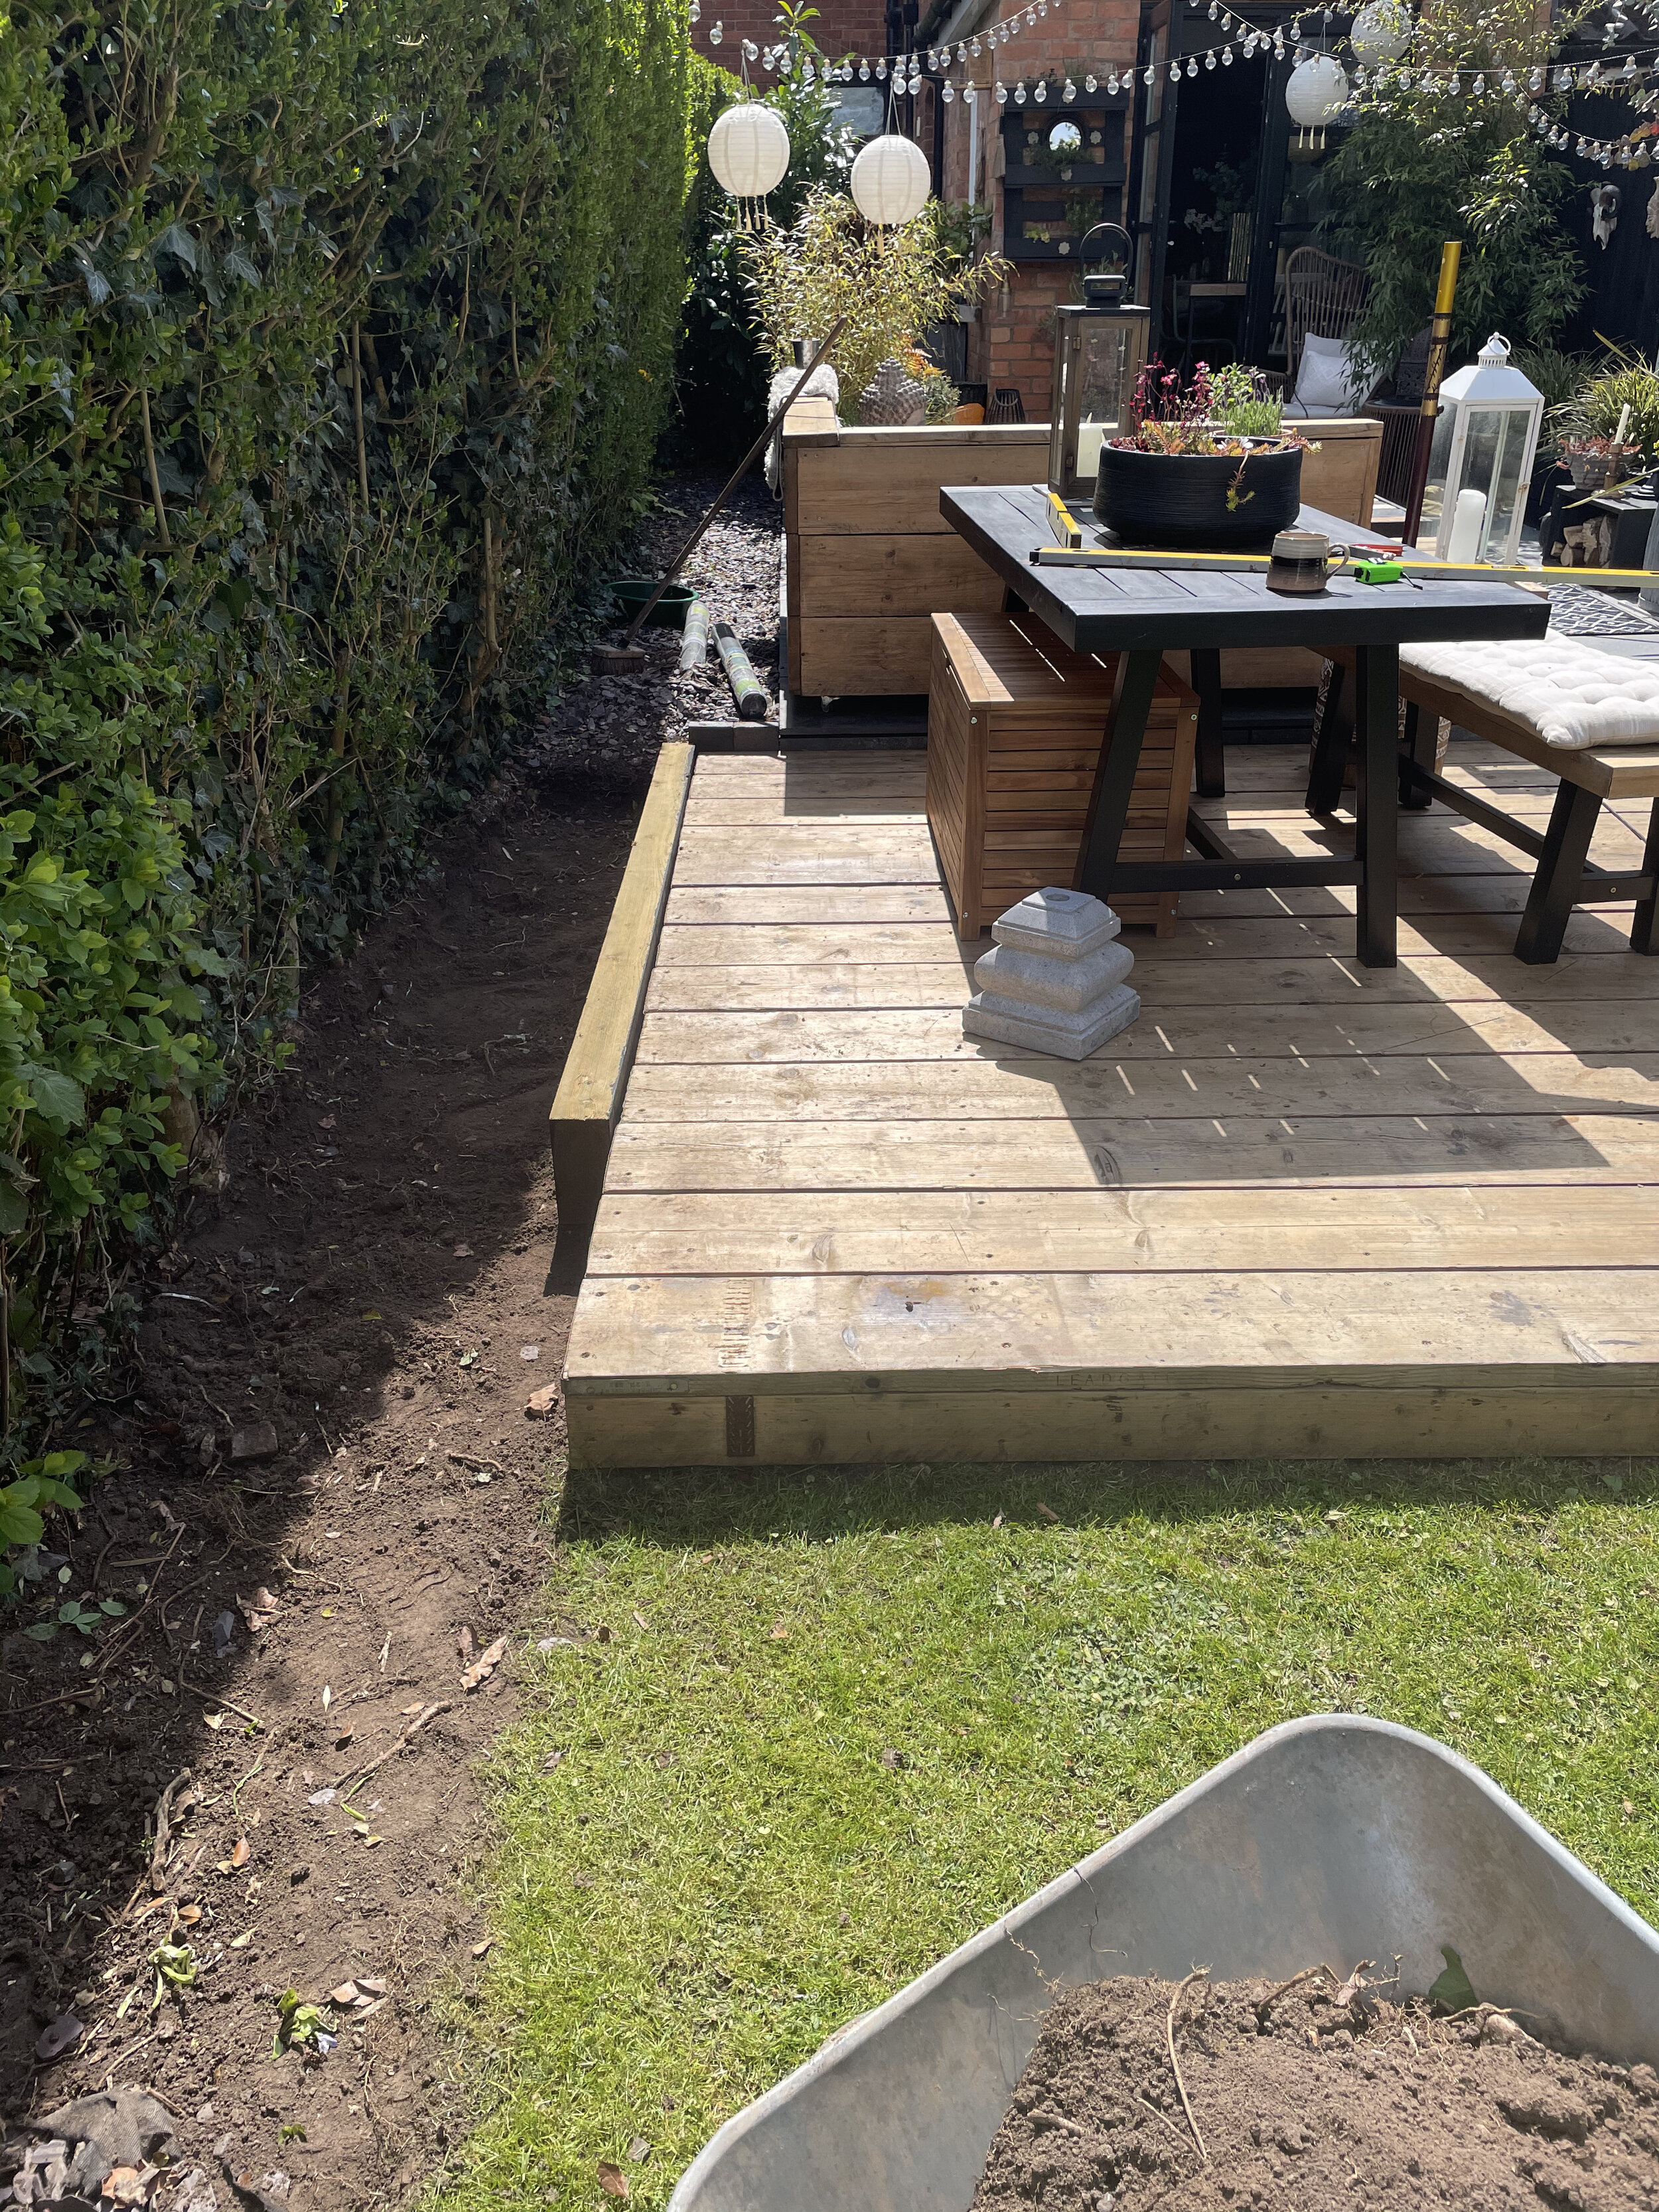
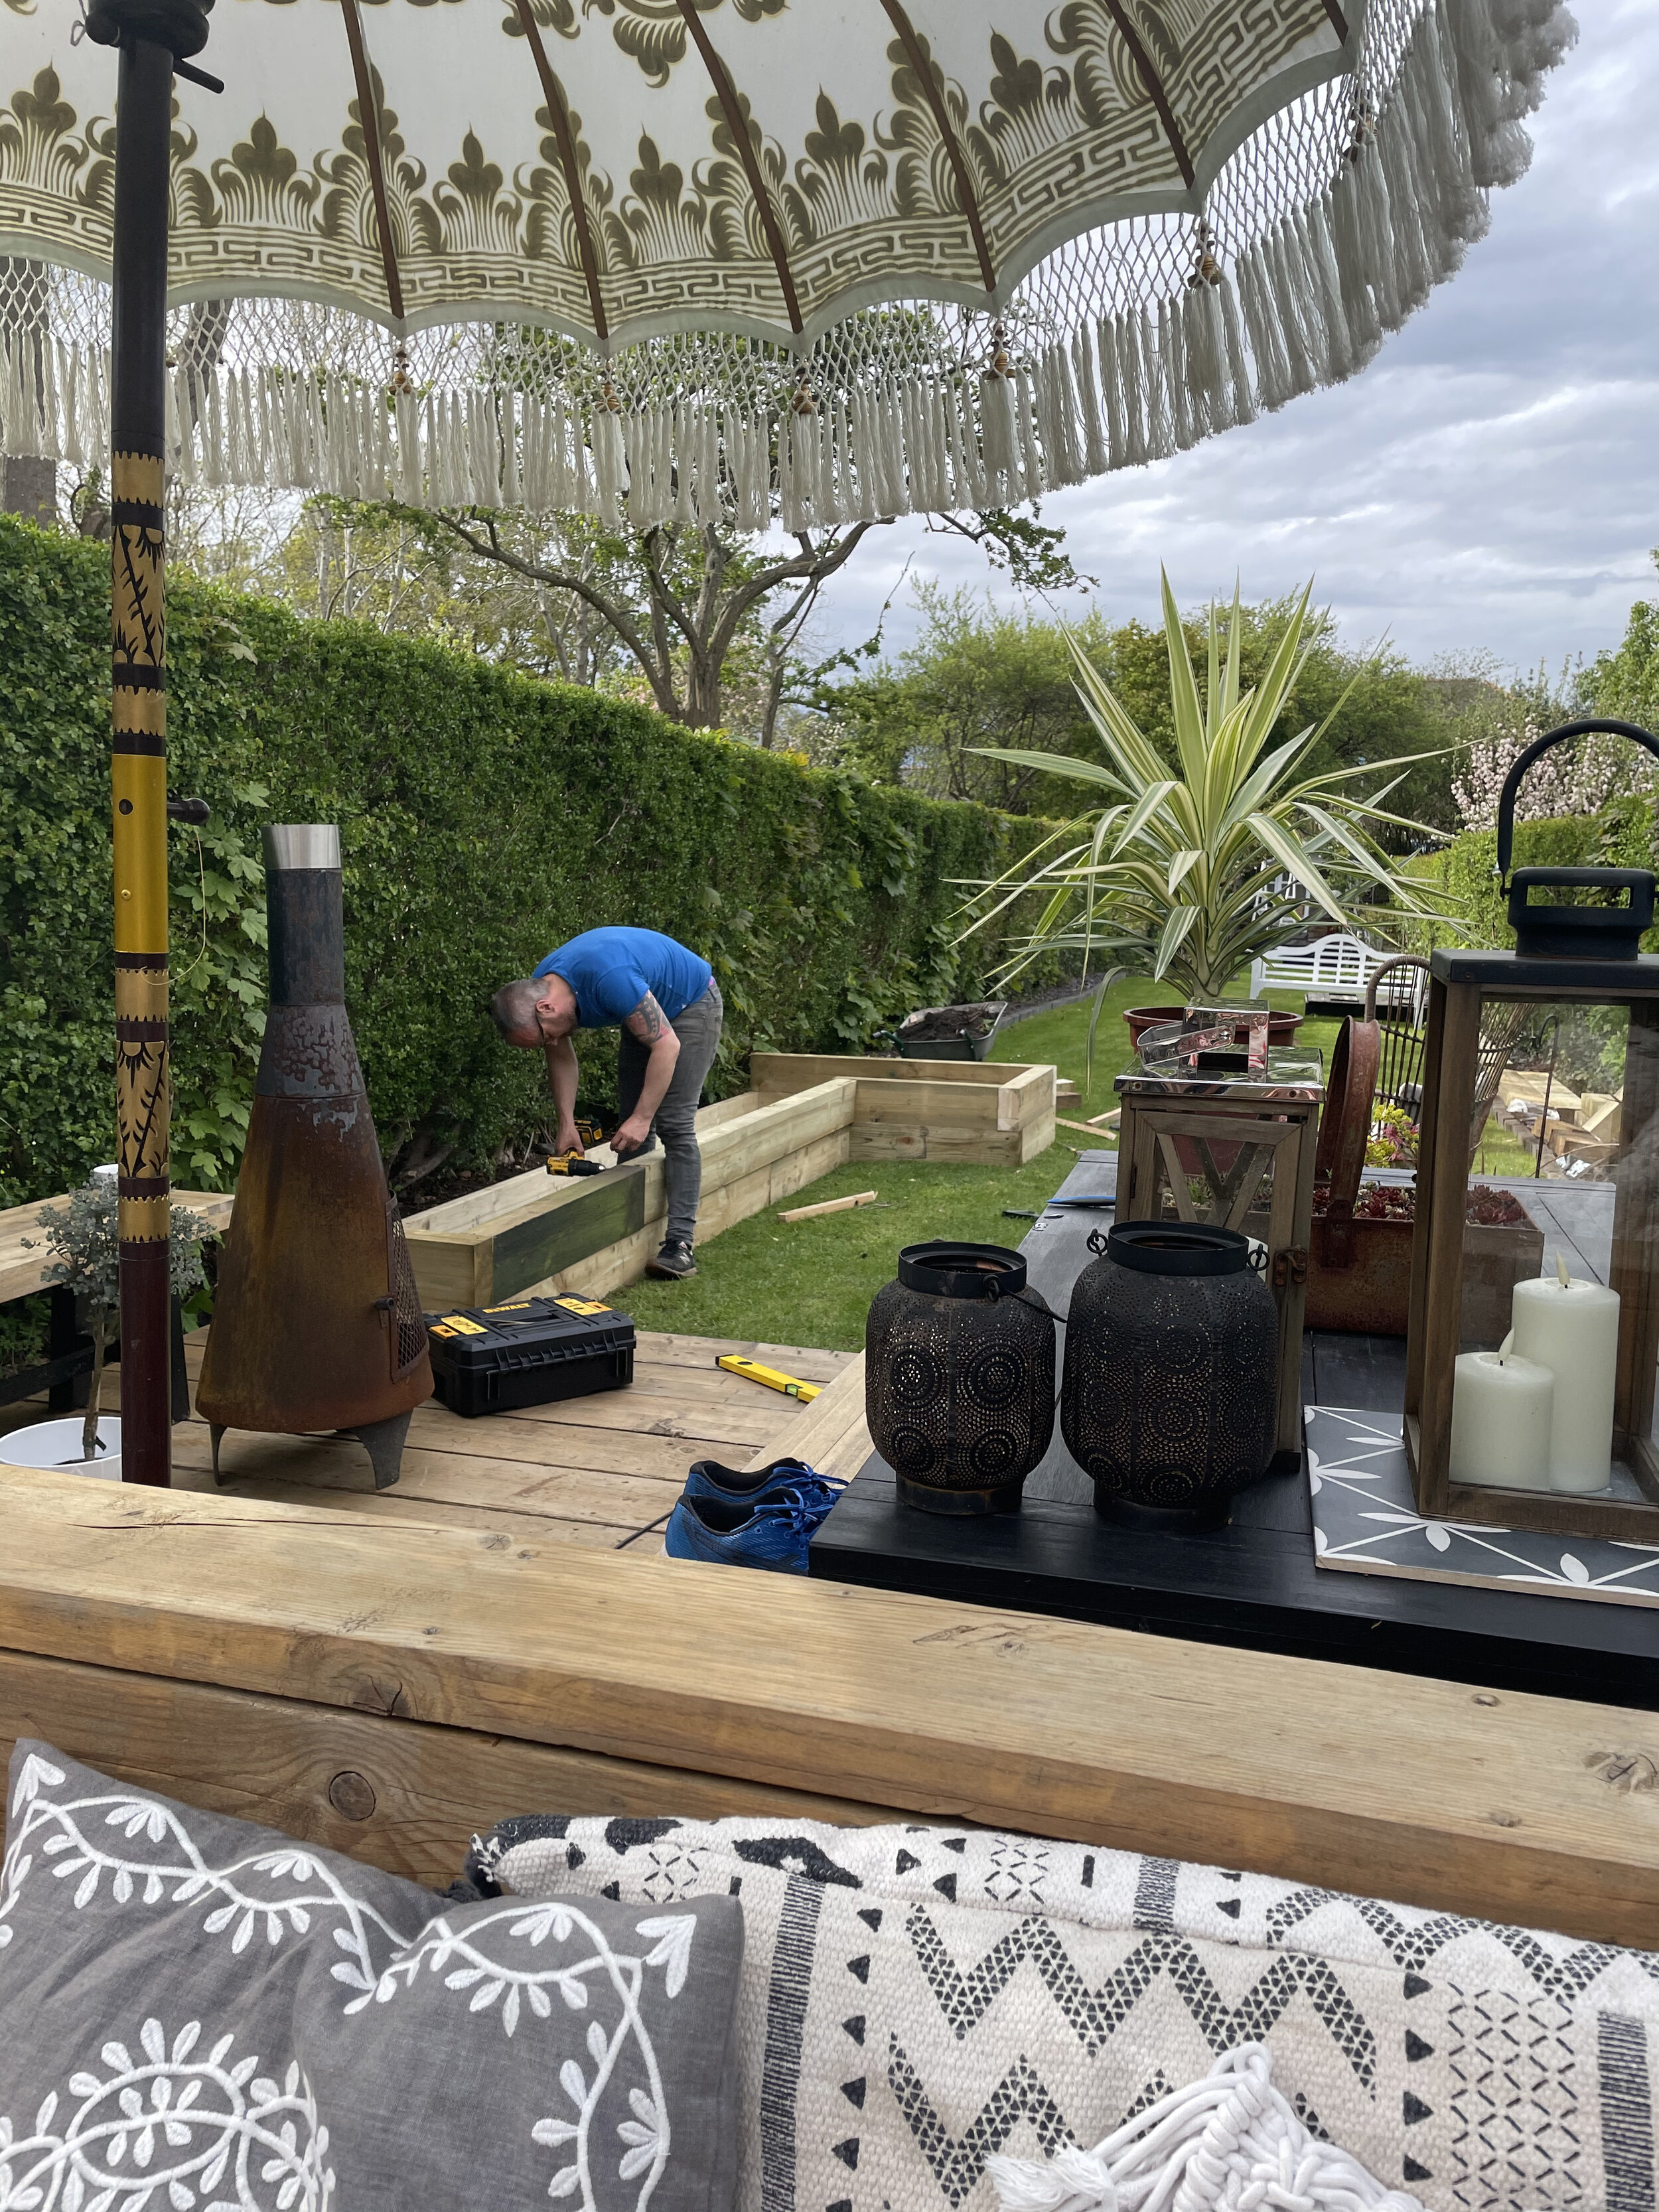
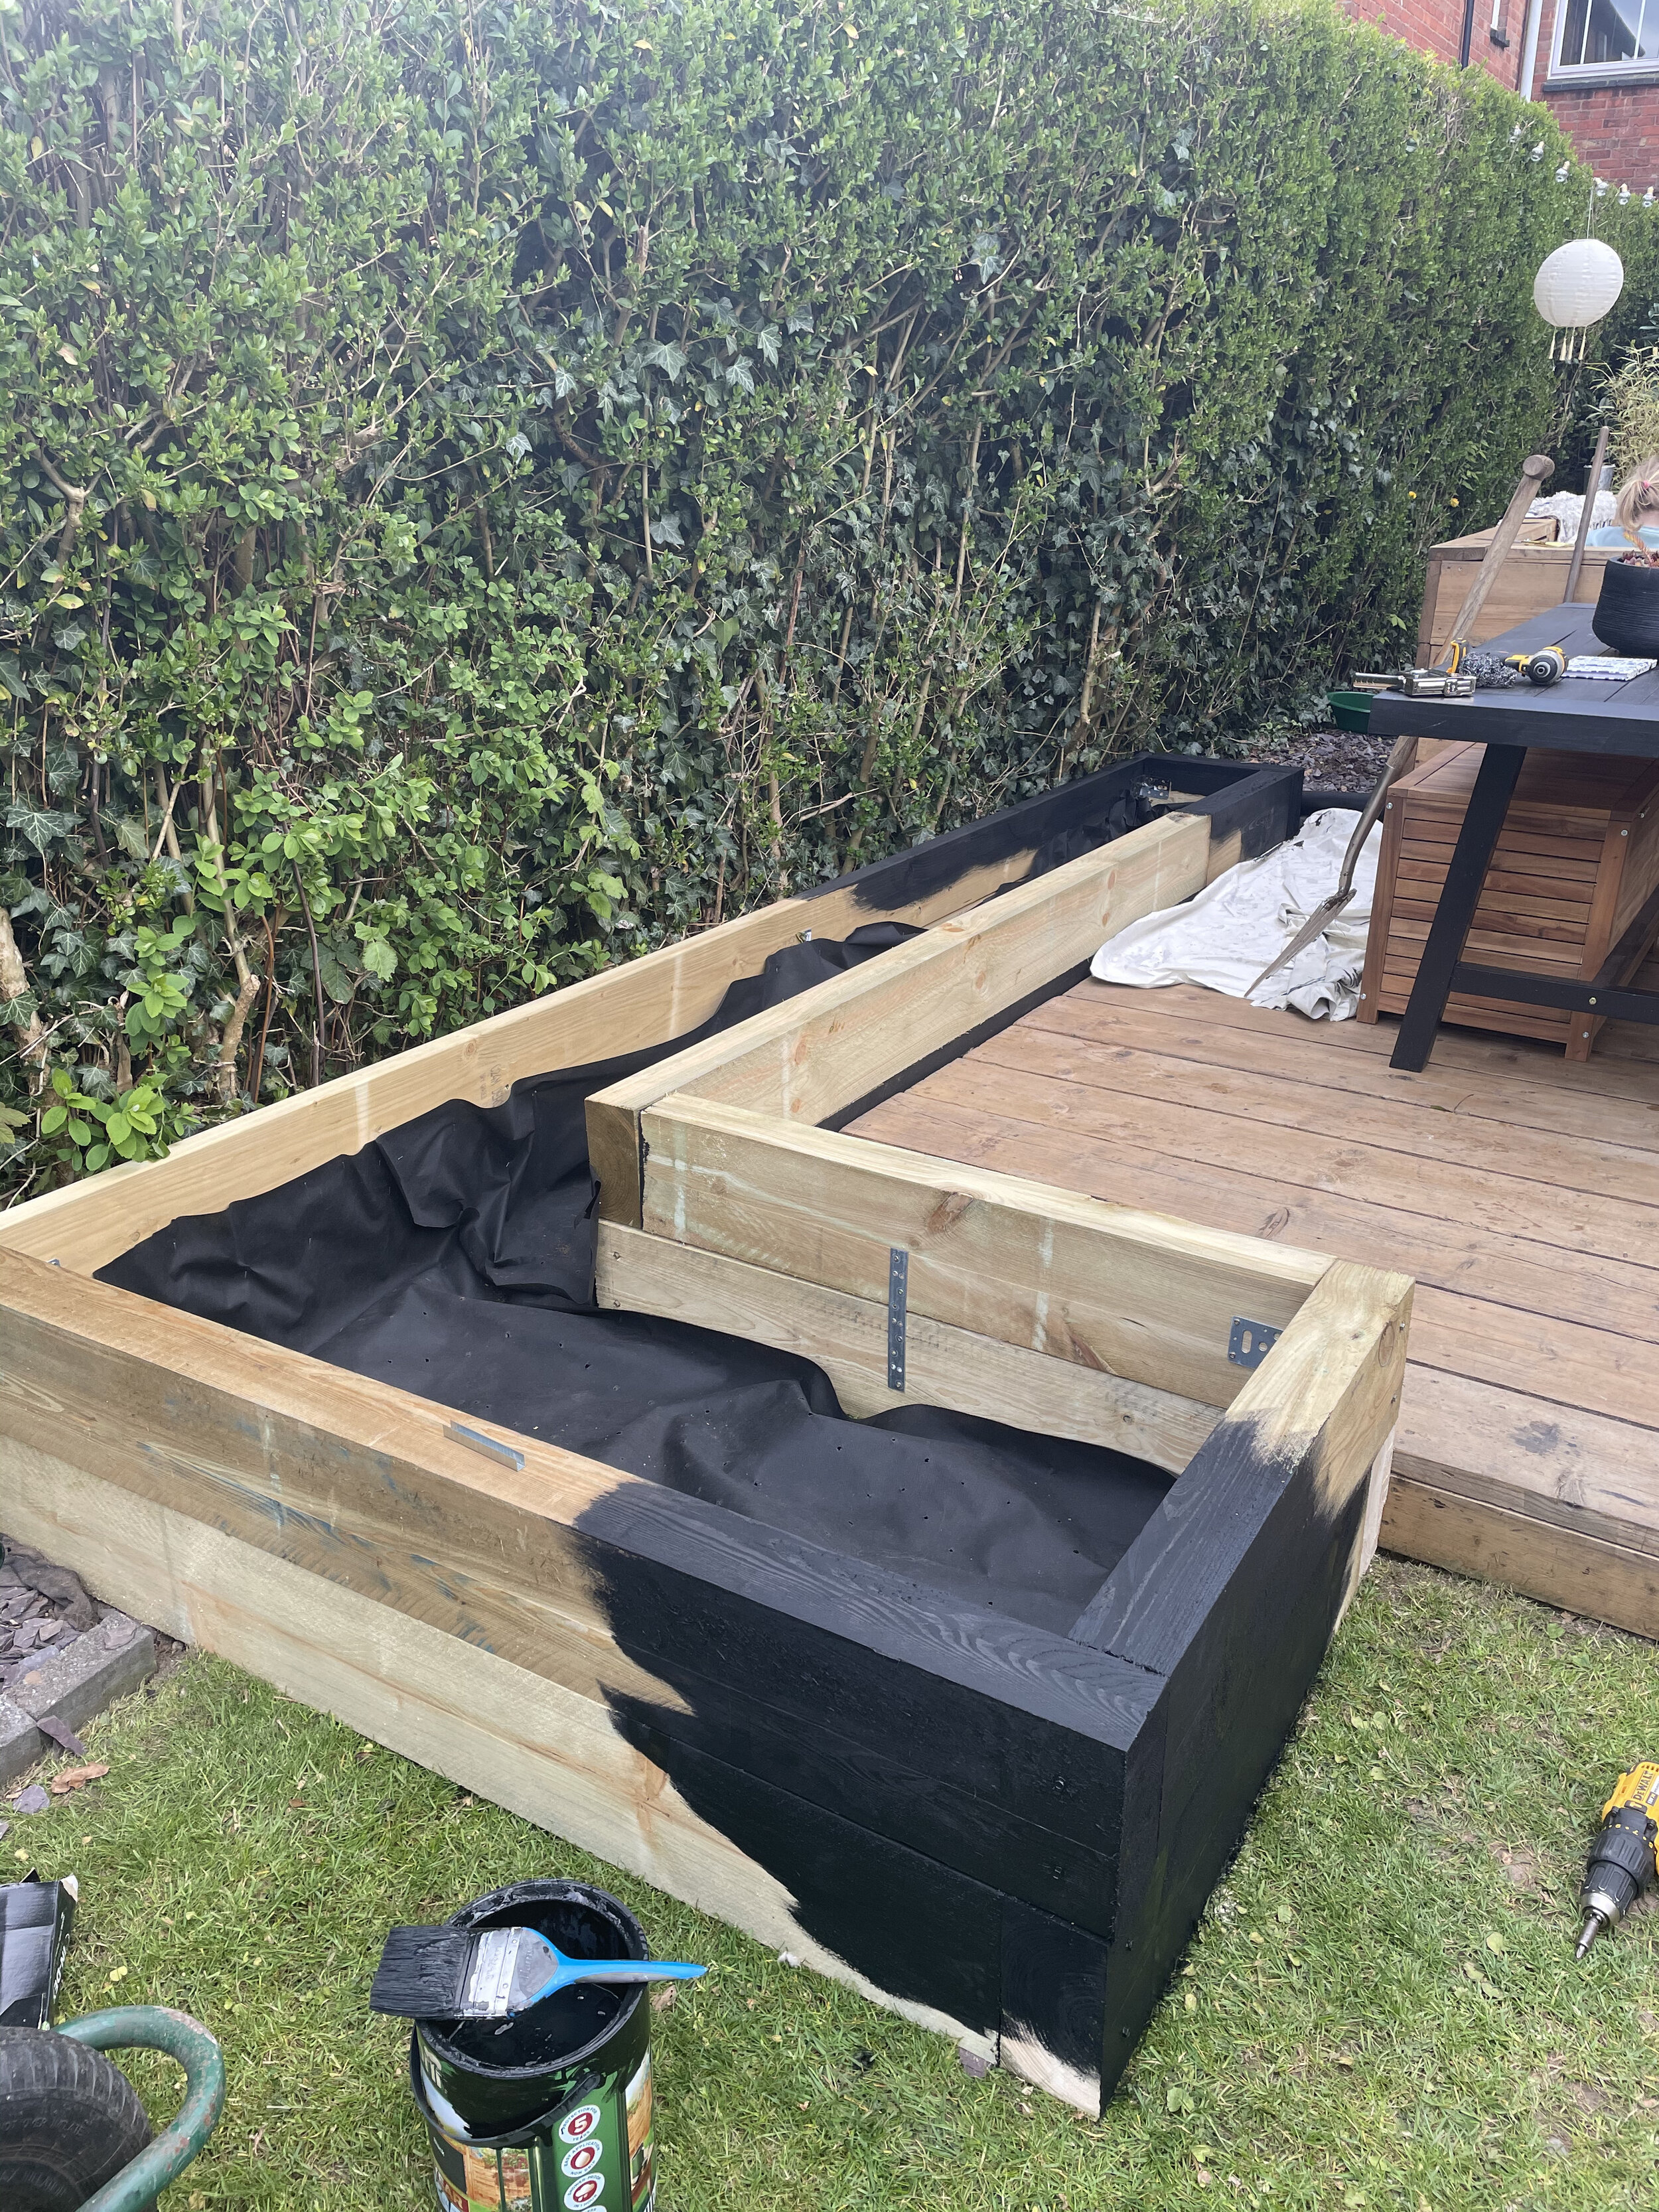
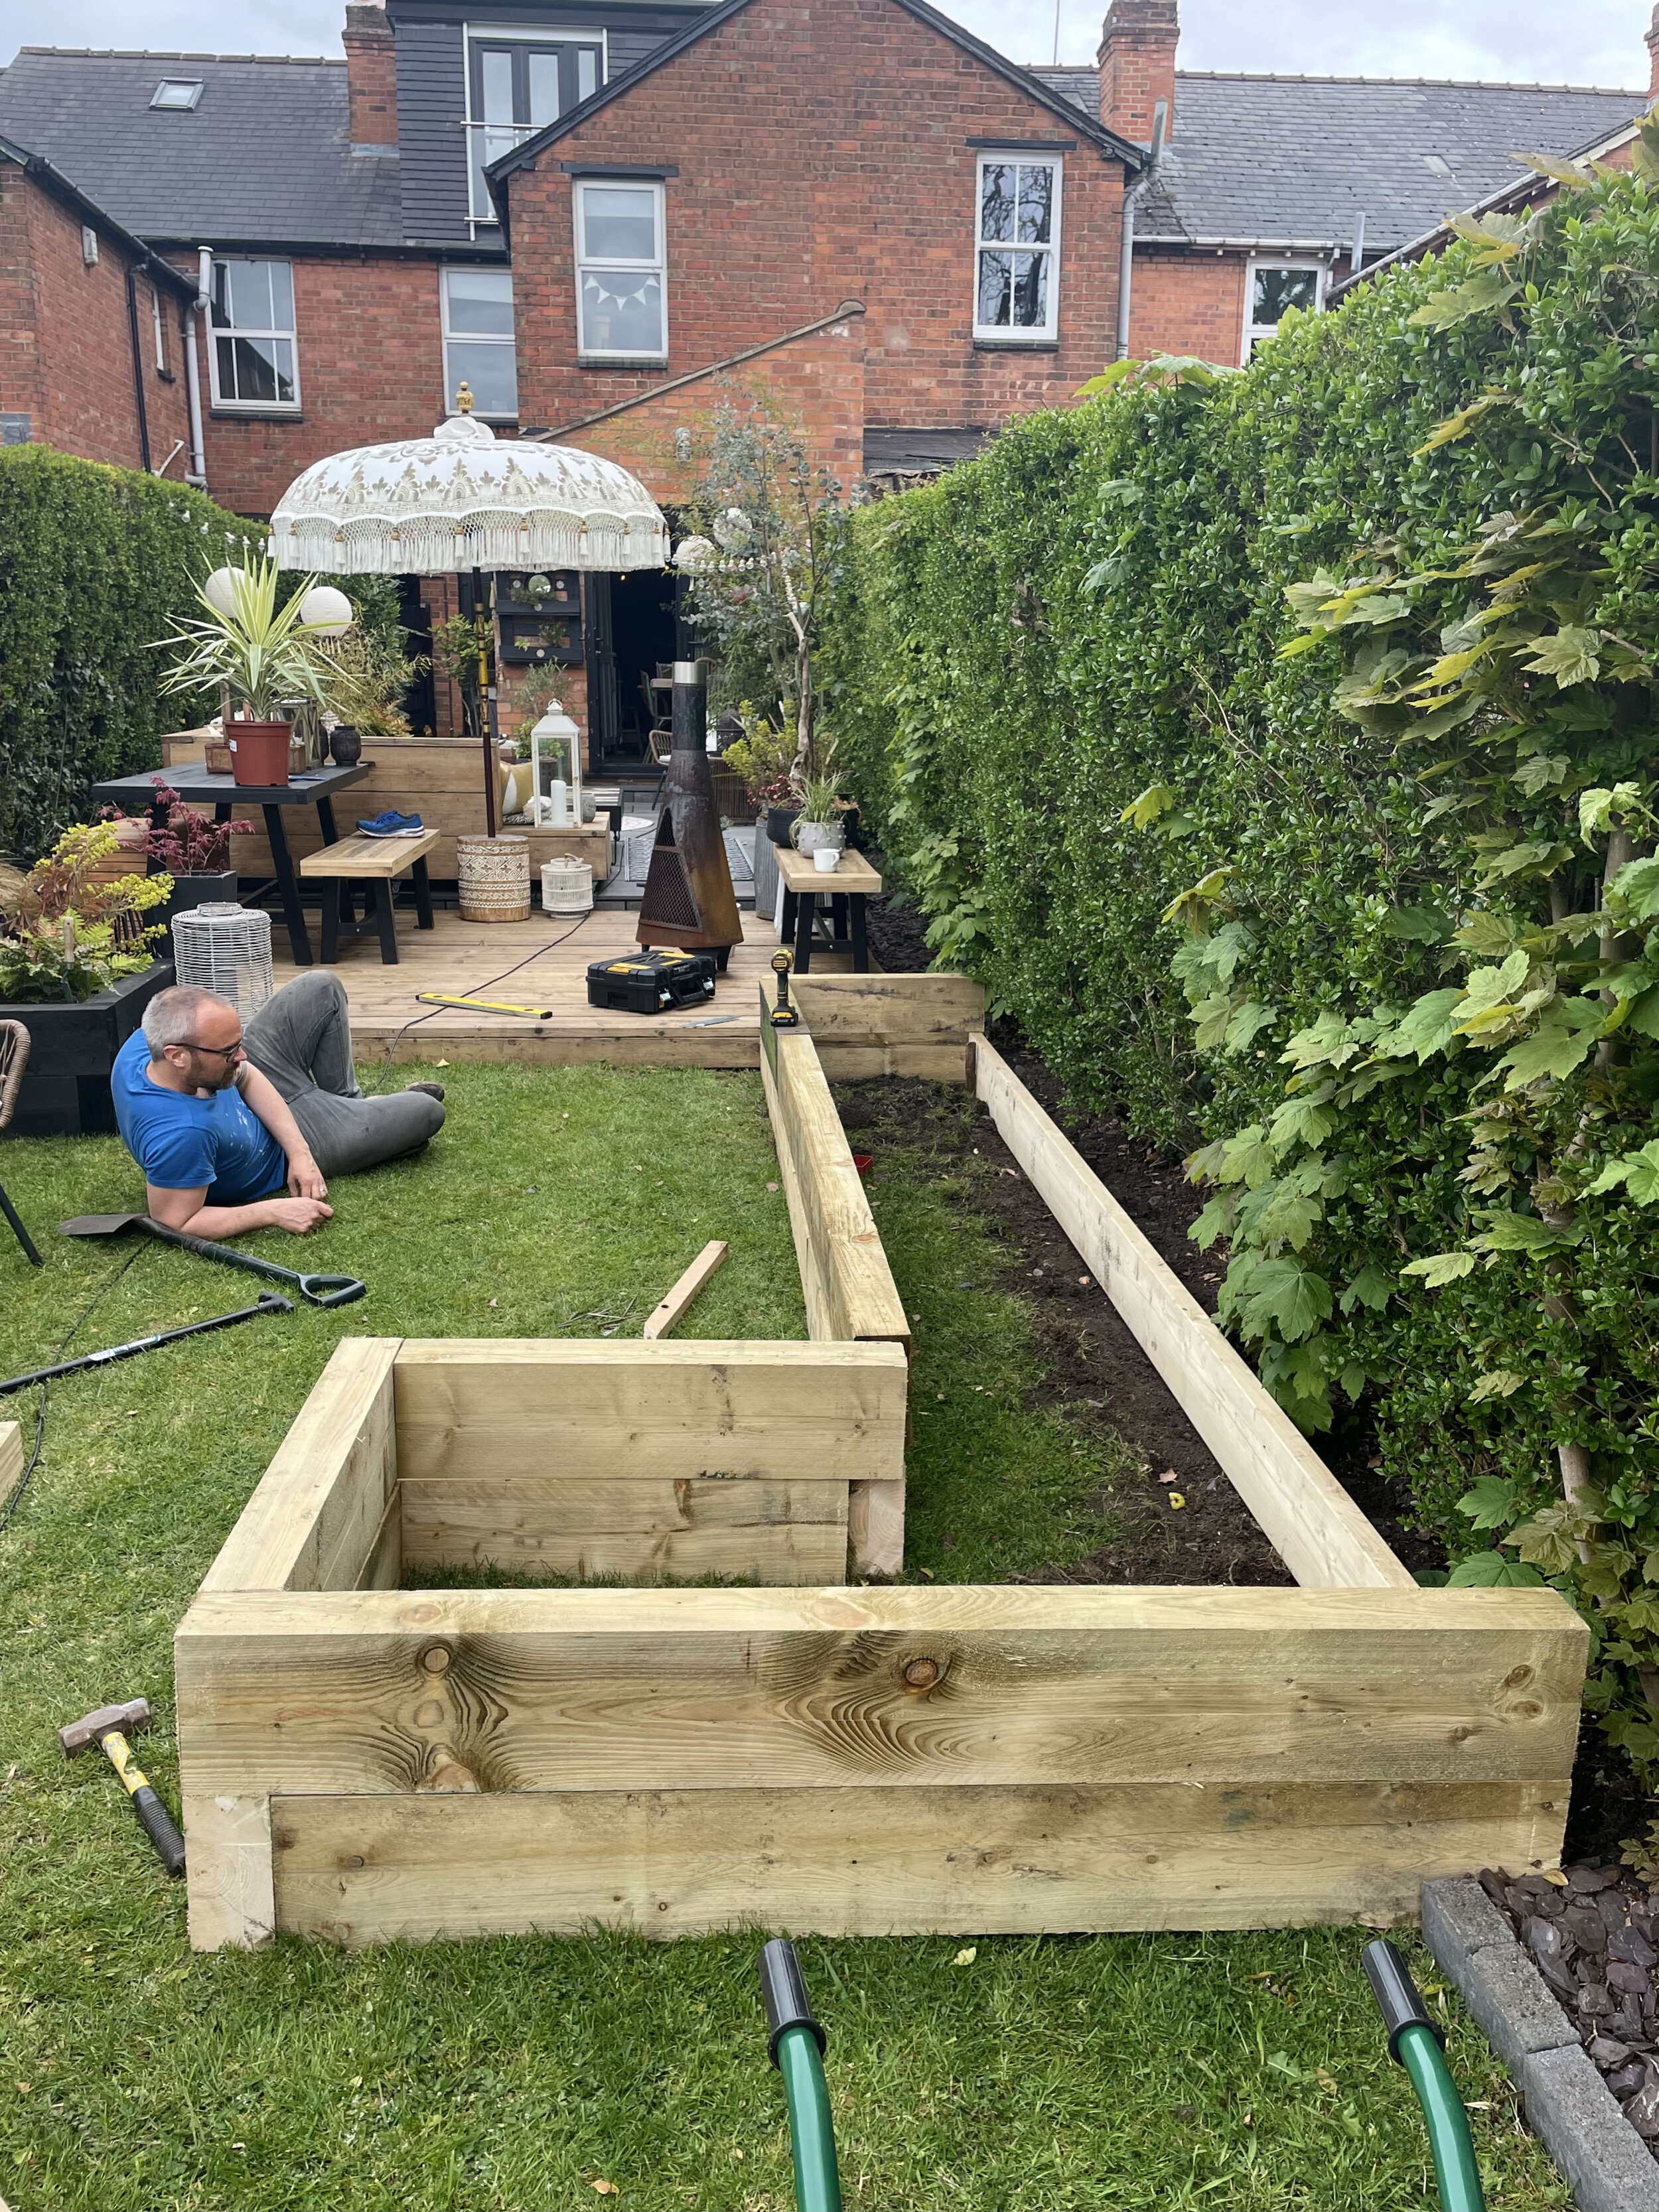
First of all the basics and how to build one. Honestly they are super simple to do. As my husband described them it’s like lego for adults. Basically big blocks that you position on top of one another (obviously overlapped for strength and sturdiness) We build ours two sleepers high but thats purely our preference you could just do one or go higher.
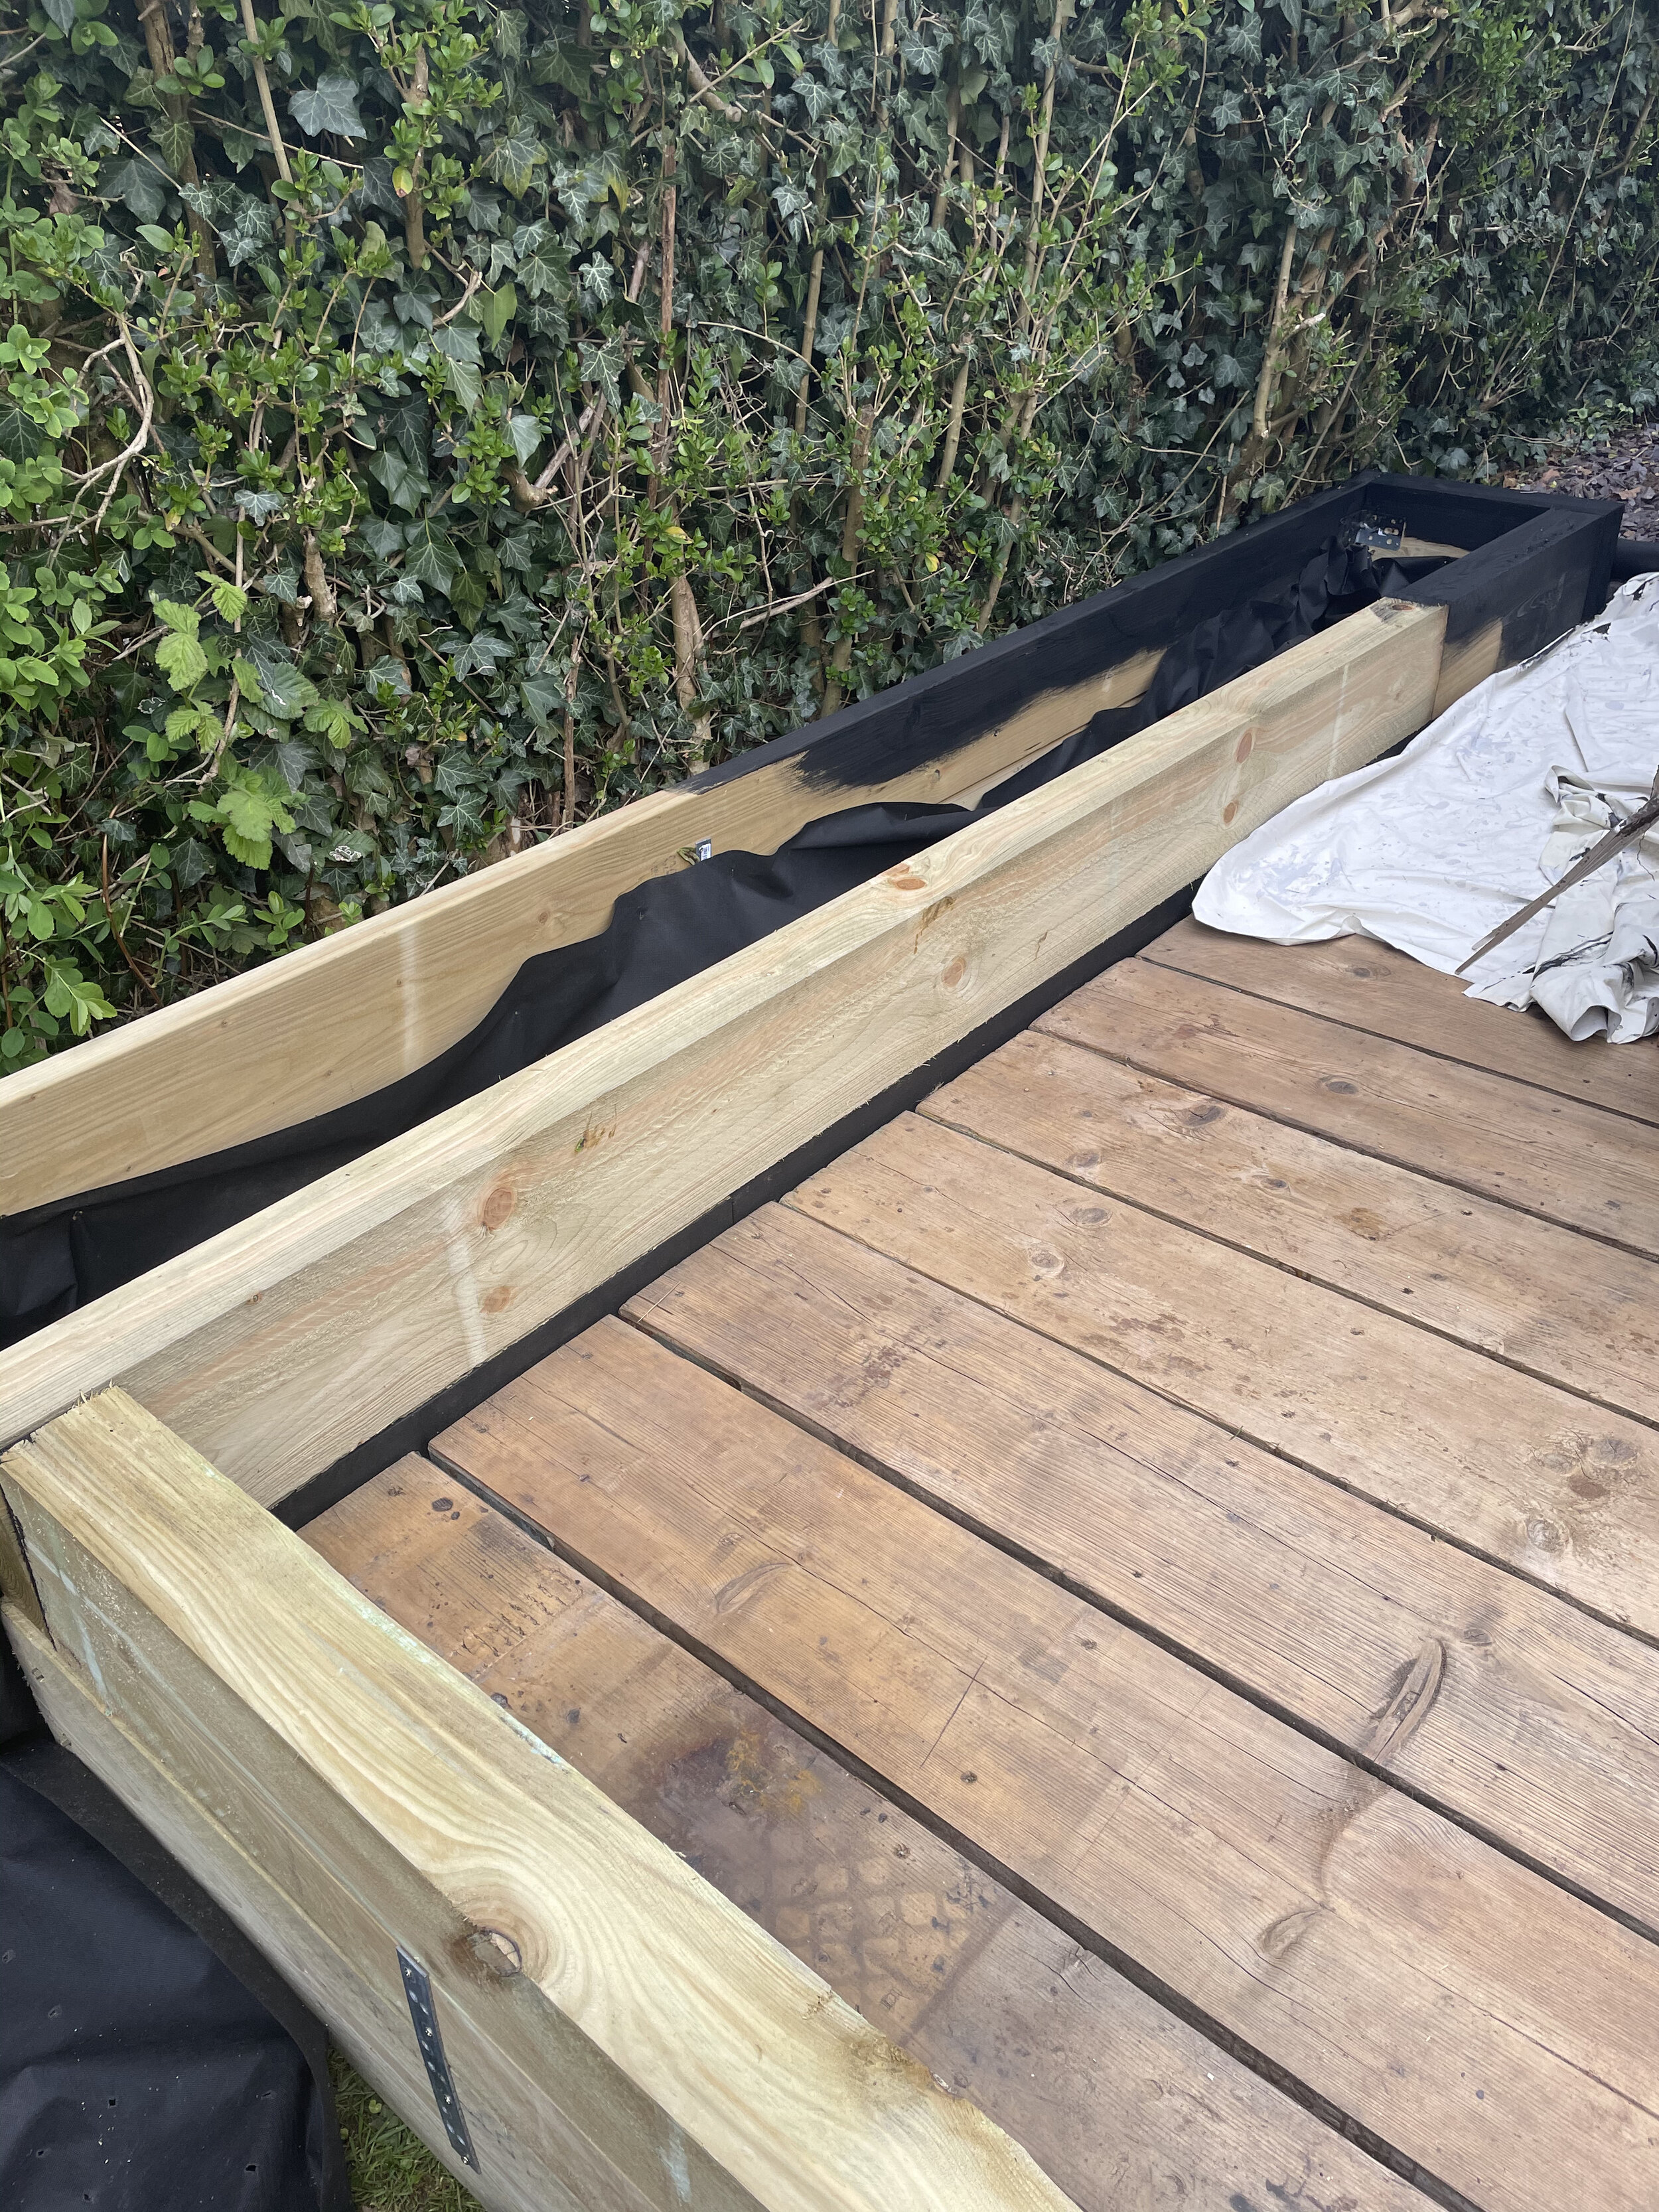
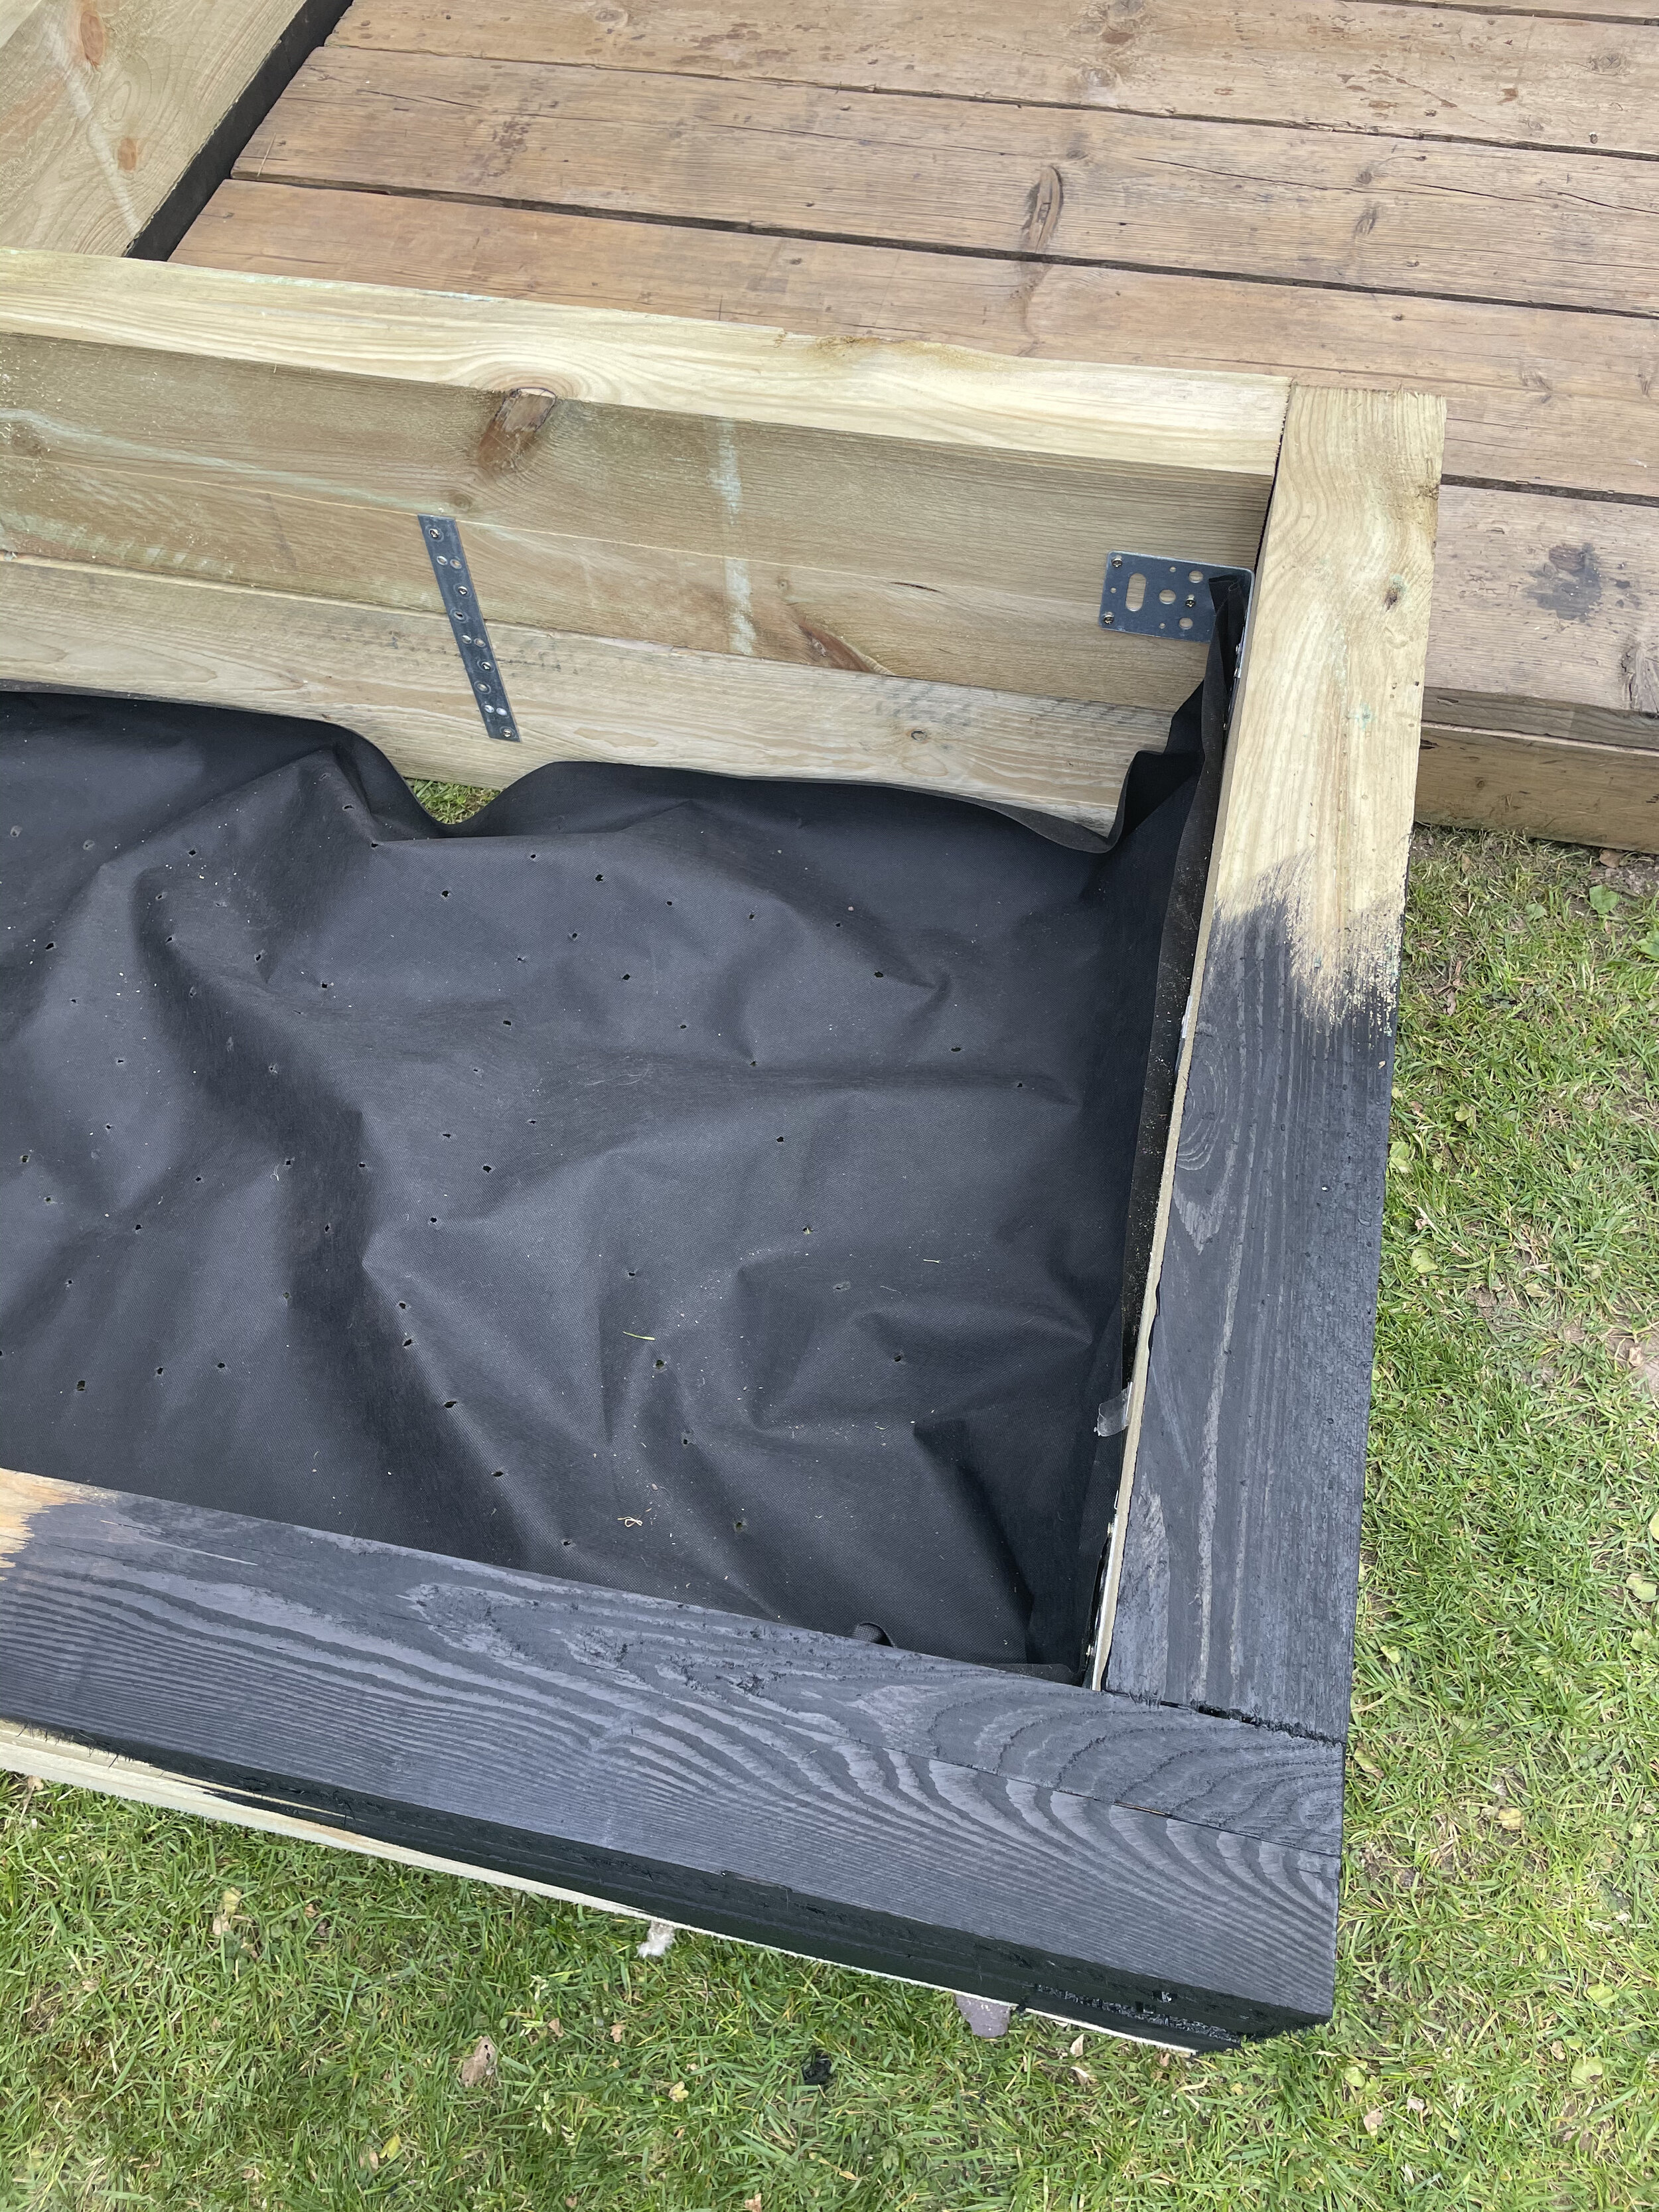
The first step is to prepare your area and level it off. Then start arranging the sleepers in position. To secure them we used the L shaped brackets you can see in one of the photos. To secure the two levels of sleepers together use a straight bracket. Then once the structure is built you need to line them with a waterproof membrane to stop the sleepers from rotting. We used this one from Sure Green, it acts as a barrier between the soil and the timber but still allows moisture through for drainage. If you’re using a non permeable membrane make sure you create holes in the membrane to allow for drainage.
Then it’s just a matter of filling it with soil. You can order top soil by the tonne but we just used a huge bank of soil at the end of our garden topped up with some manure for added nutrients (saved us about £400!)
I then painted them with the aforementioned Ducksback paint or you could leave them natural or stain them depending on the look you are after.

Now the fun bit, the planting! I worked with plant company Beards and Daisies to fill these beds and used a selection of plants from their new outdoor range.
I kept to the theme that I used on my patio and repeated a lot of the plants I’d used there, lots of ferns and grasses. Black and red bamboos, Heucheras and a few flowering plants managed to sneak in but I mostly went for foliage plants over flowers.
Here is a full list of all the plants I used -
Black bamboo
Red Bamboo
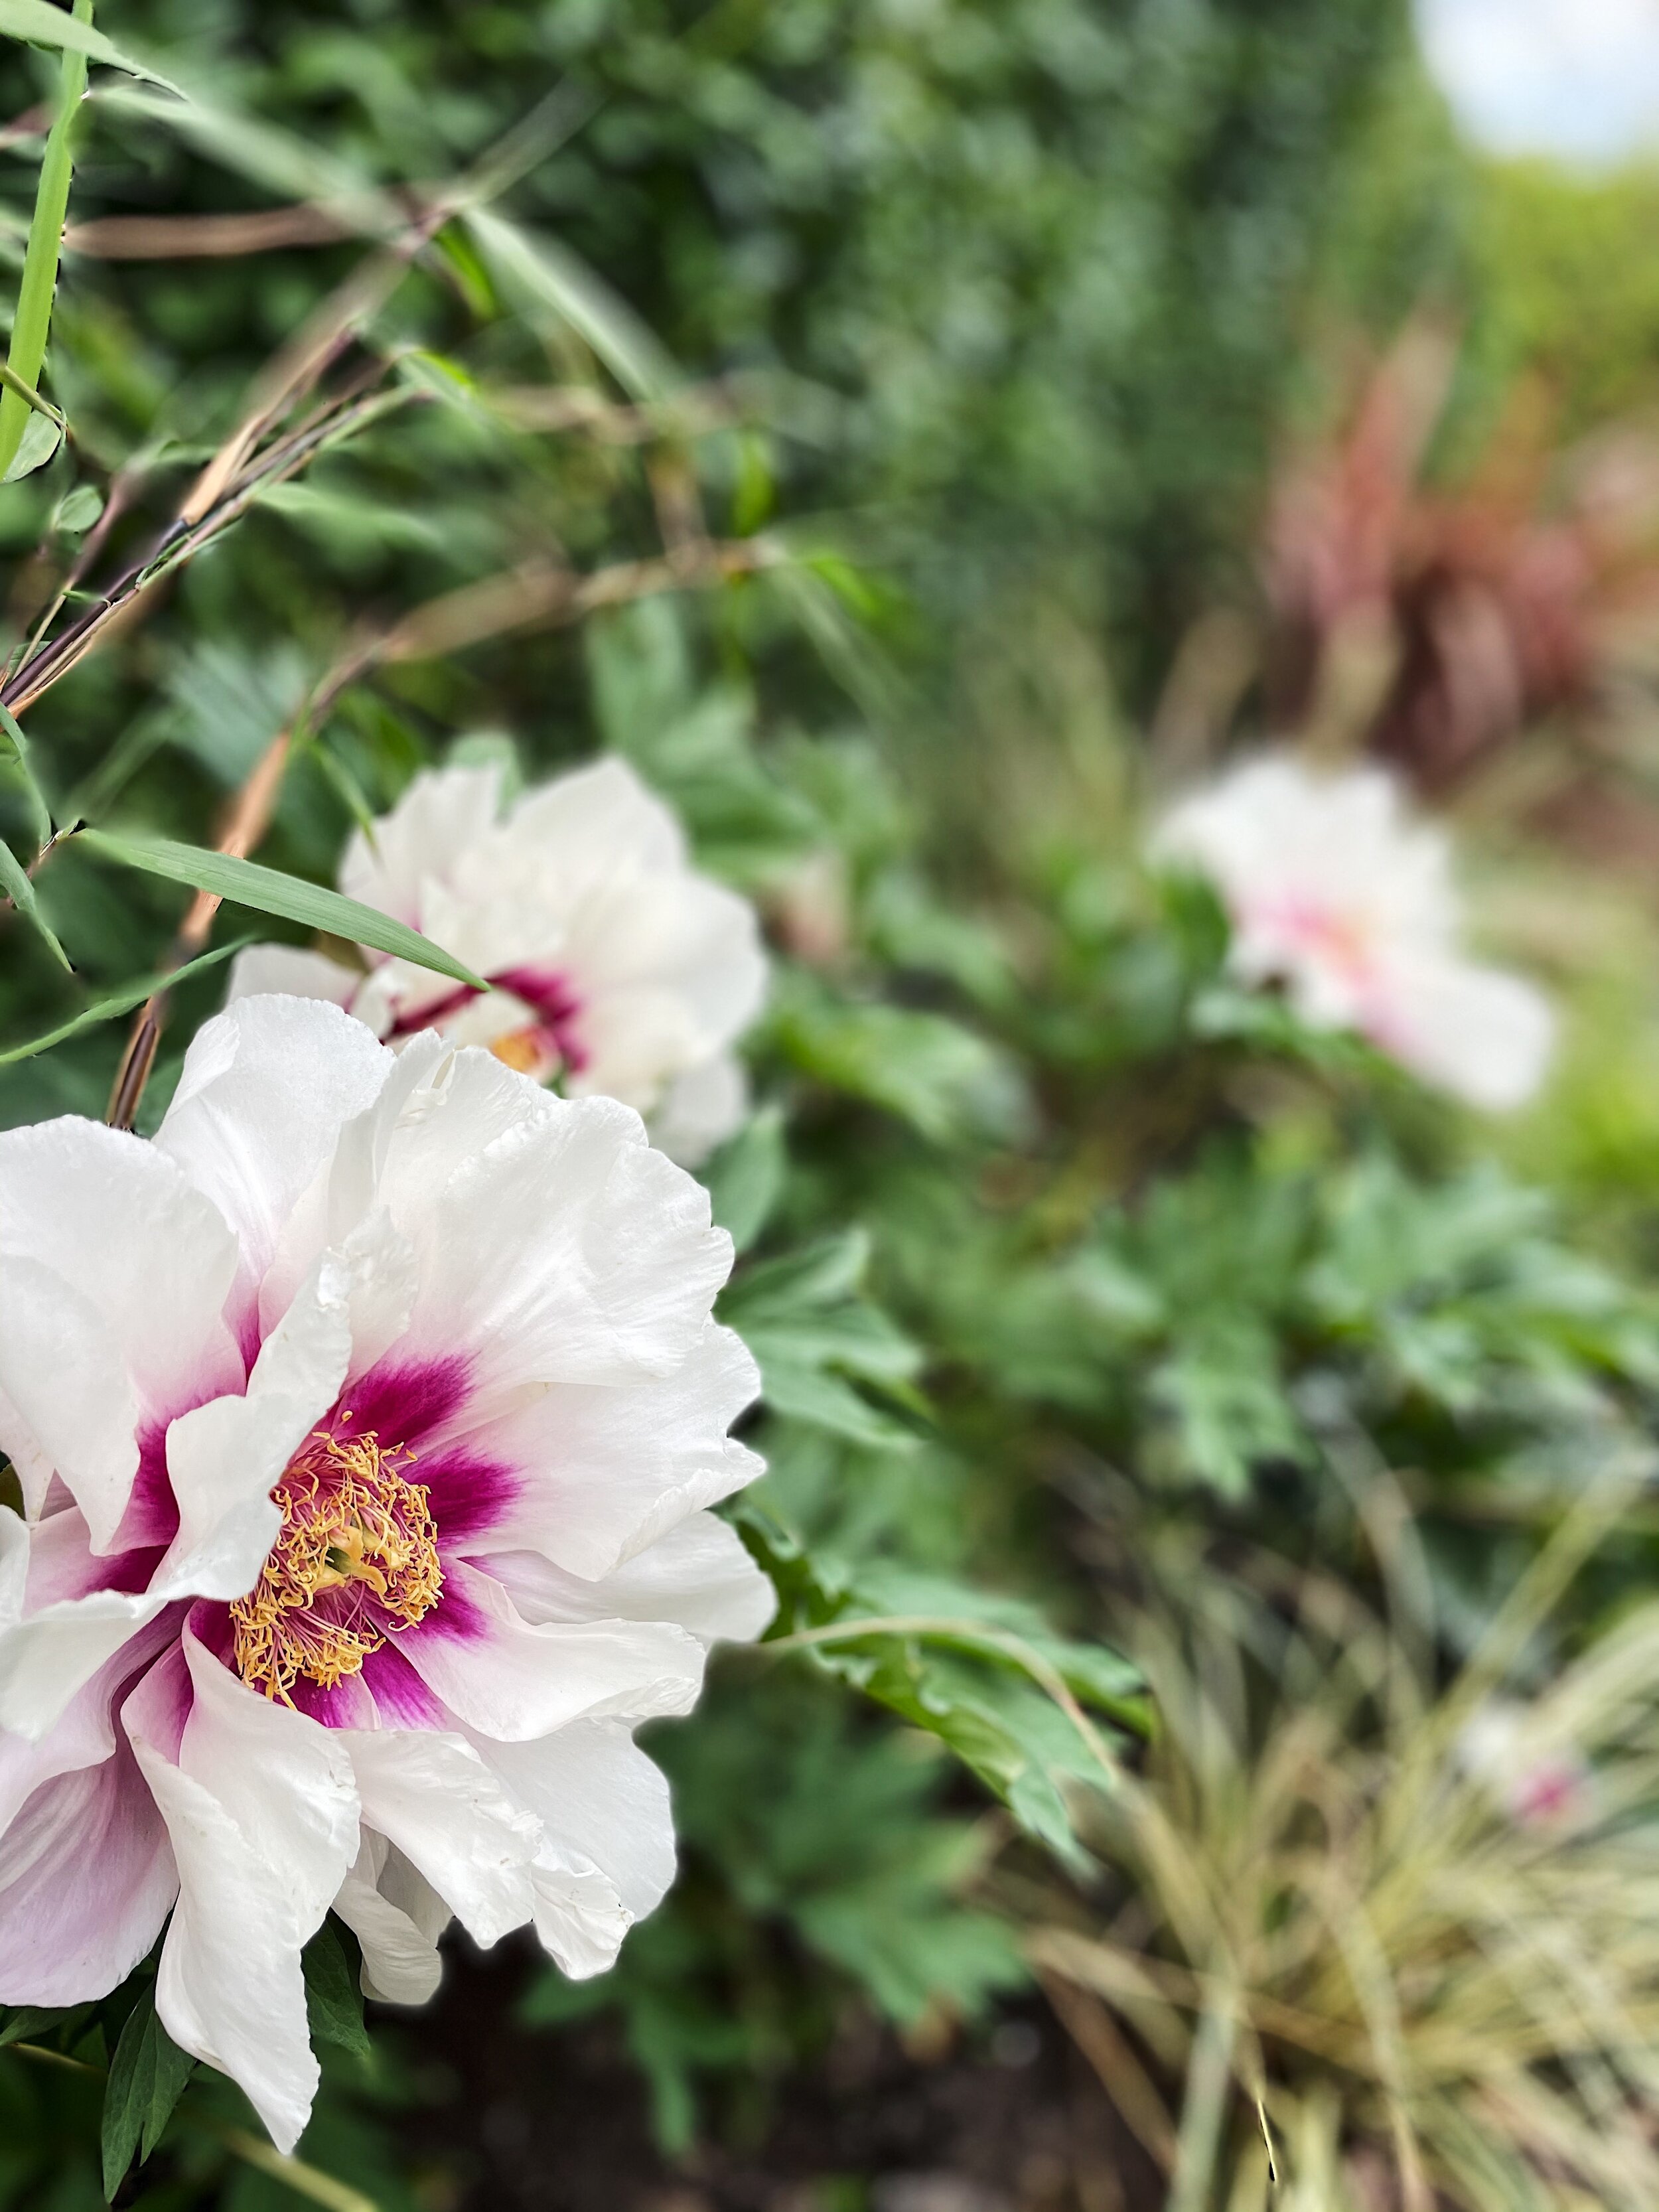
Itoh Peony ‘Cora Louise’
Festuca Glauca Blue grass
Heuchera (mixed colours)
Calla lily
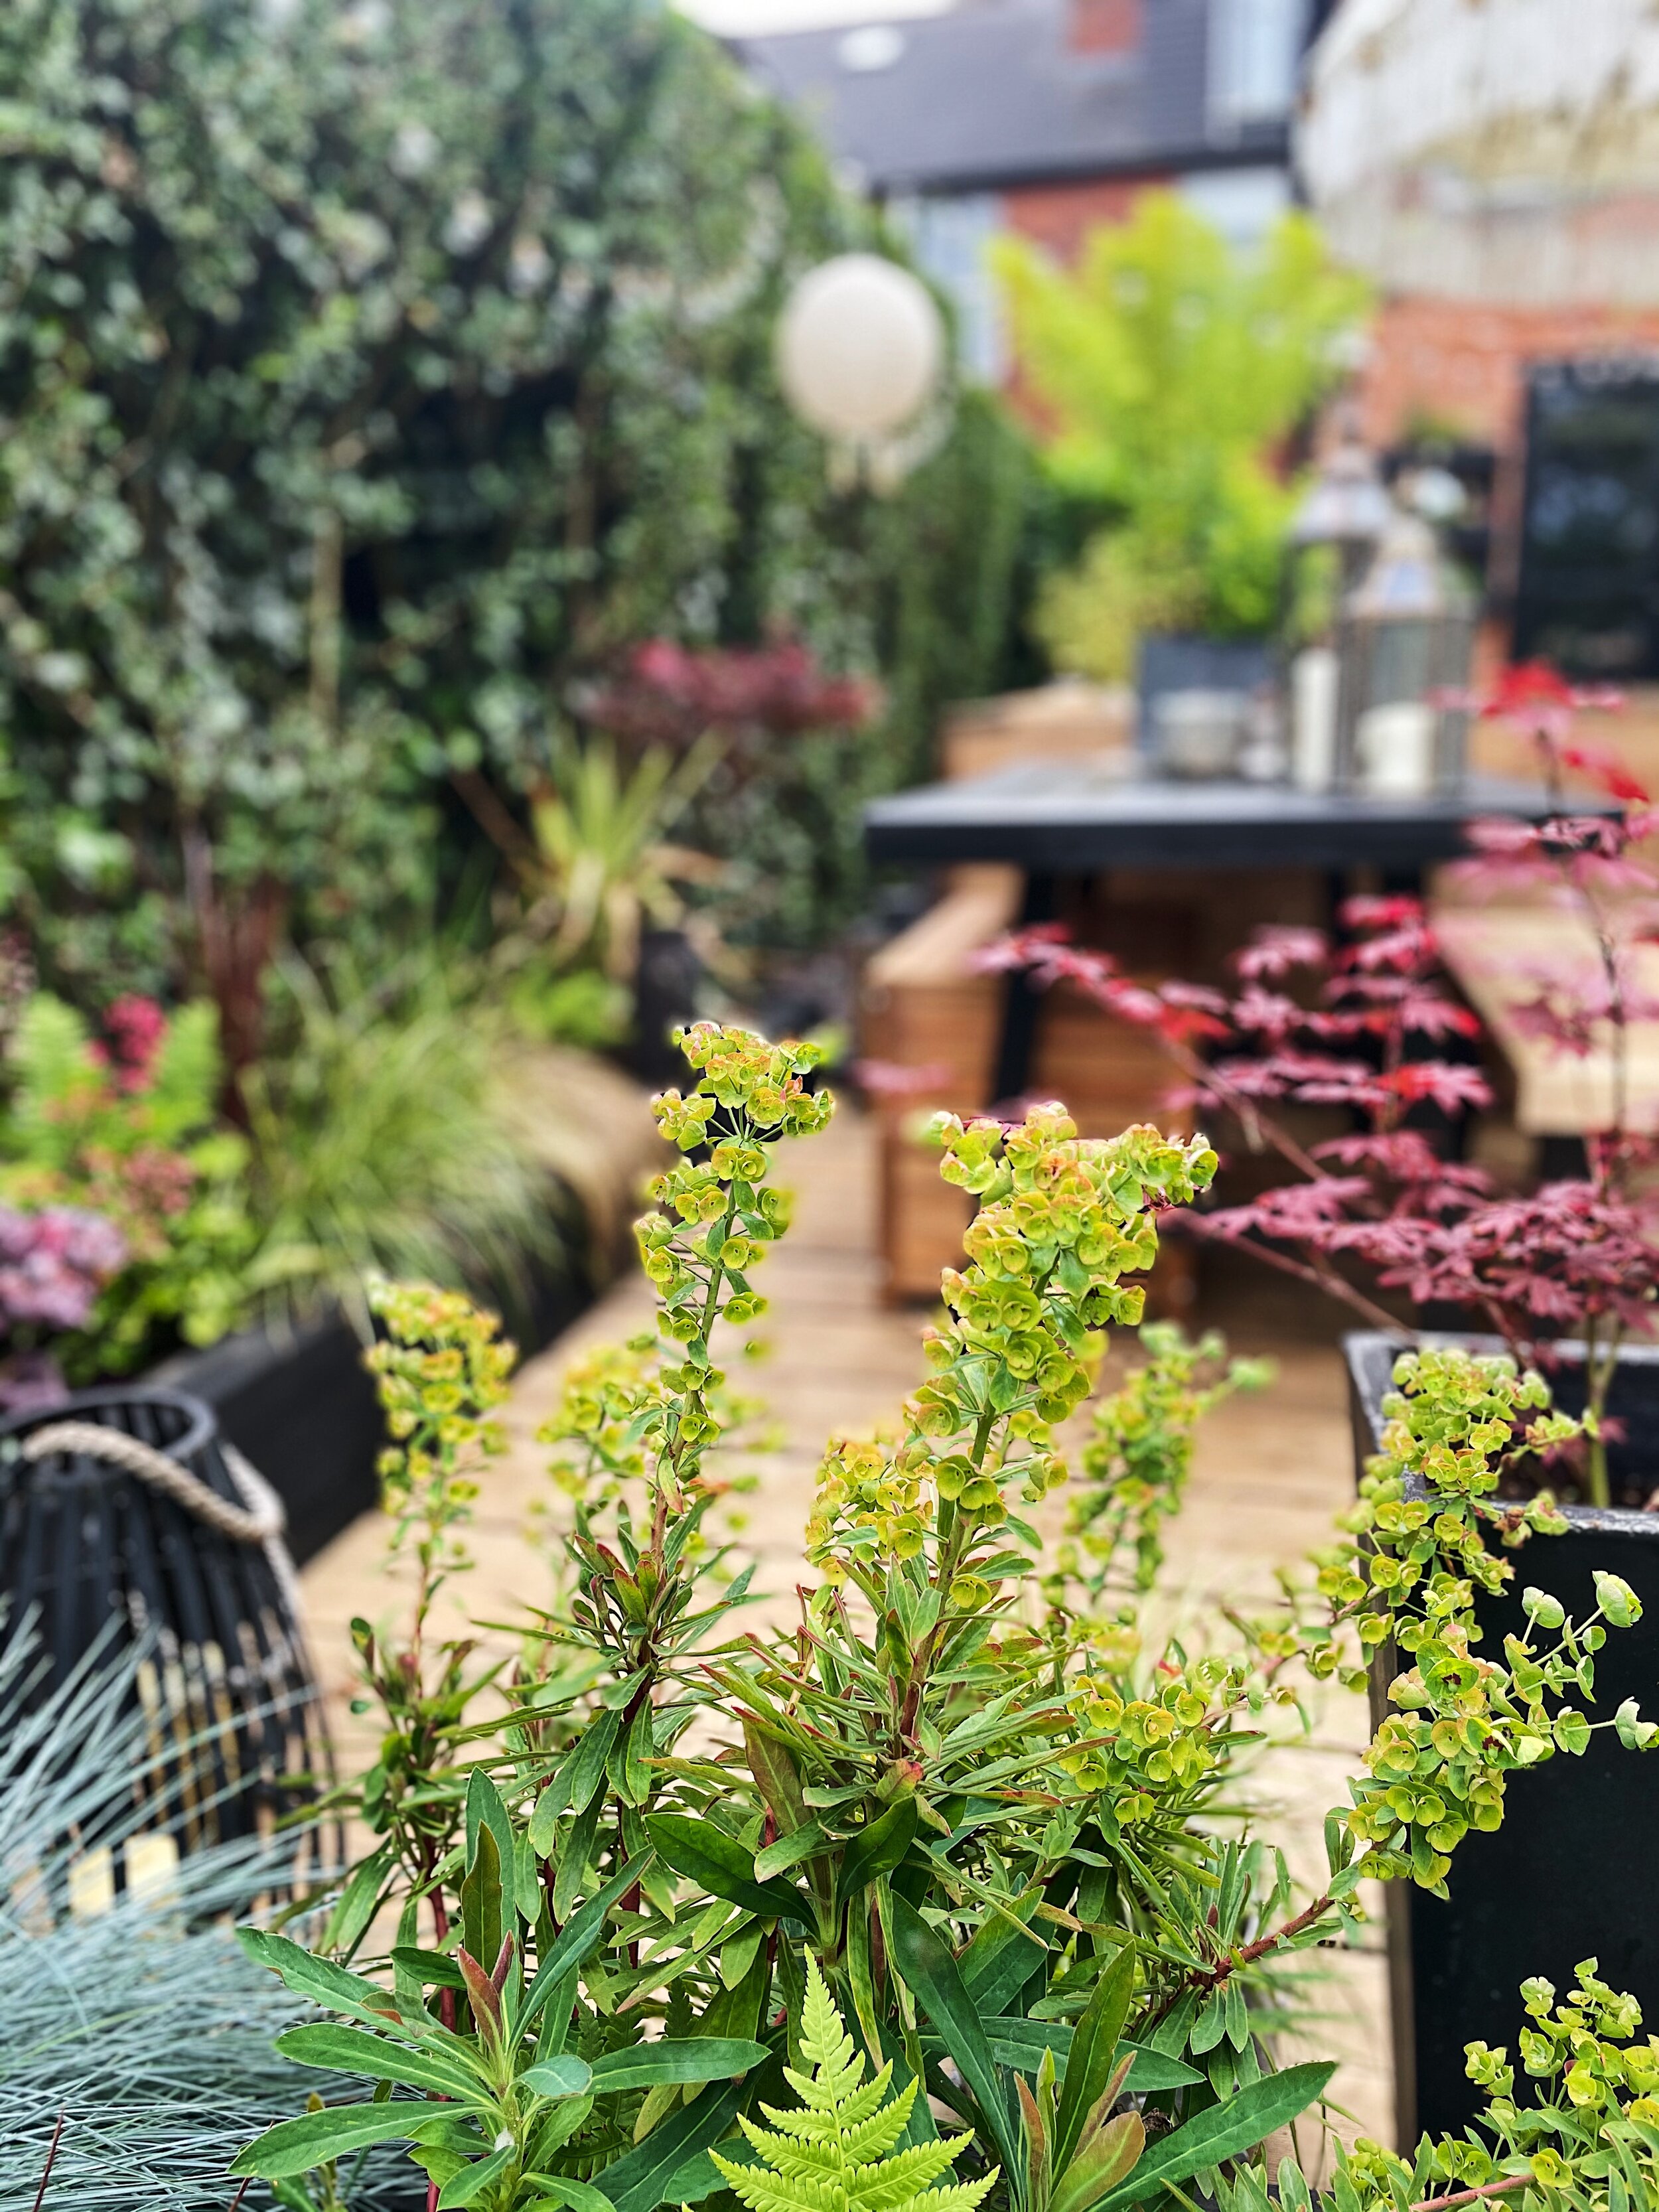
Euphorbia
Carex Comans Bronze
Wow it seems like a lot when you list them! I probably overplanted as I wanted the beds to look good straight away so will probably thin out a few of the plants next year and plant them elsewhere.
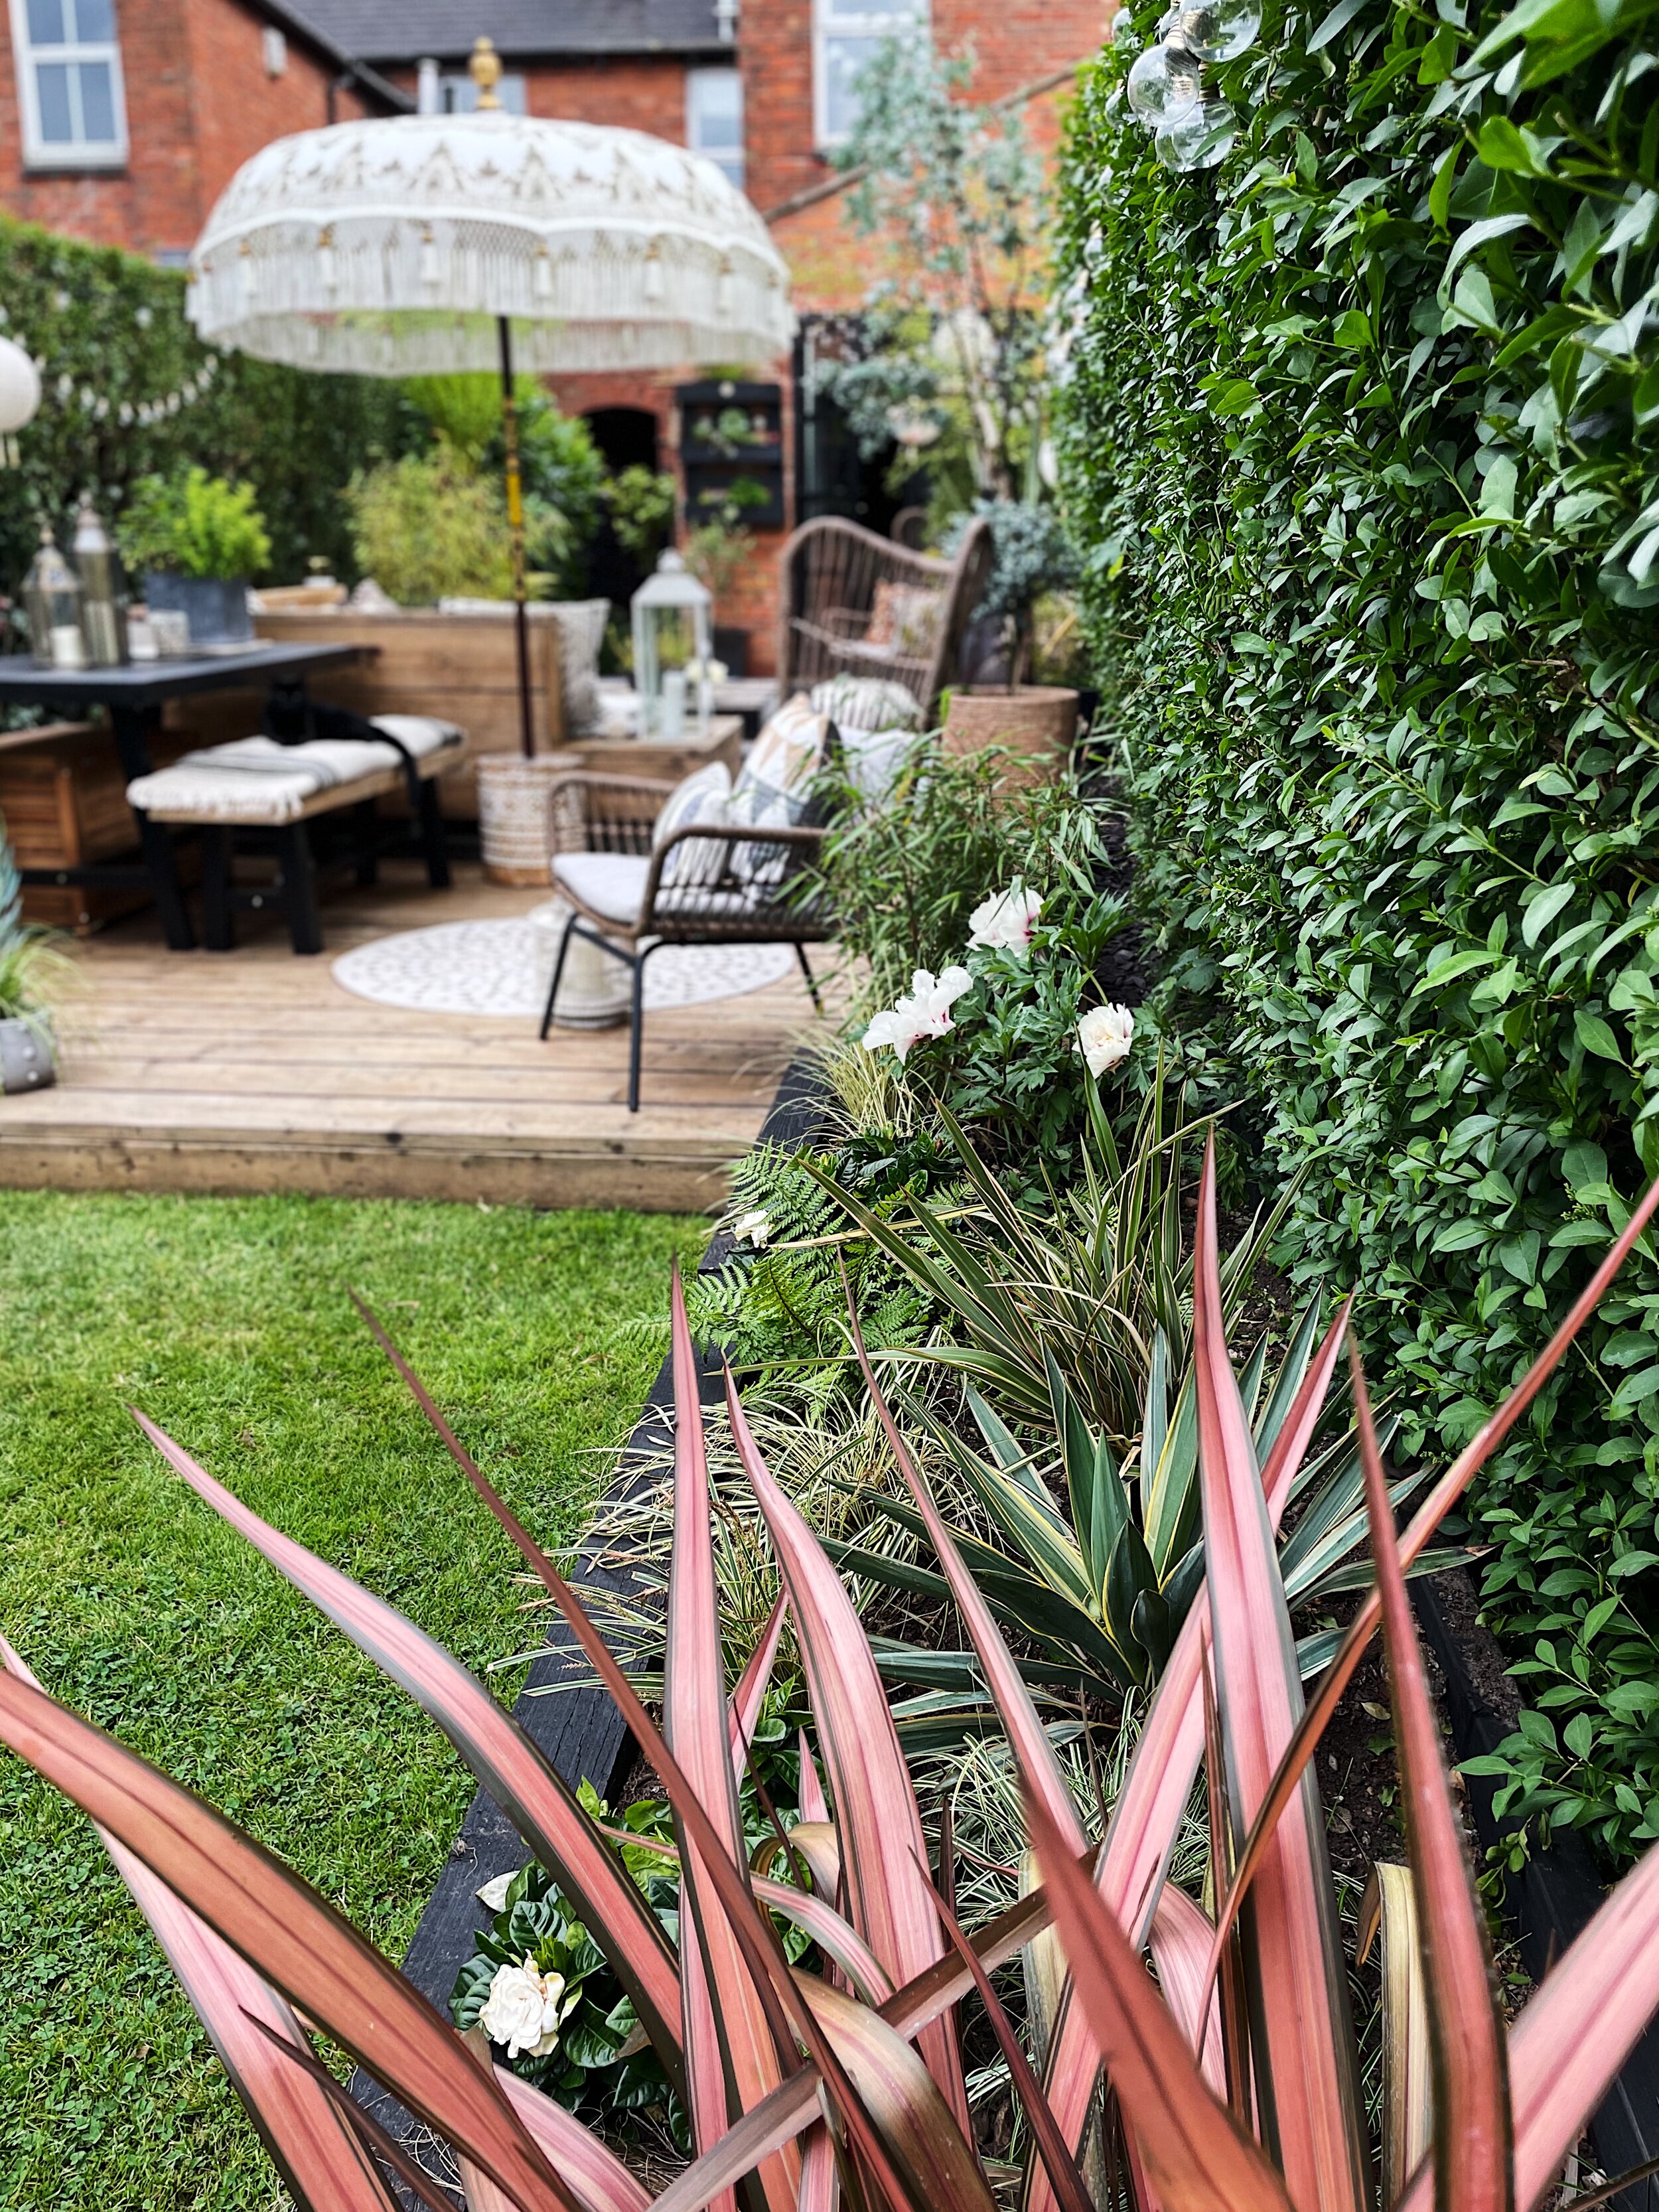
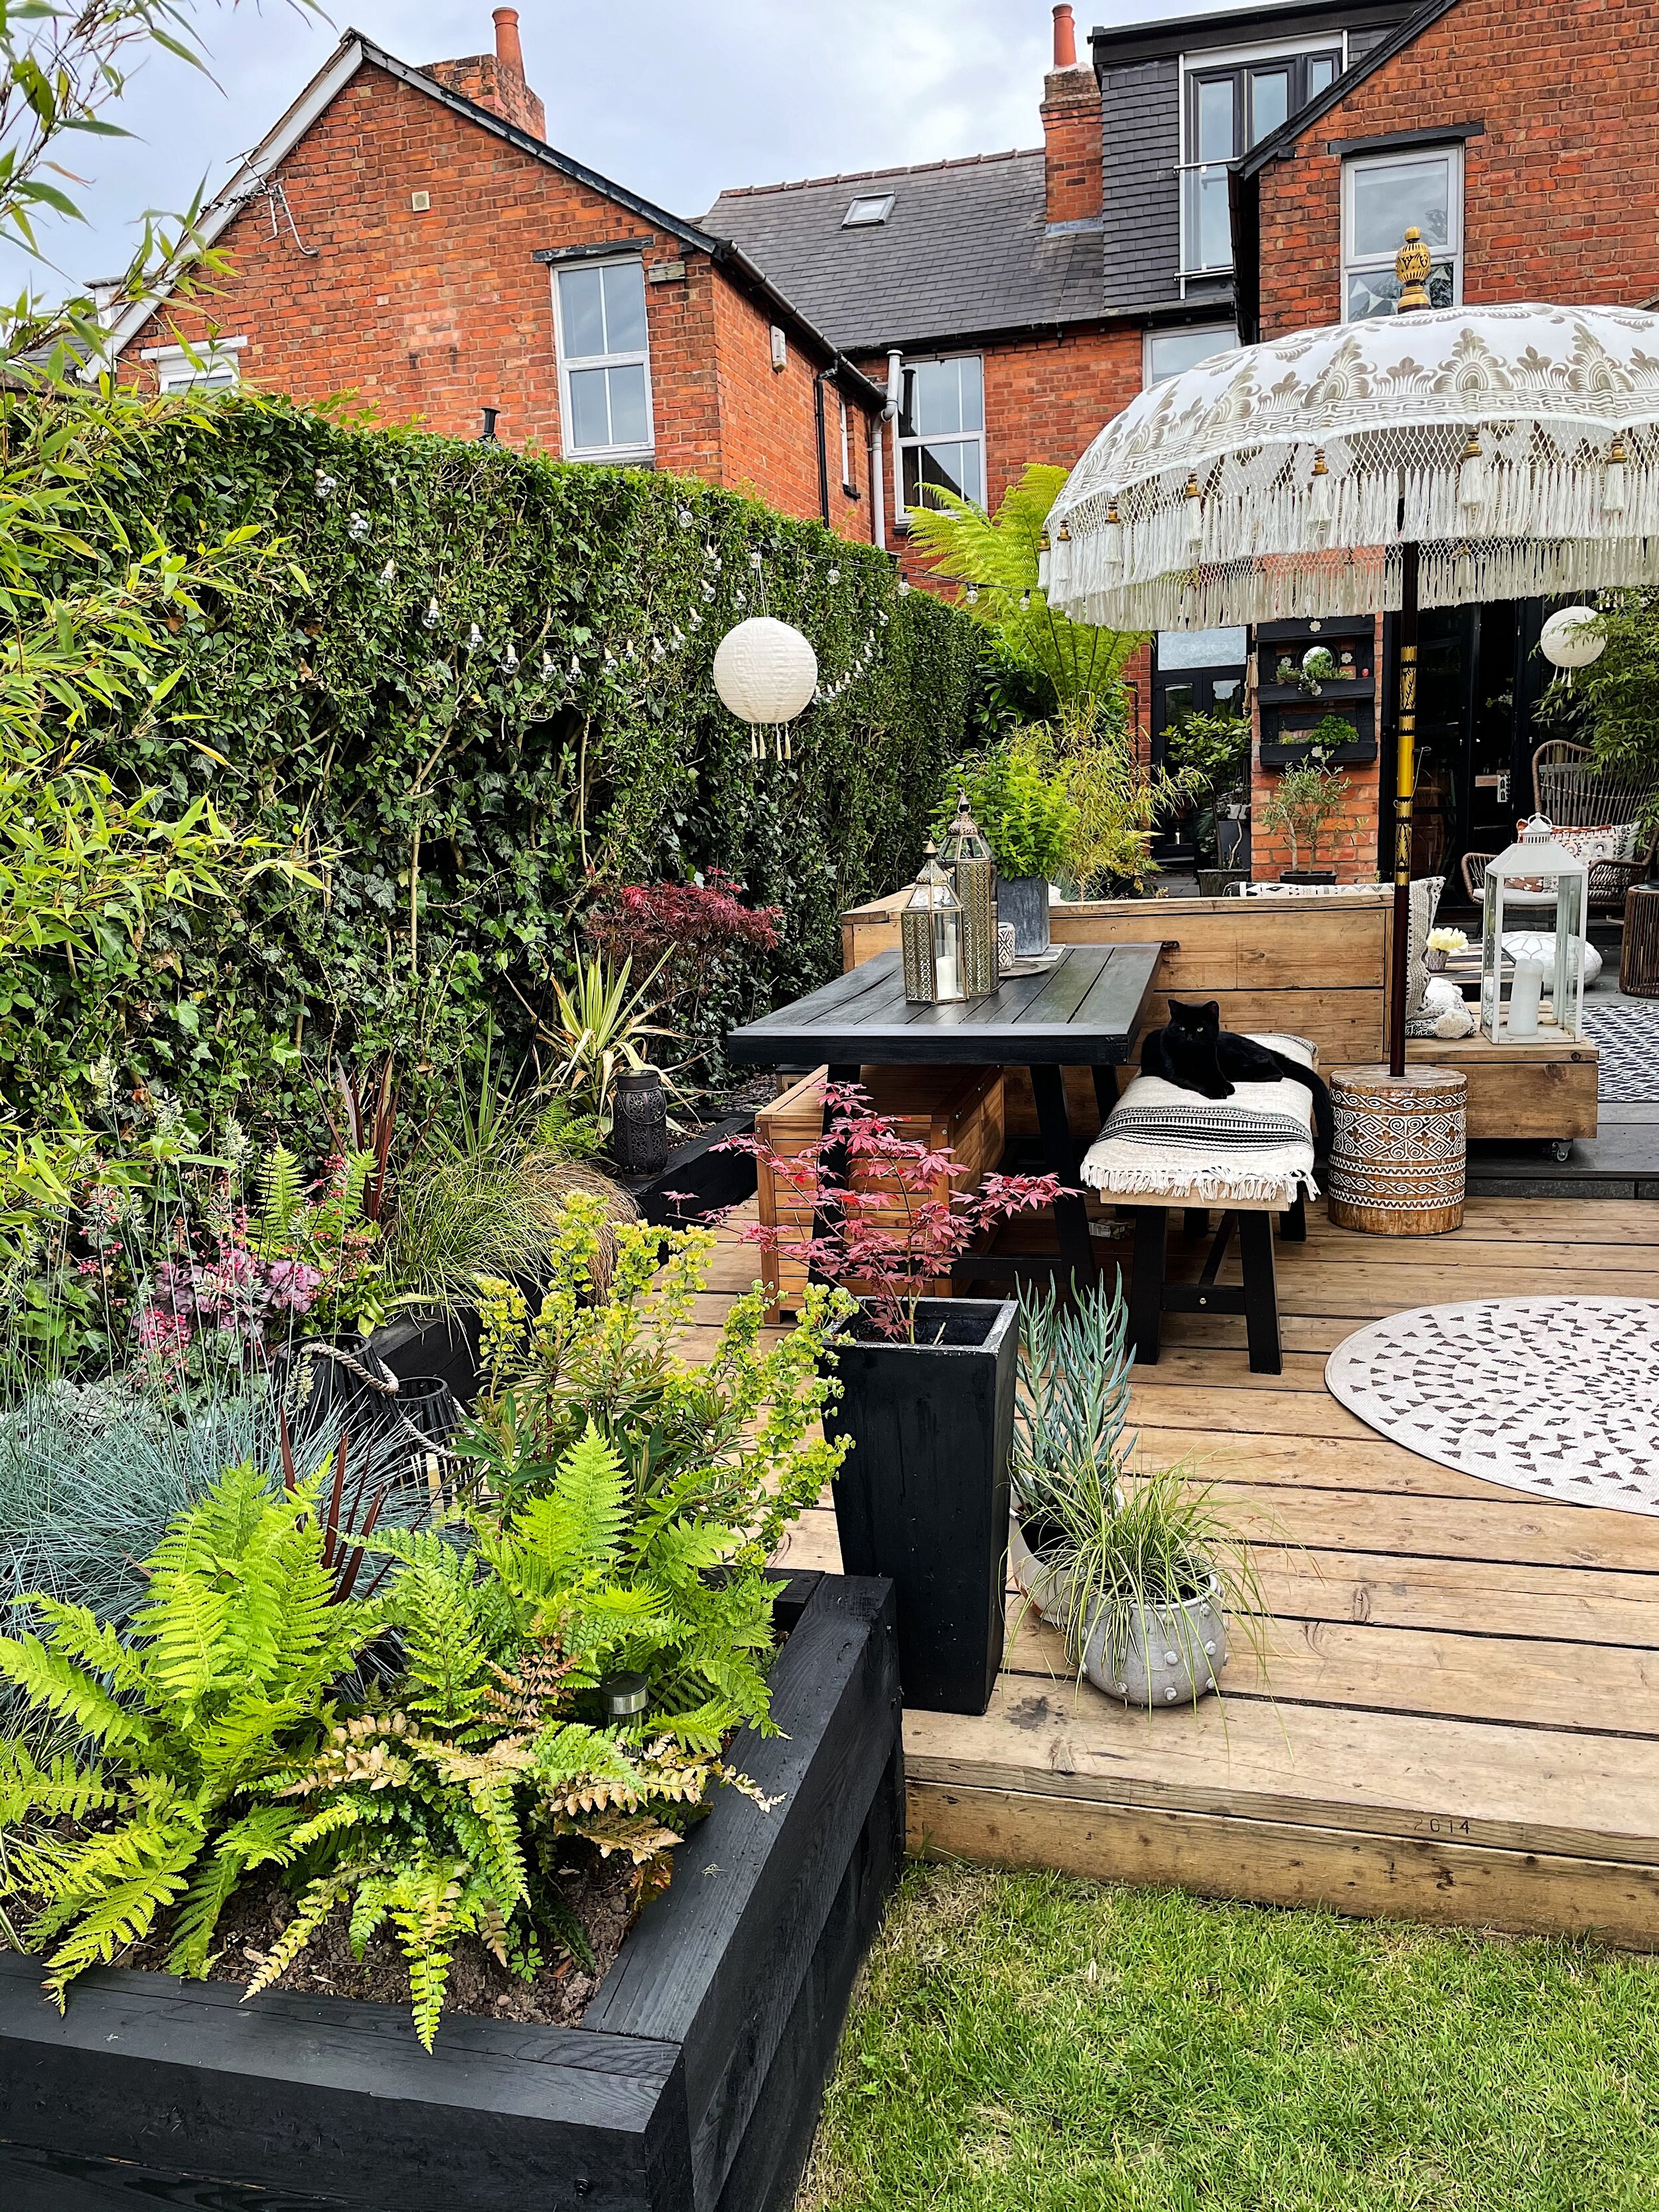
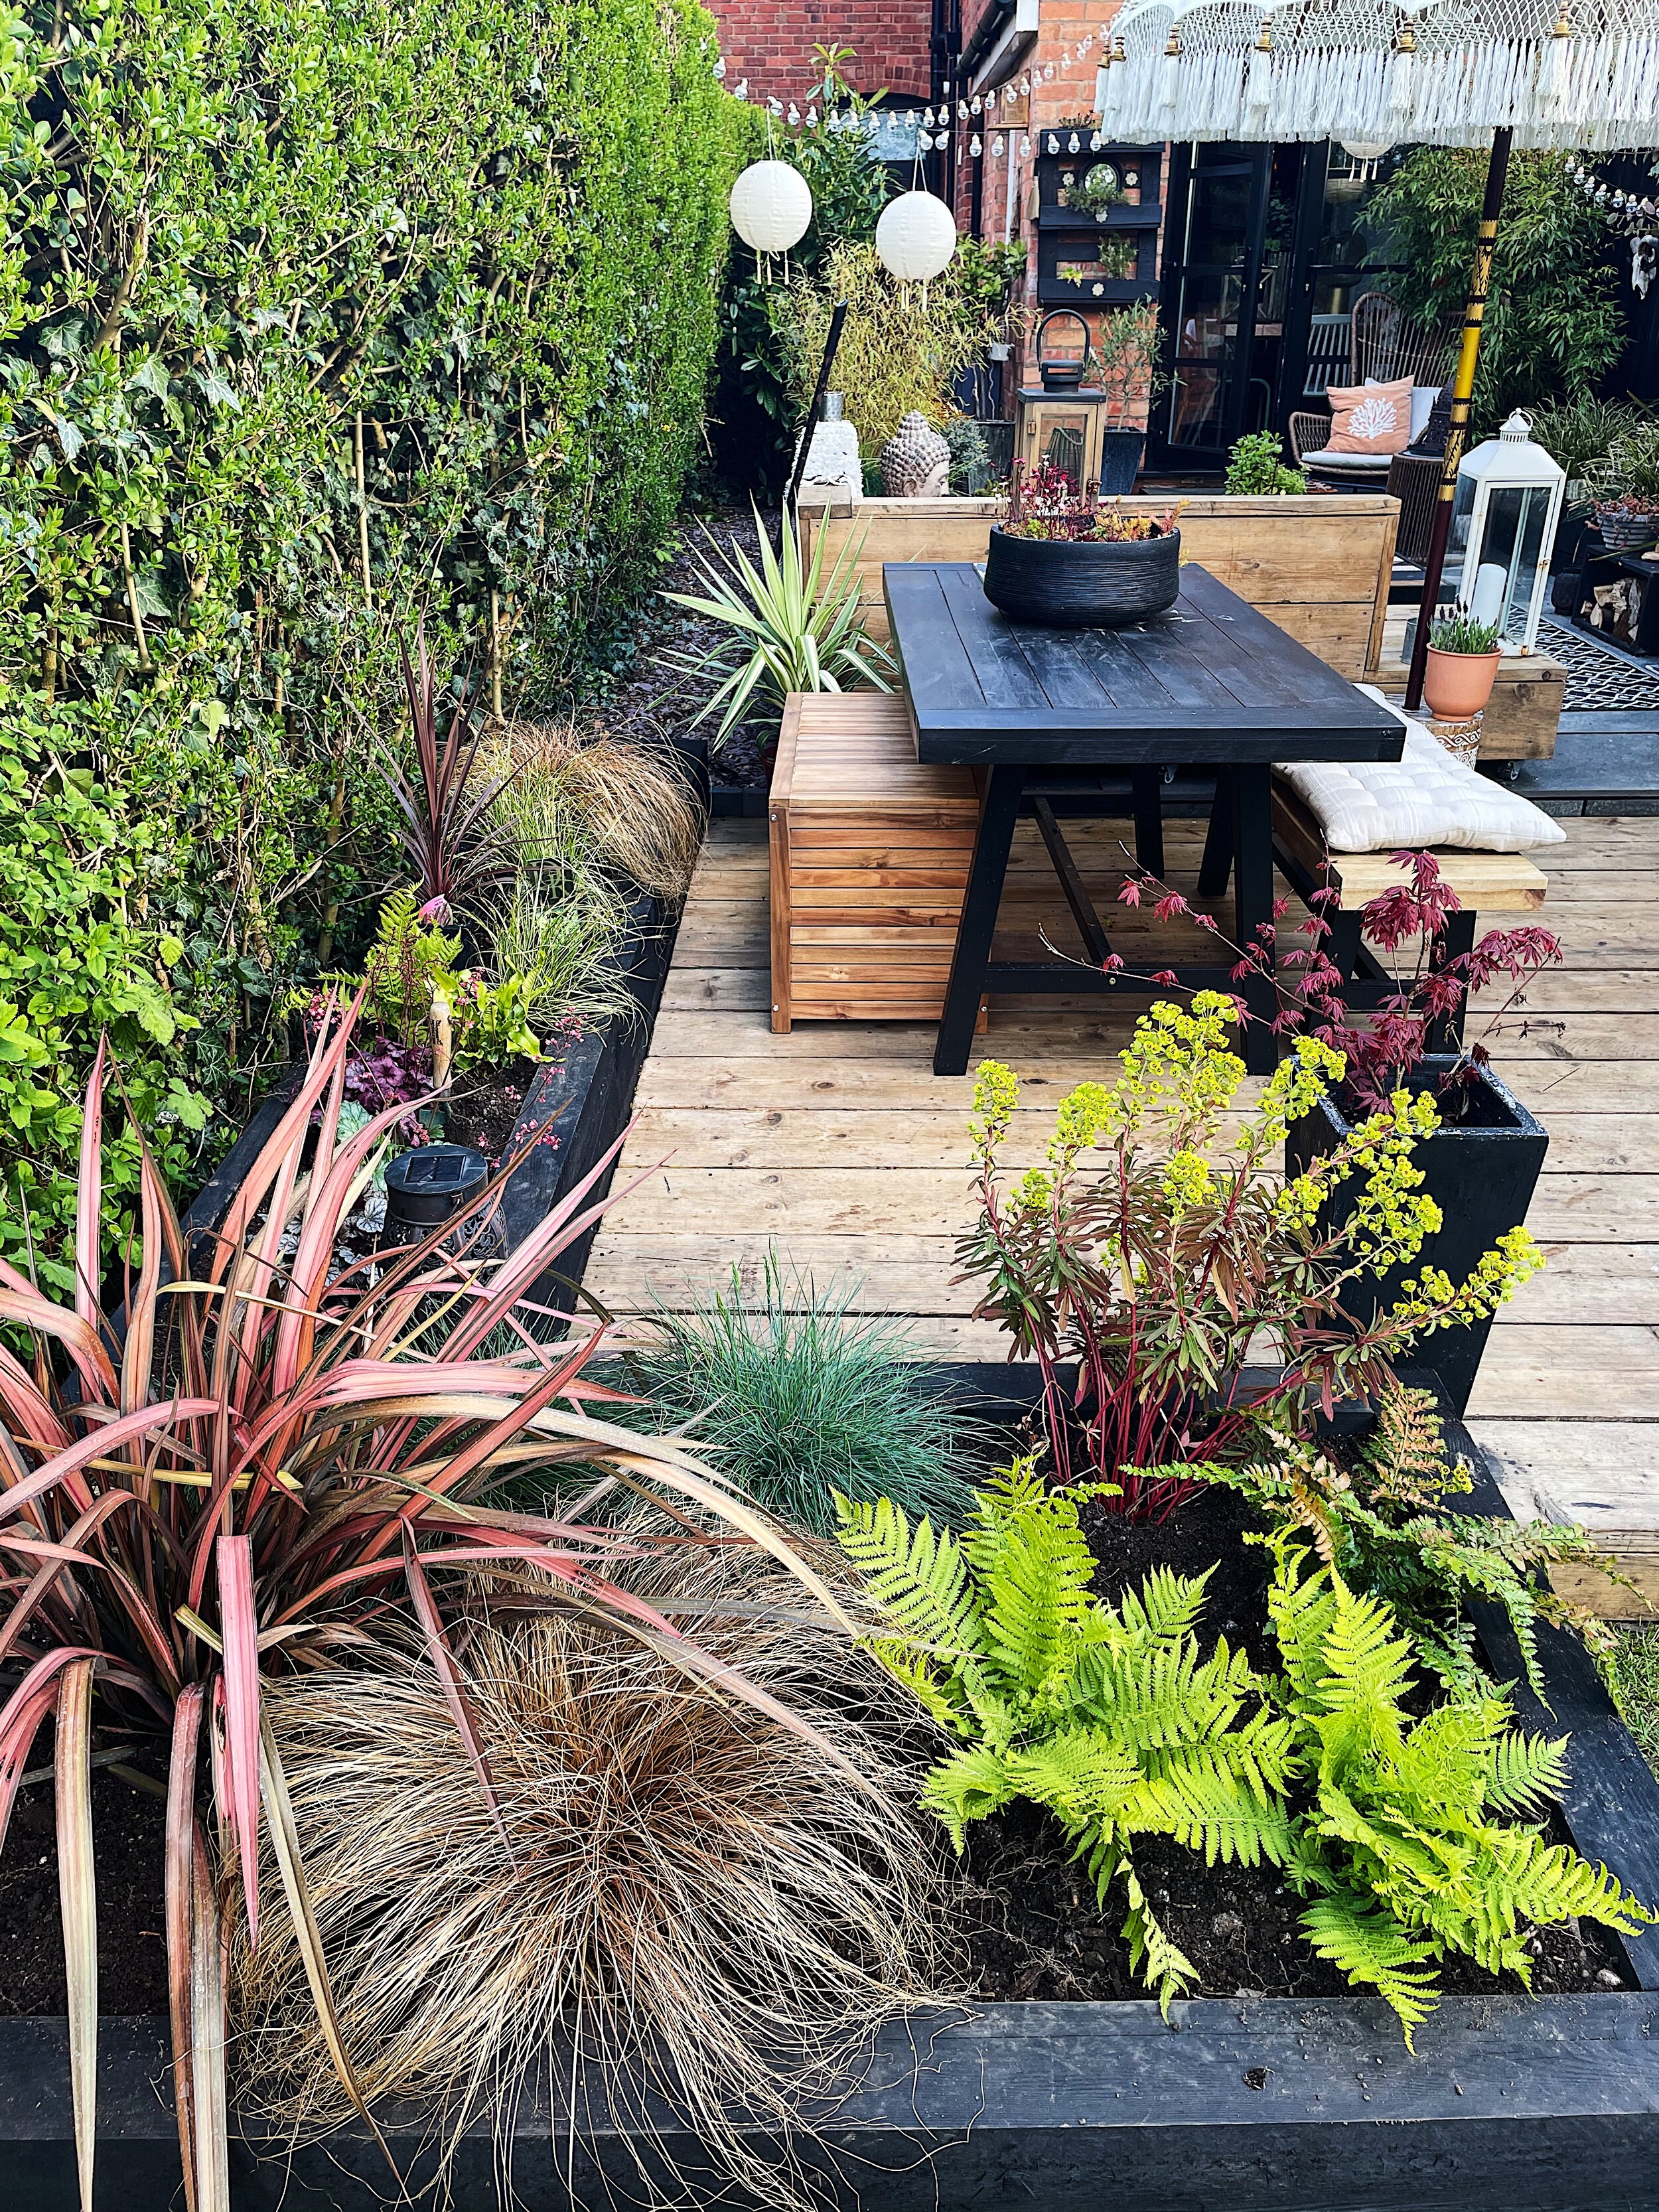
I went for some larger statement plants at the corners and end of the beds and smaller plants in the middle section. I tend to plant similar plants in groups of threes, such as the Heucheras, ferns and grasses and dotted single more stand out plants such as the Yukkas, Phormiums and cordylines amongst them. Don’t plant your plants straight away, to get an idea of the best arrangement keep your plants in their pots and try out different arrangements first. Easier tham having to dig them up if you decide you don’t like how they look!
Keeping to a smaller, more curated selection of plants I think adds more impact than using lots of different plants and gives a more modern planting scheme. I personally prefer foliage plants over flowers and like to add colour and contrast amongst the green by adding plants with reddish/purple/rust tones such as the bronze grasses, the Acer, the Phormiums and Cordylines. Also as the backdrop to the beds is privet I wanted a few plants of contrasting colours so it all didn’t blend in to the hedges.
And that’s it! I hope this was helpful, please comment below if you have any questions or just let me know if you are planning to build one of your own, I’d love to hear about it!
Theresa x